
How to sew a folding shopping bag
Recently I’ve got very into sewing, as anyone close to me will know! I have an amazing folding shopping bag from Sainsbury’s (a Refoldabag) that is very worn out and unfortunately no longer available, so I took it upon myself to make a copy myself. And when it proved popular on Instagram, I thought I’d make it again – this time with a photo tutorial so you can make one yourself.
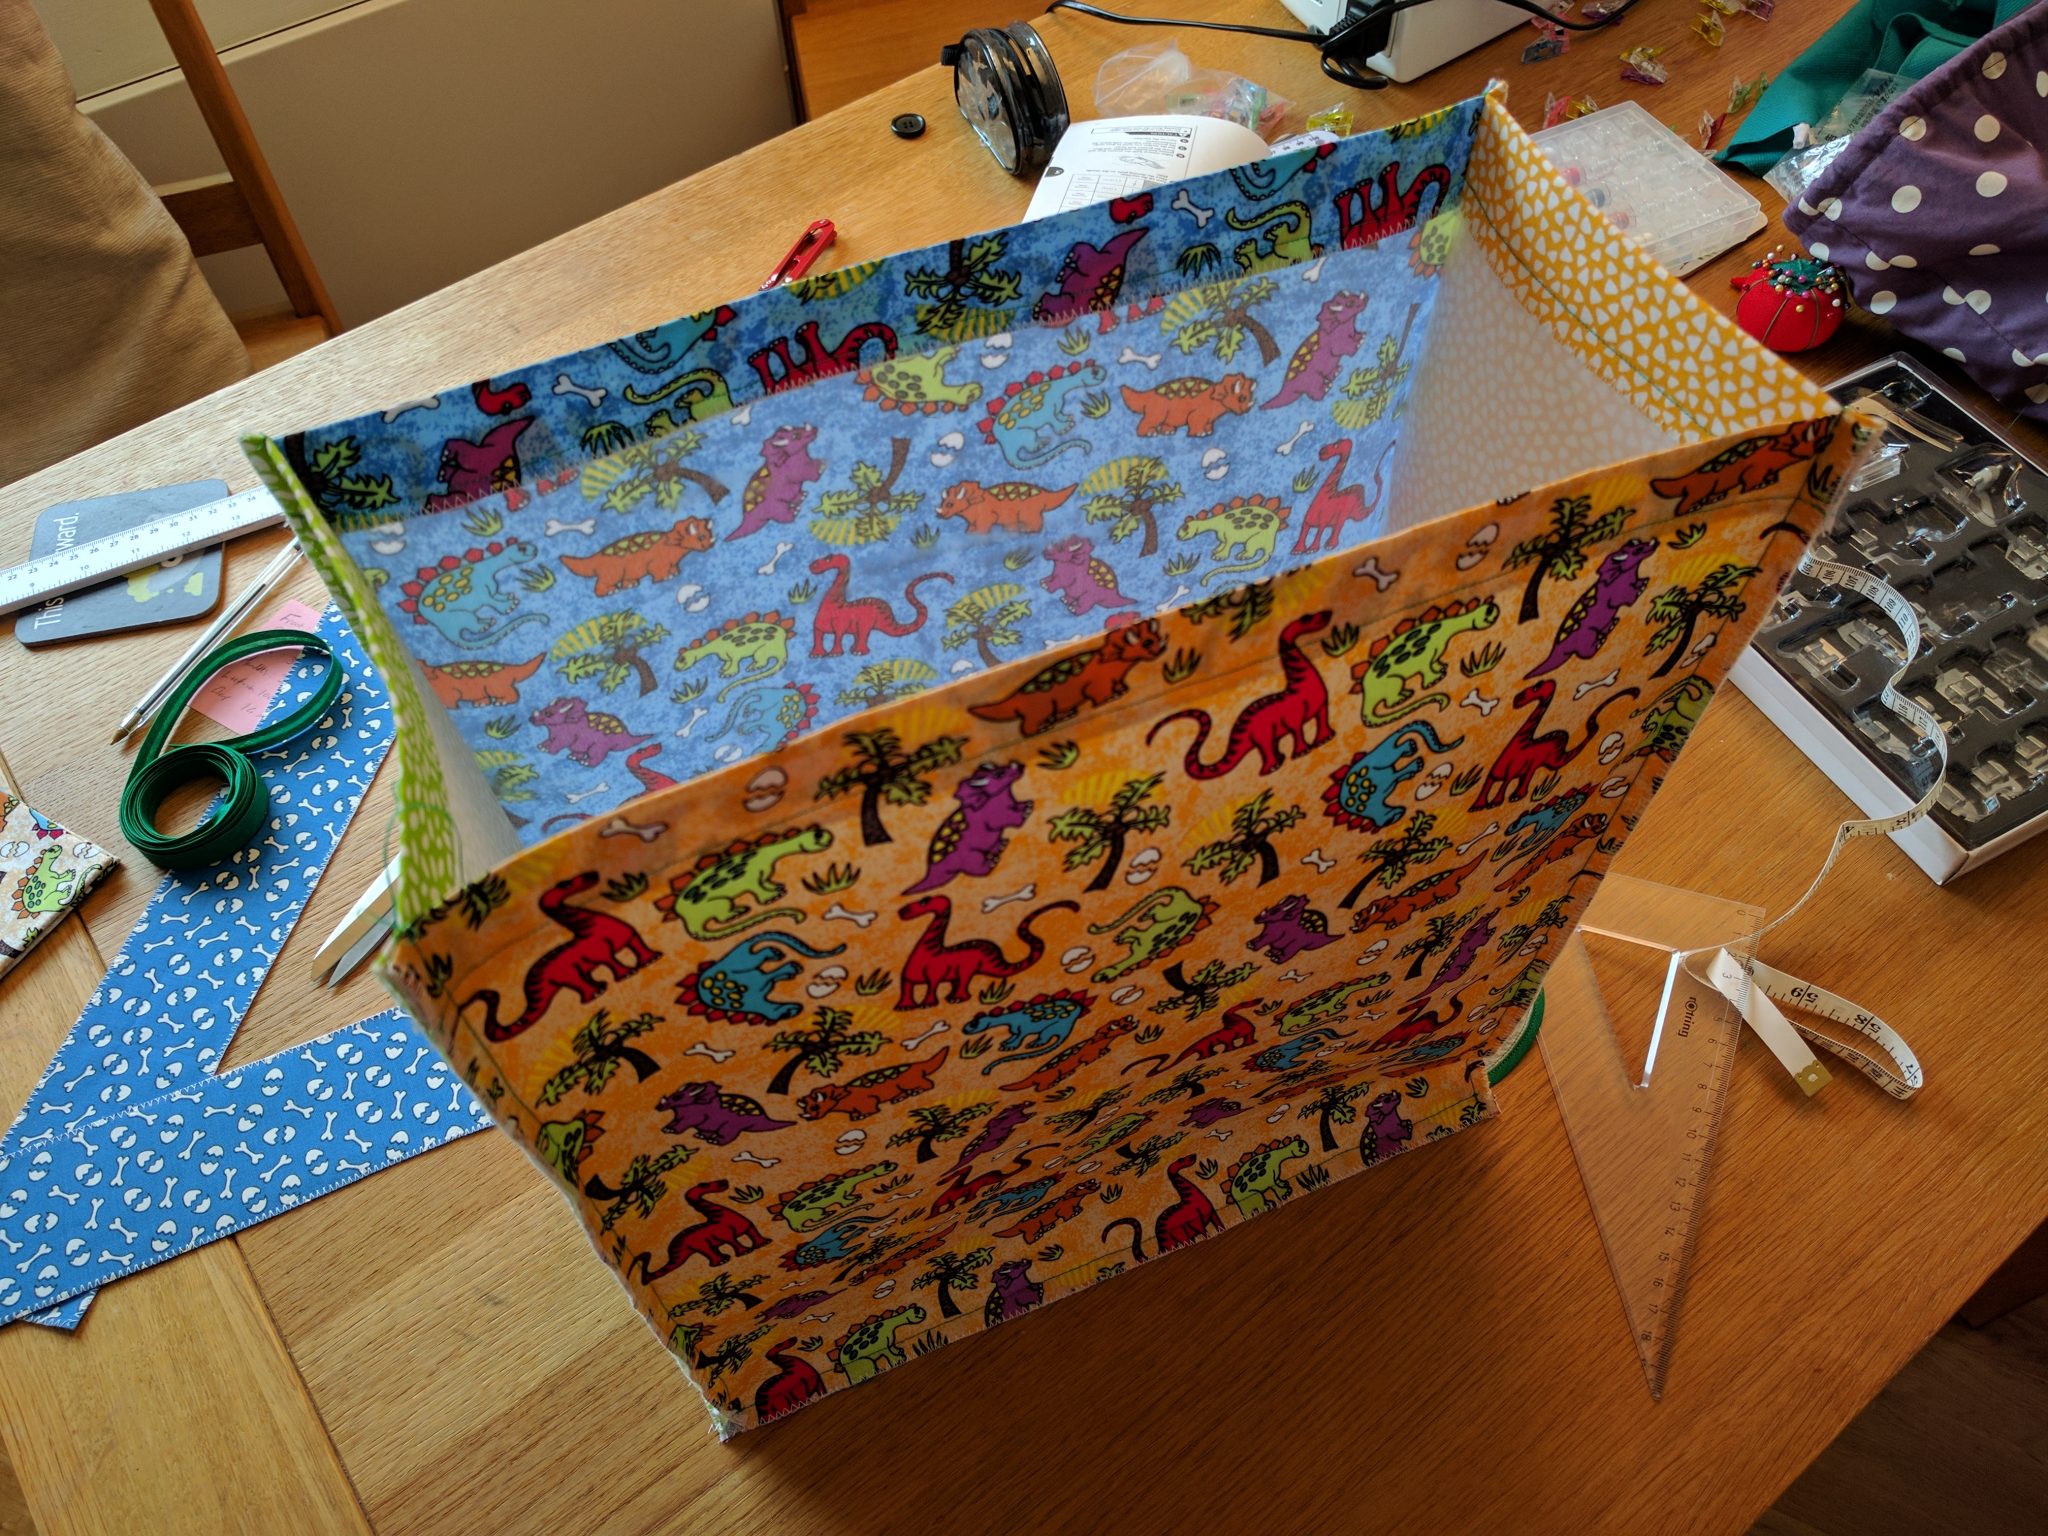
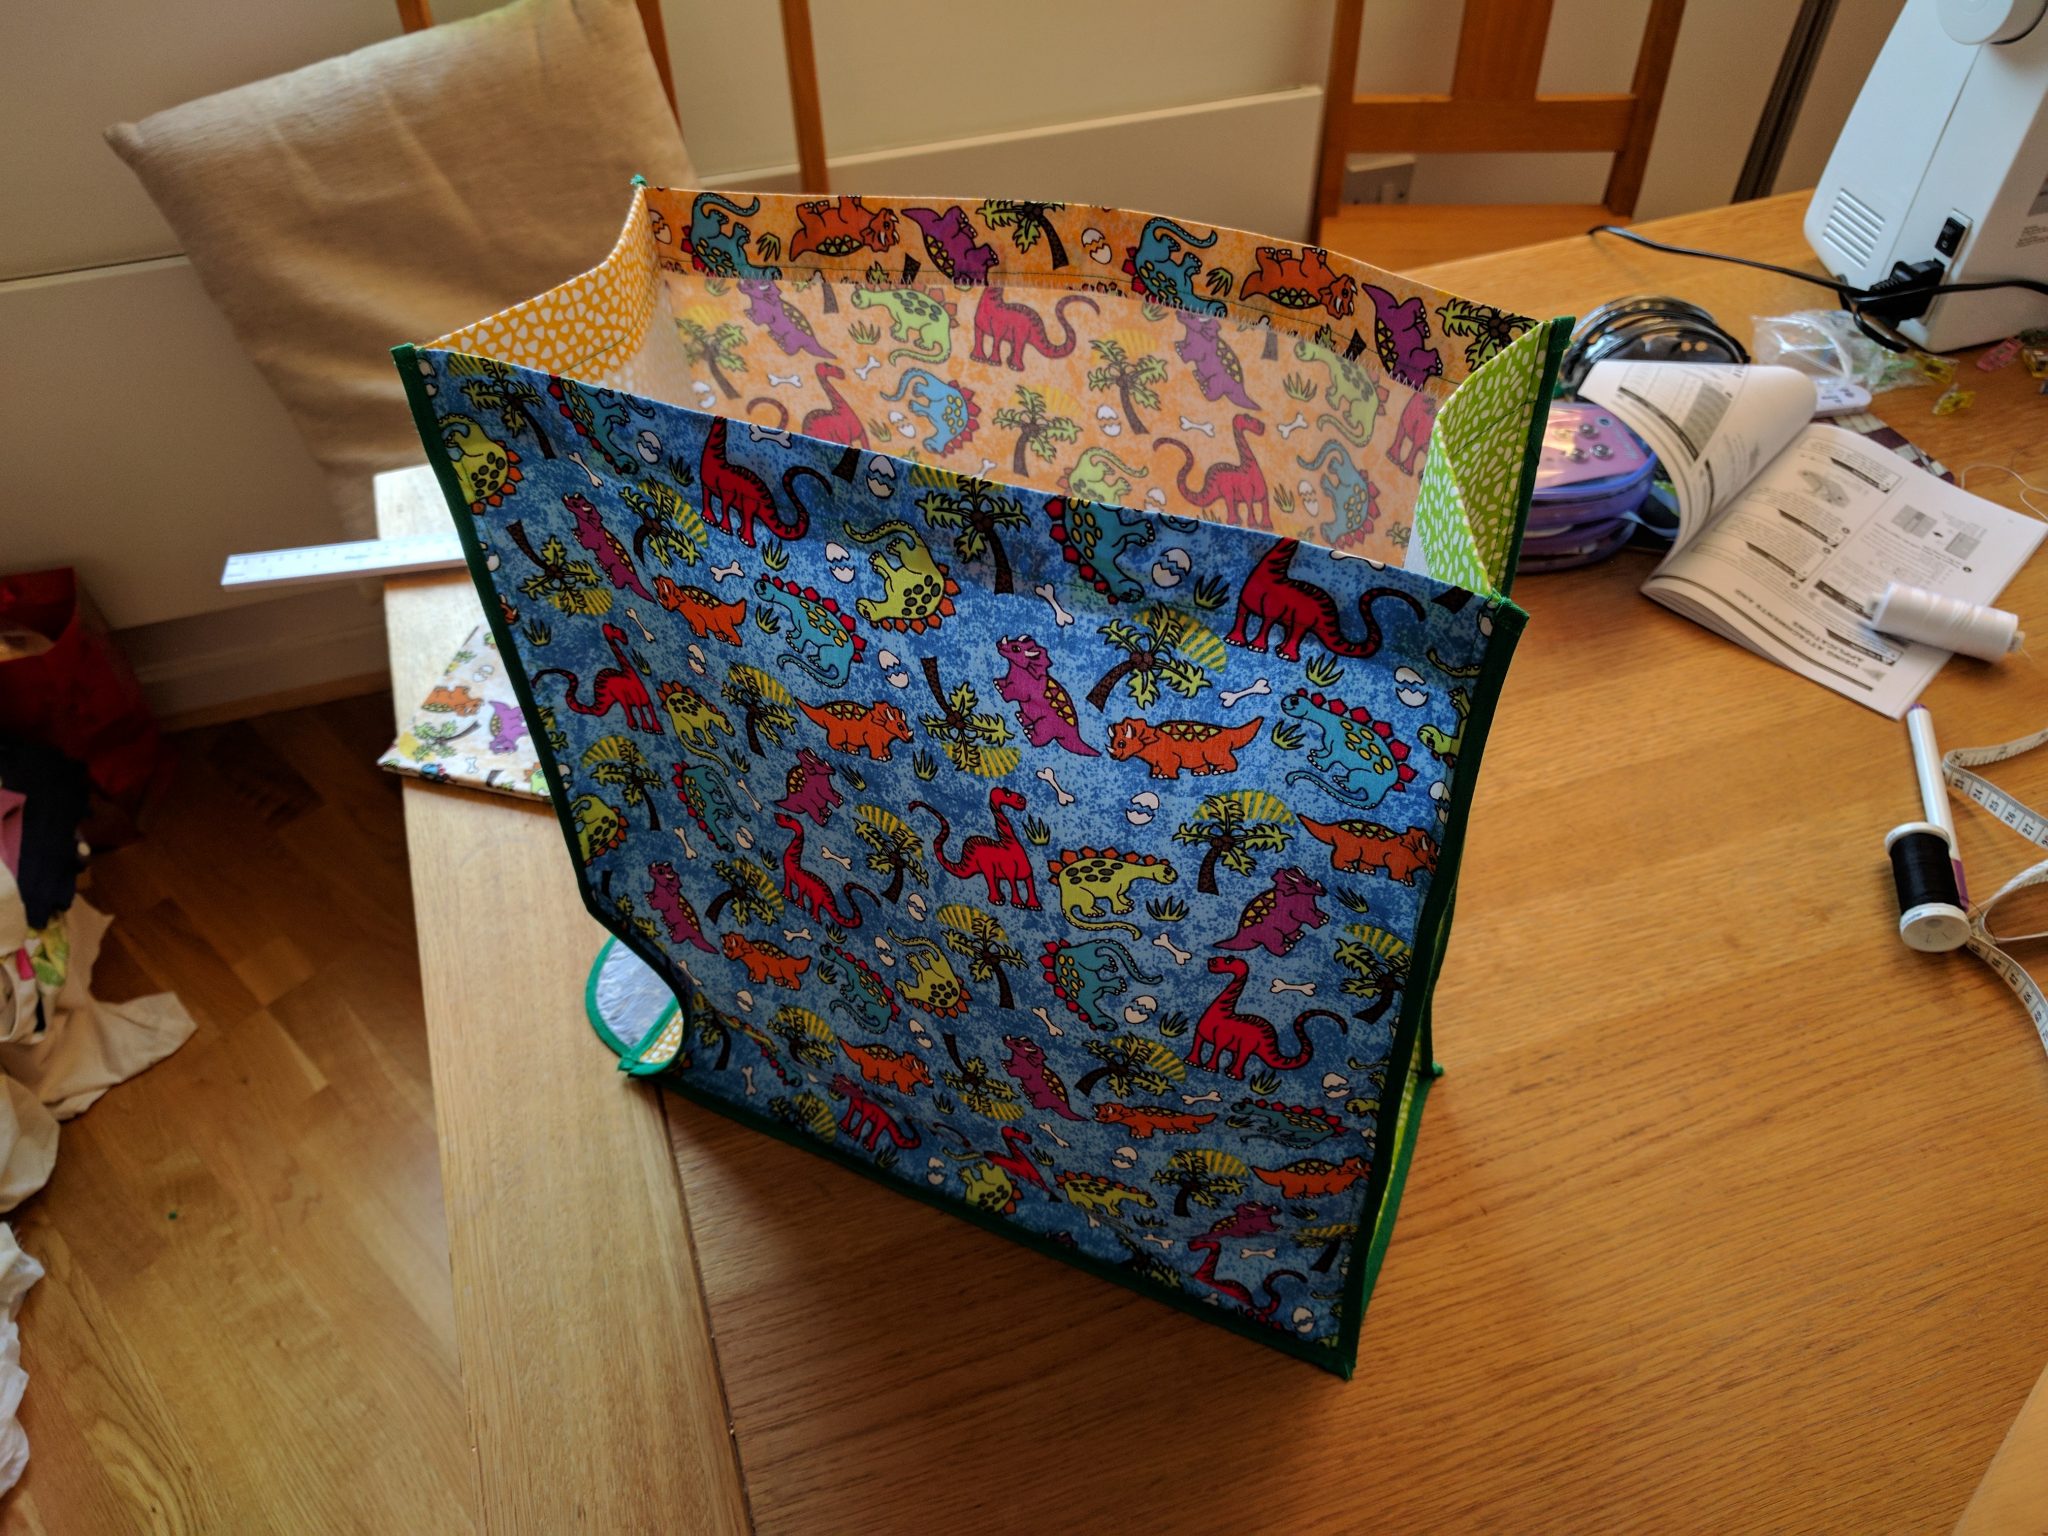
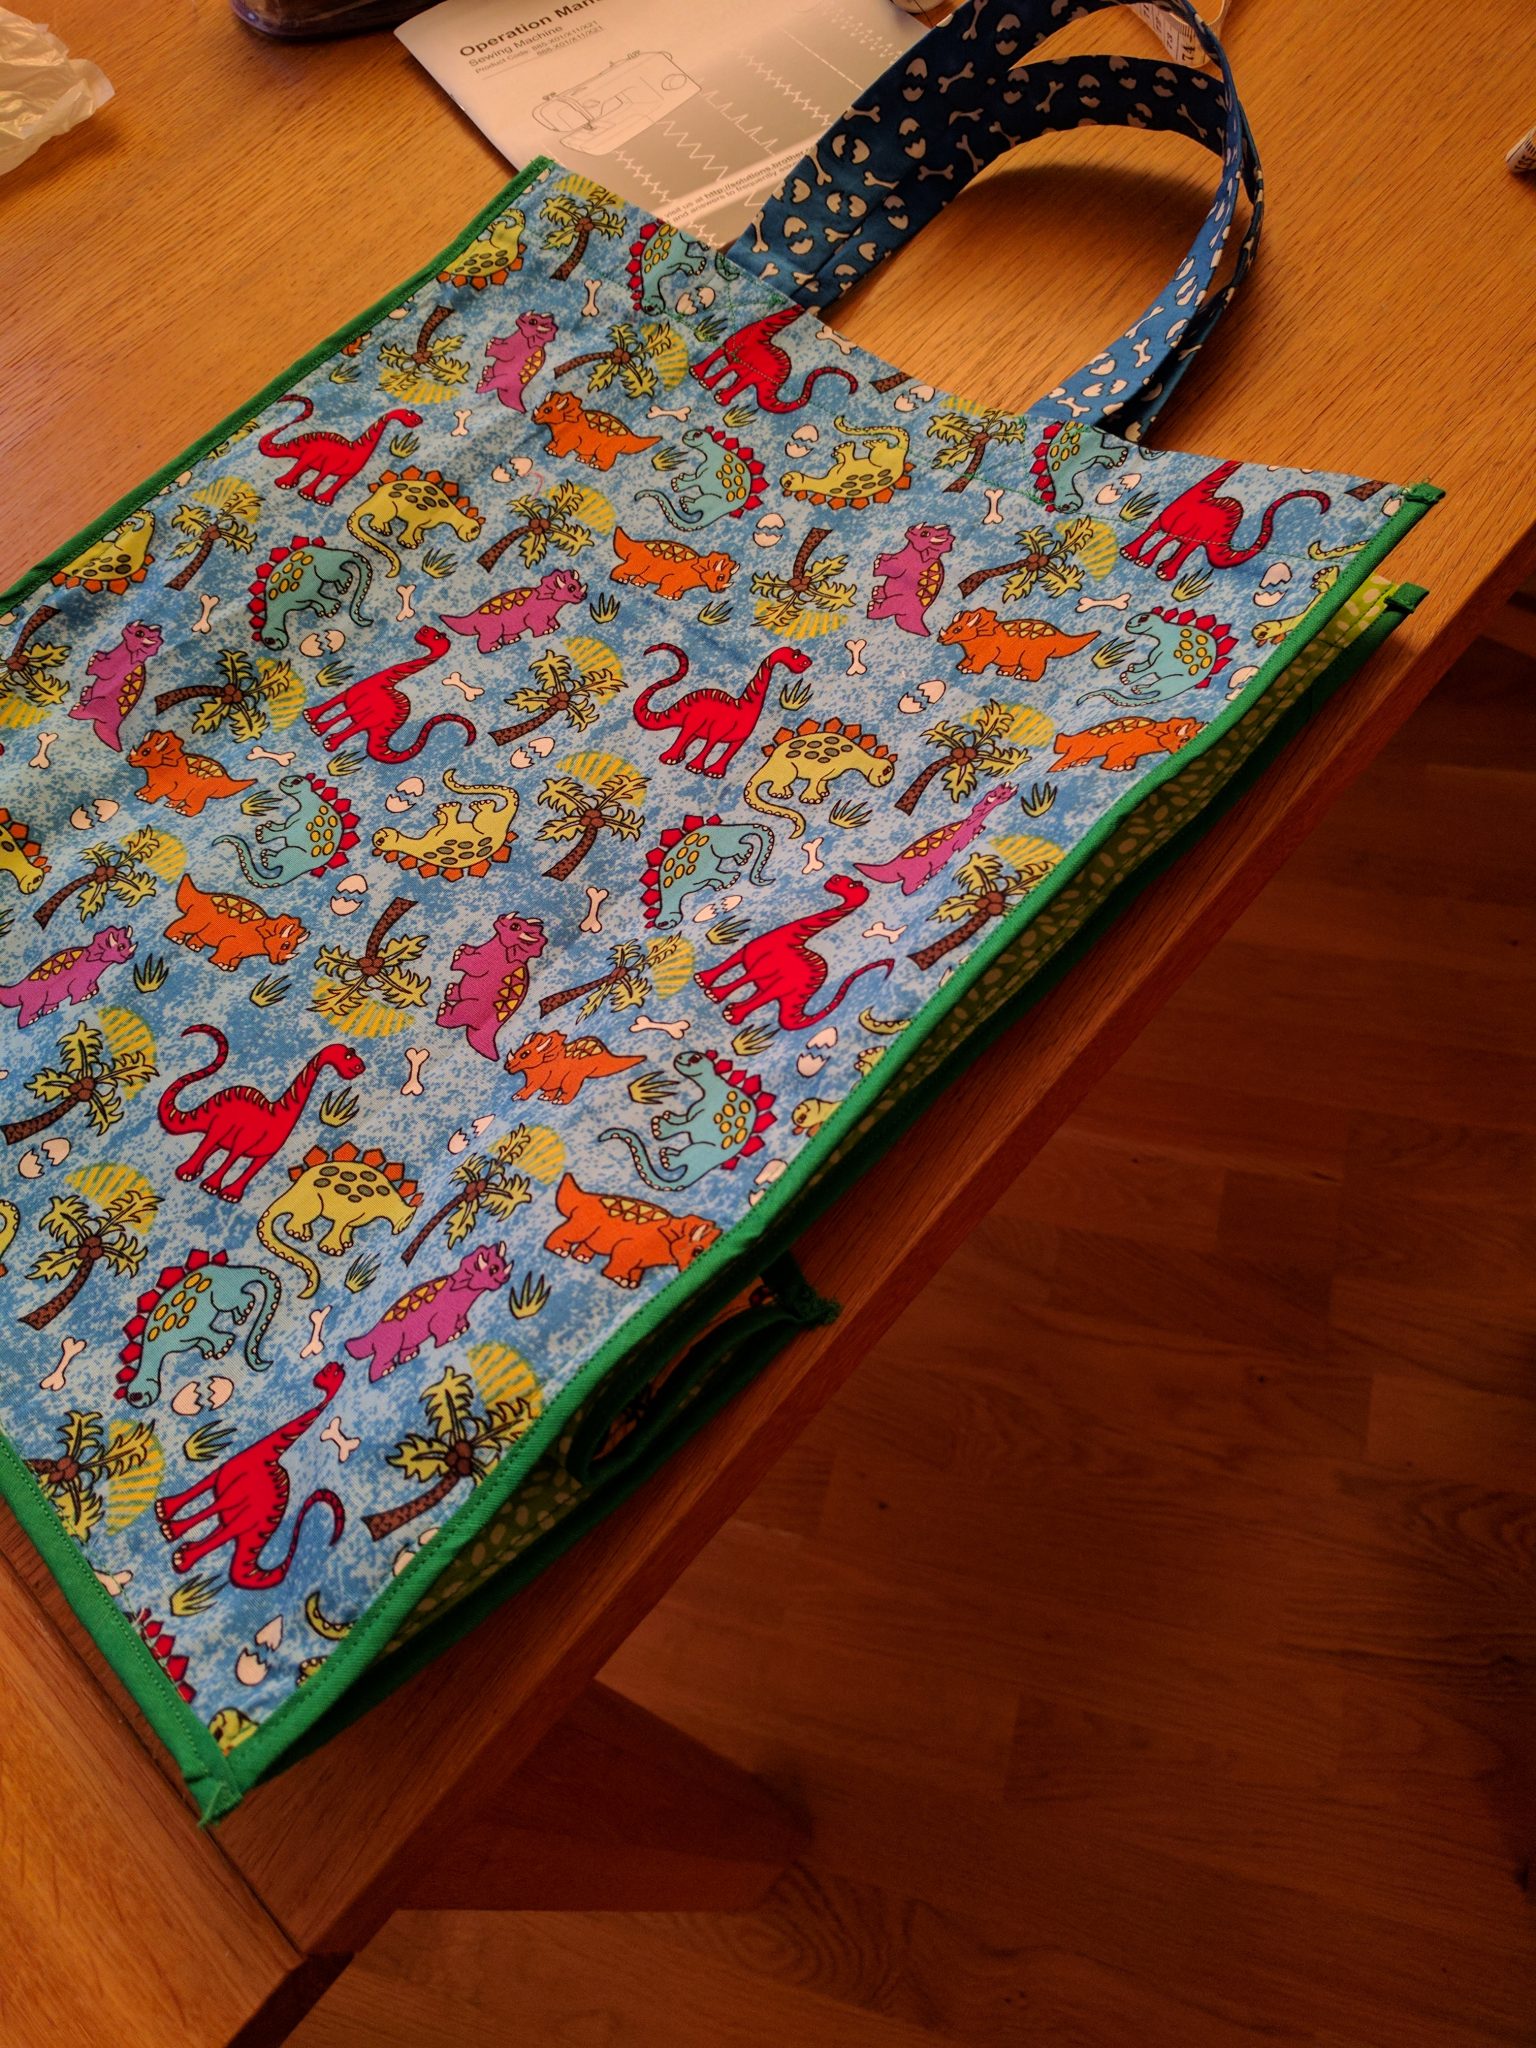
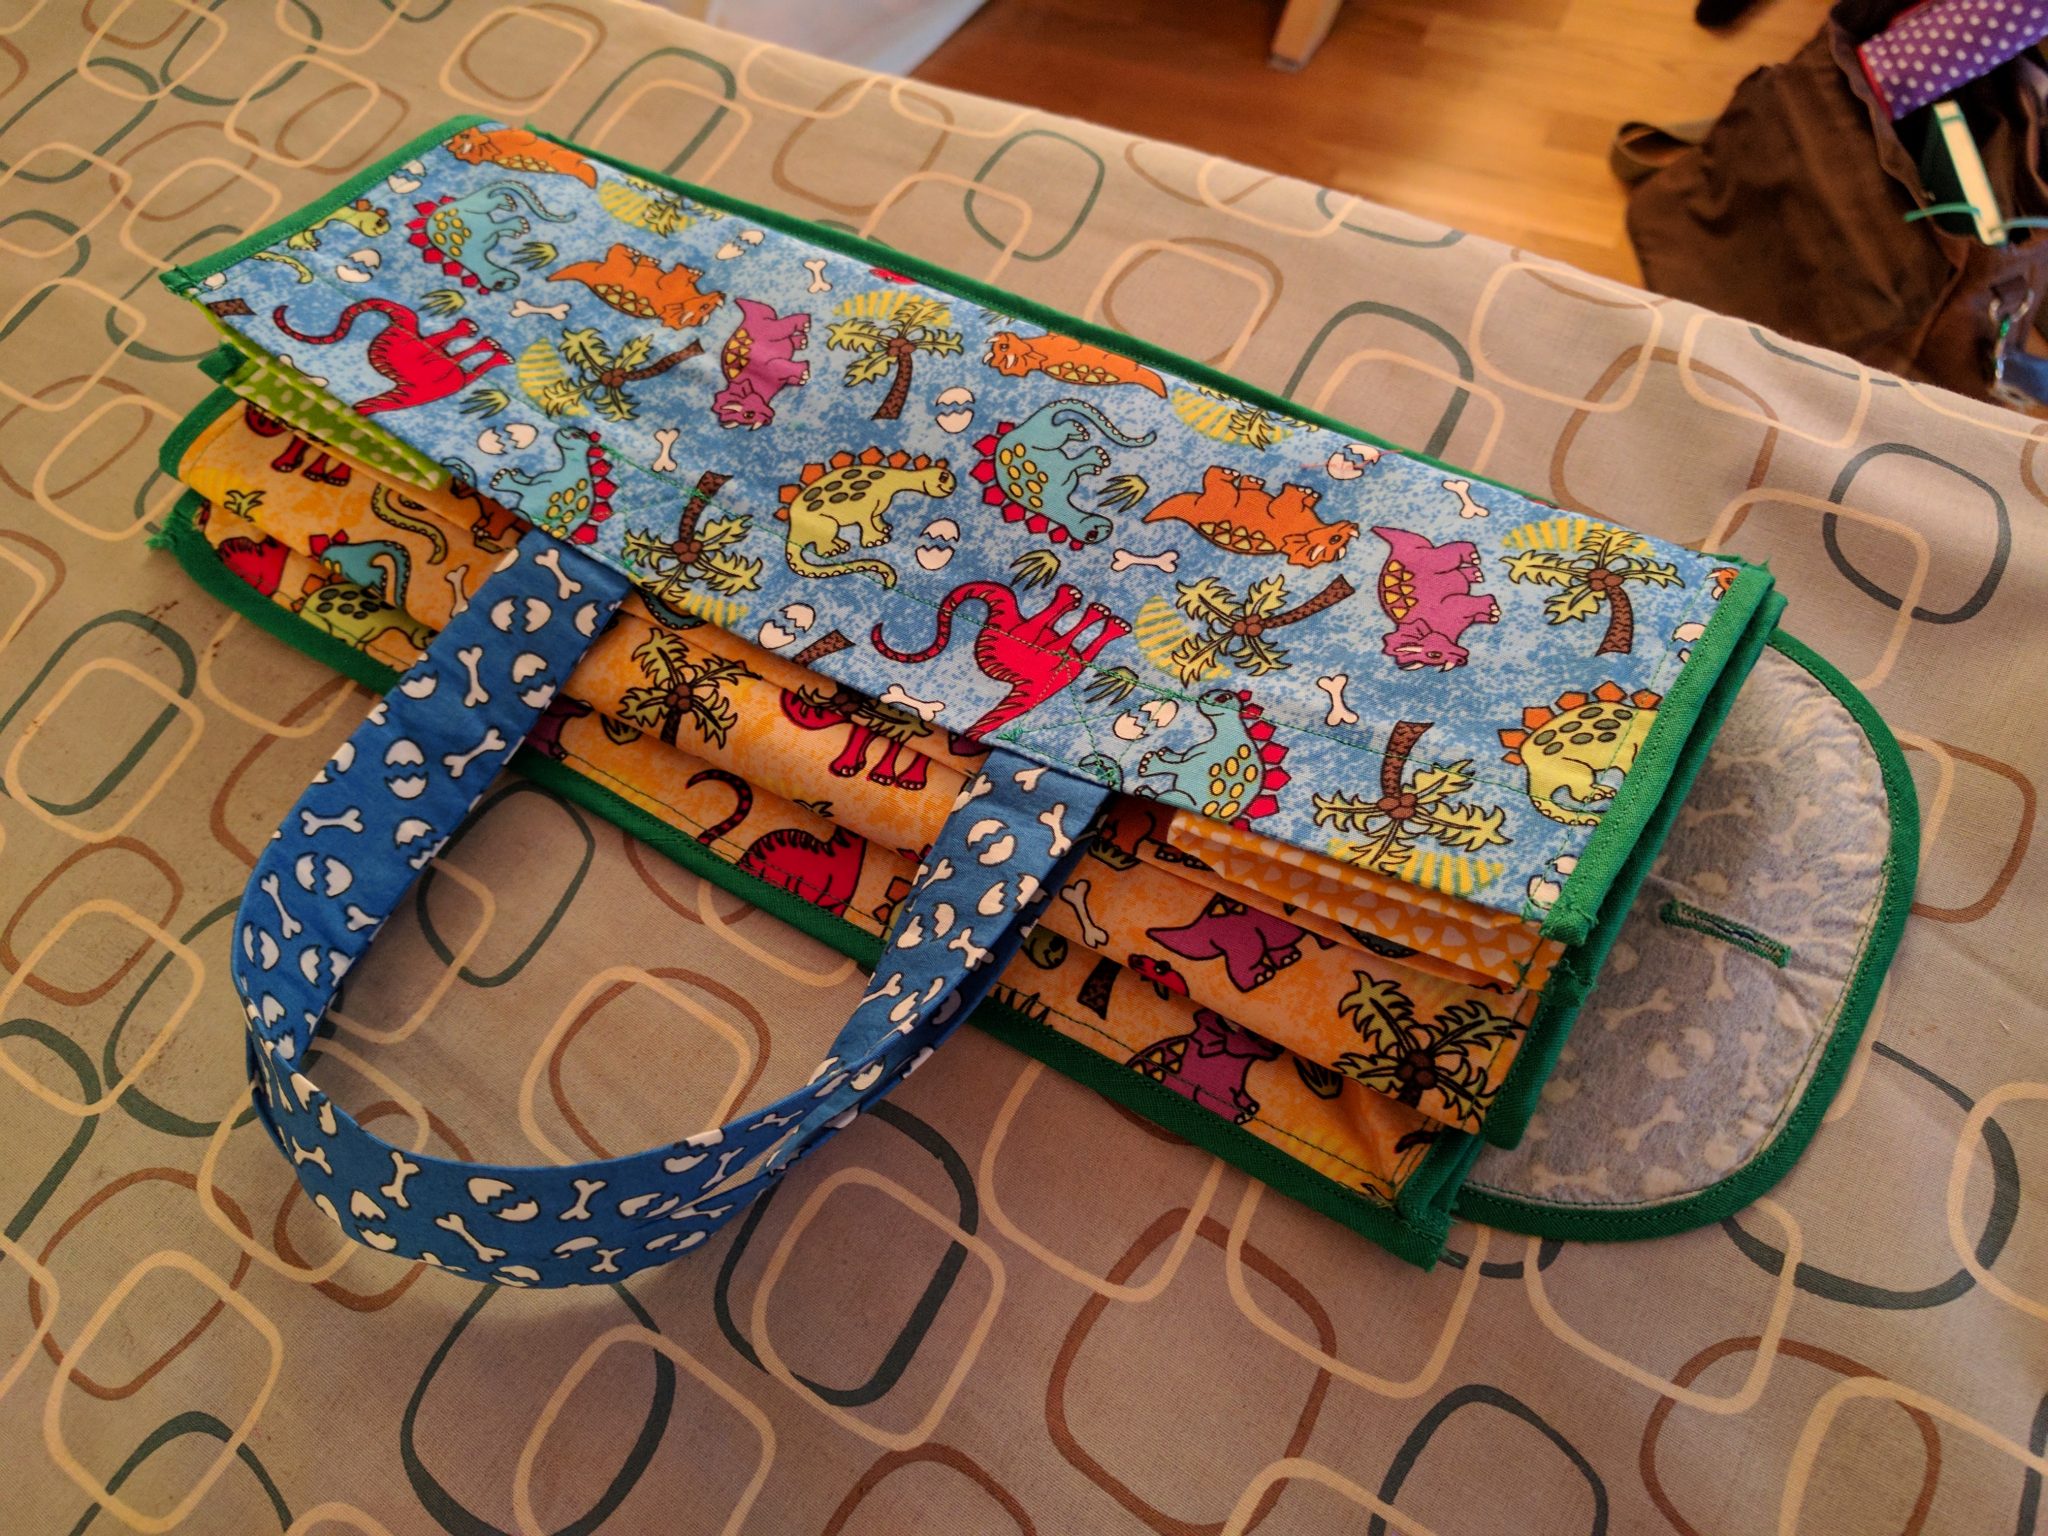
Here’s what the finished bag looks like open (just the right size for a couple of board games) and folded up:
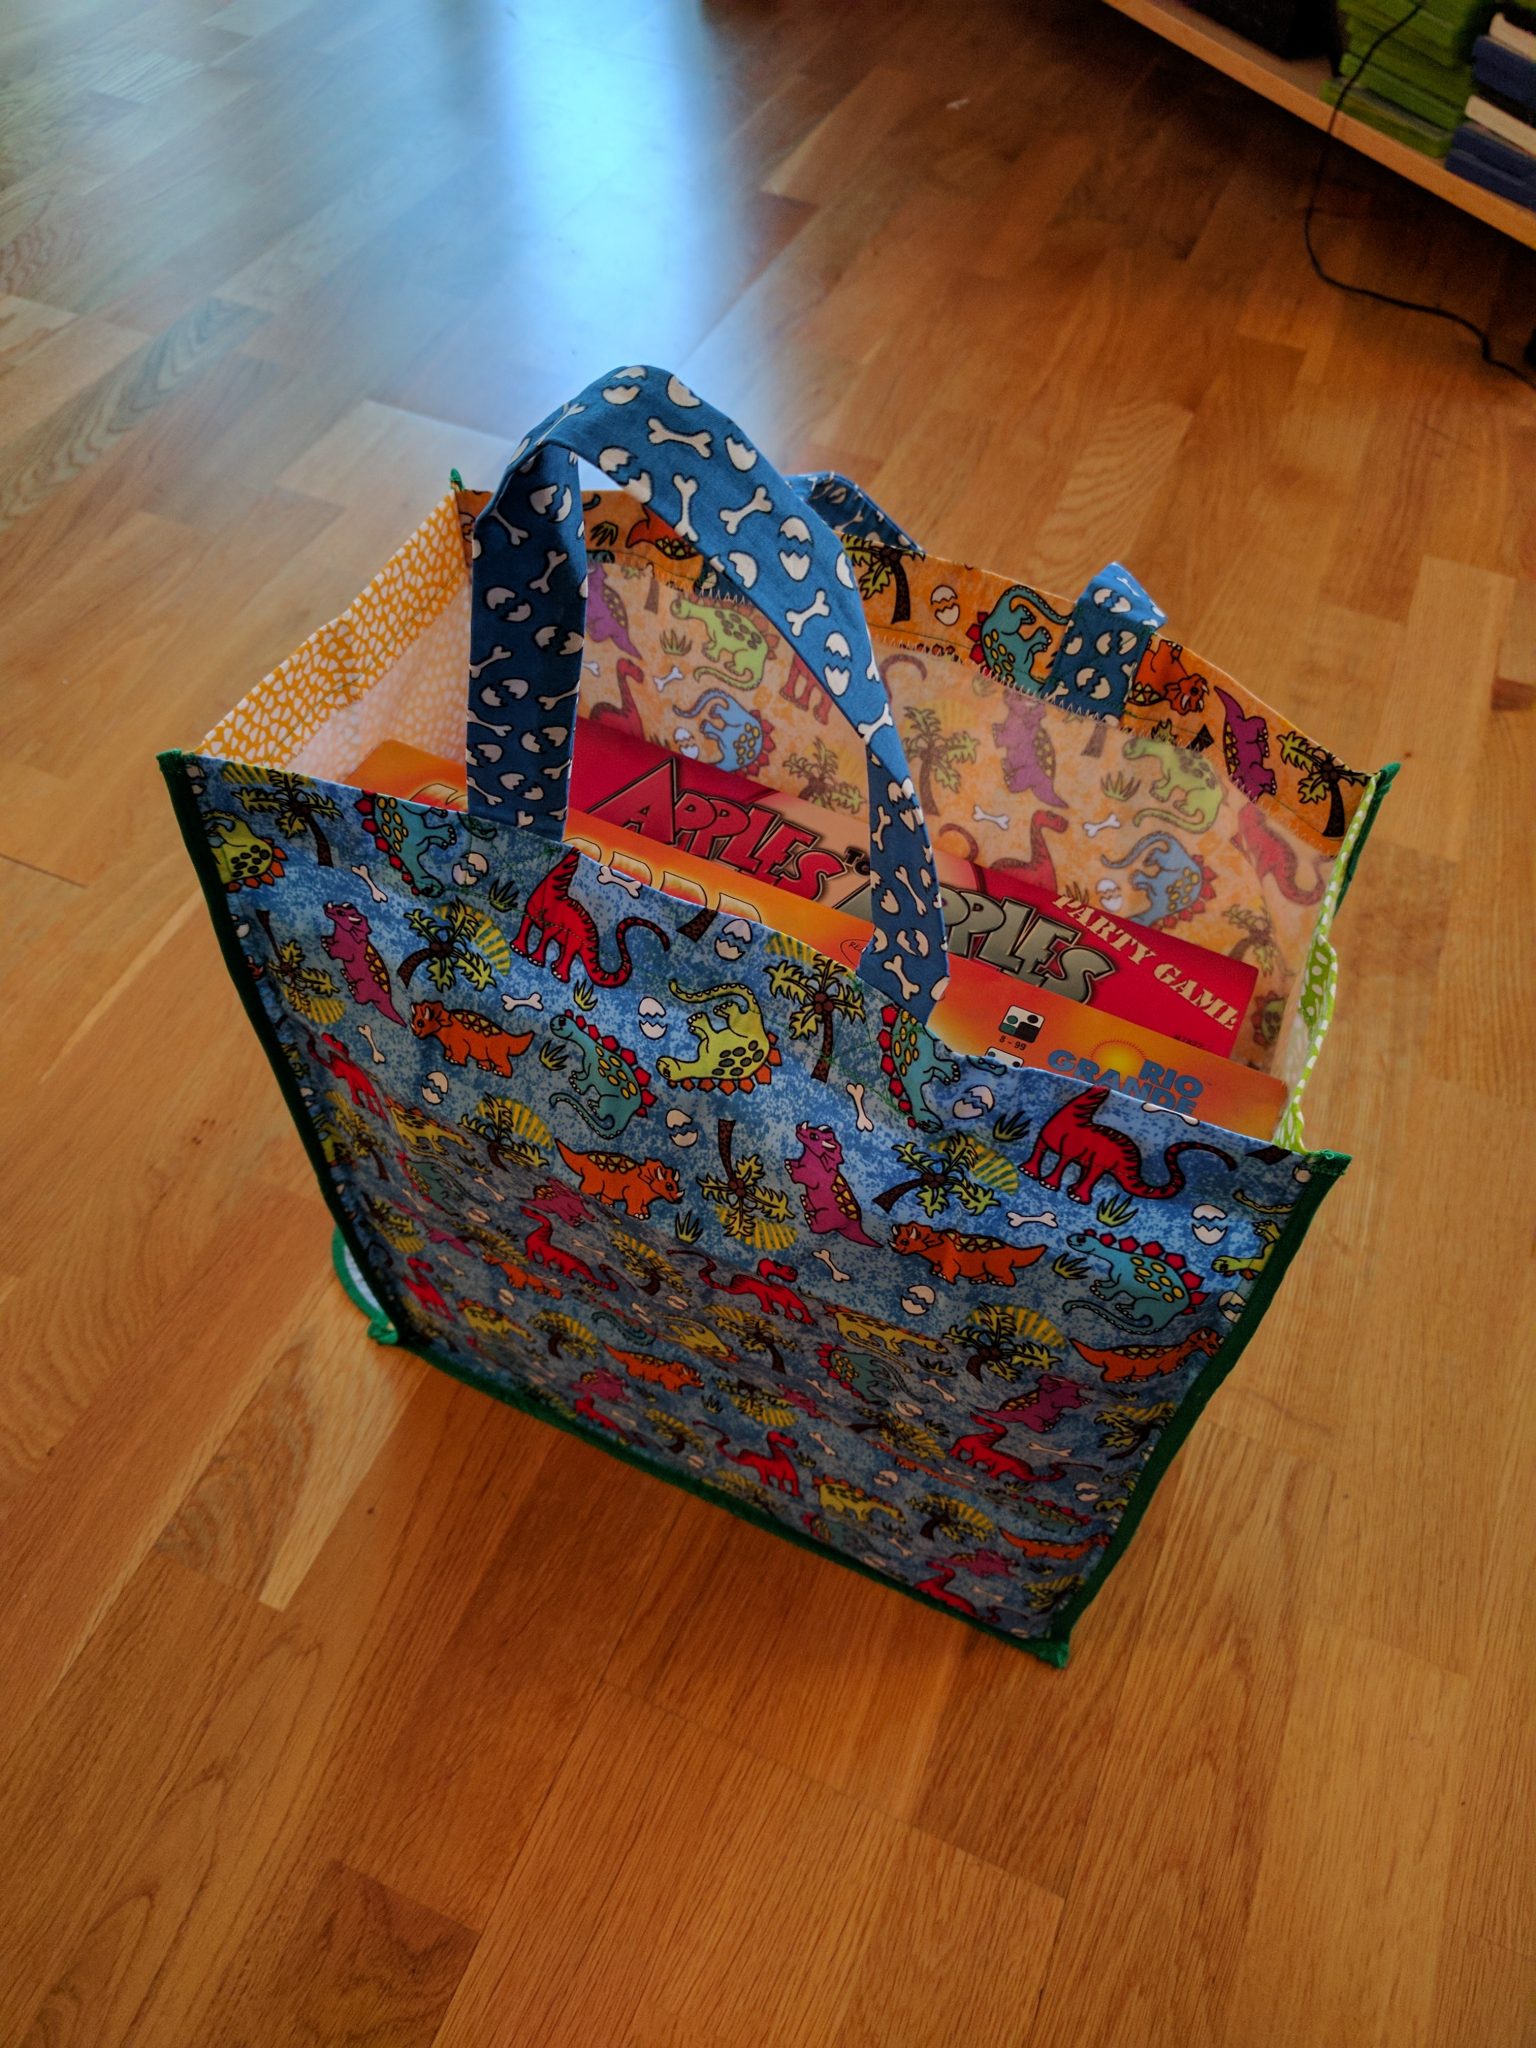
Open

And closed
You will need

What you need
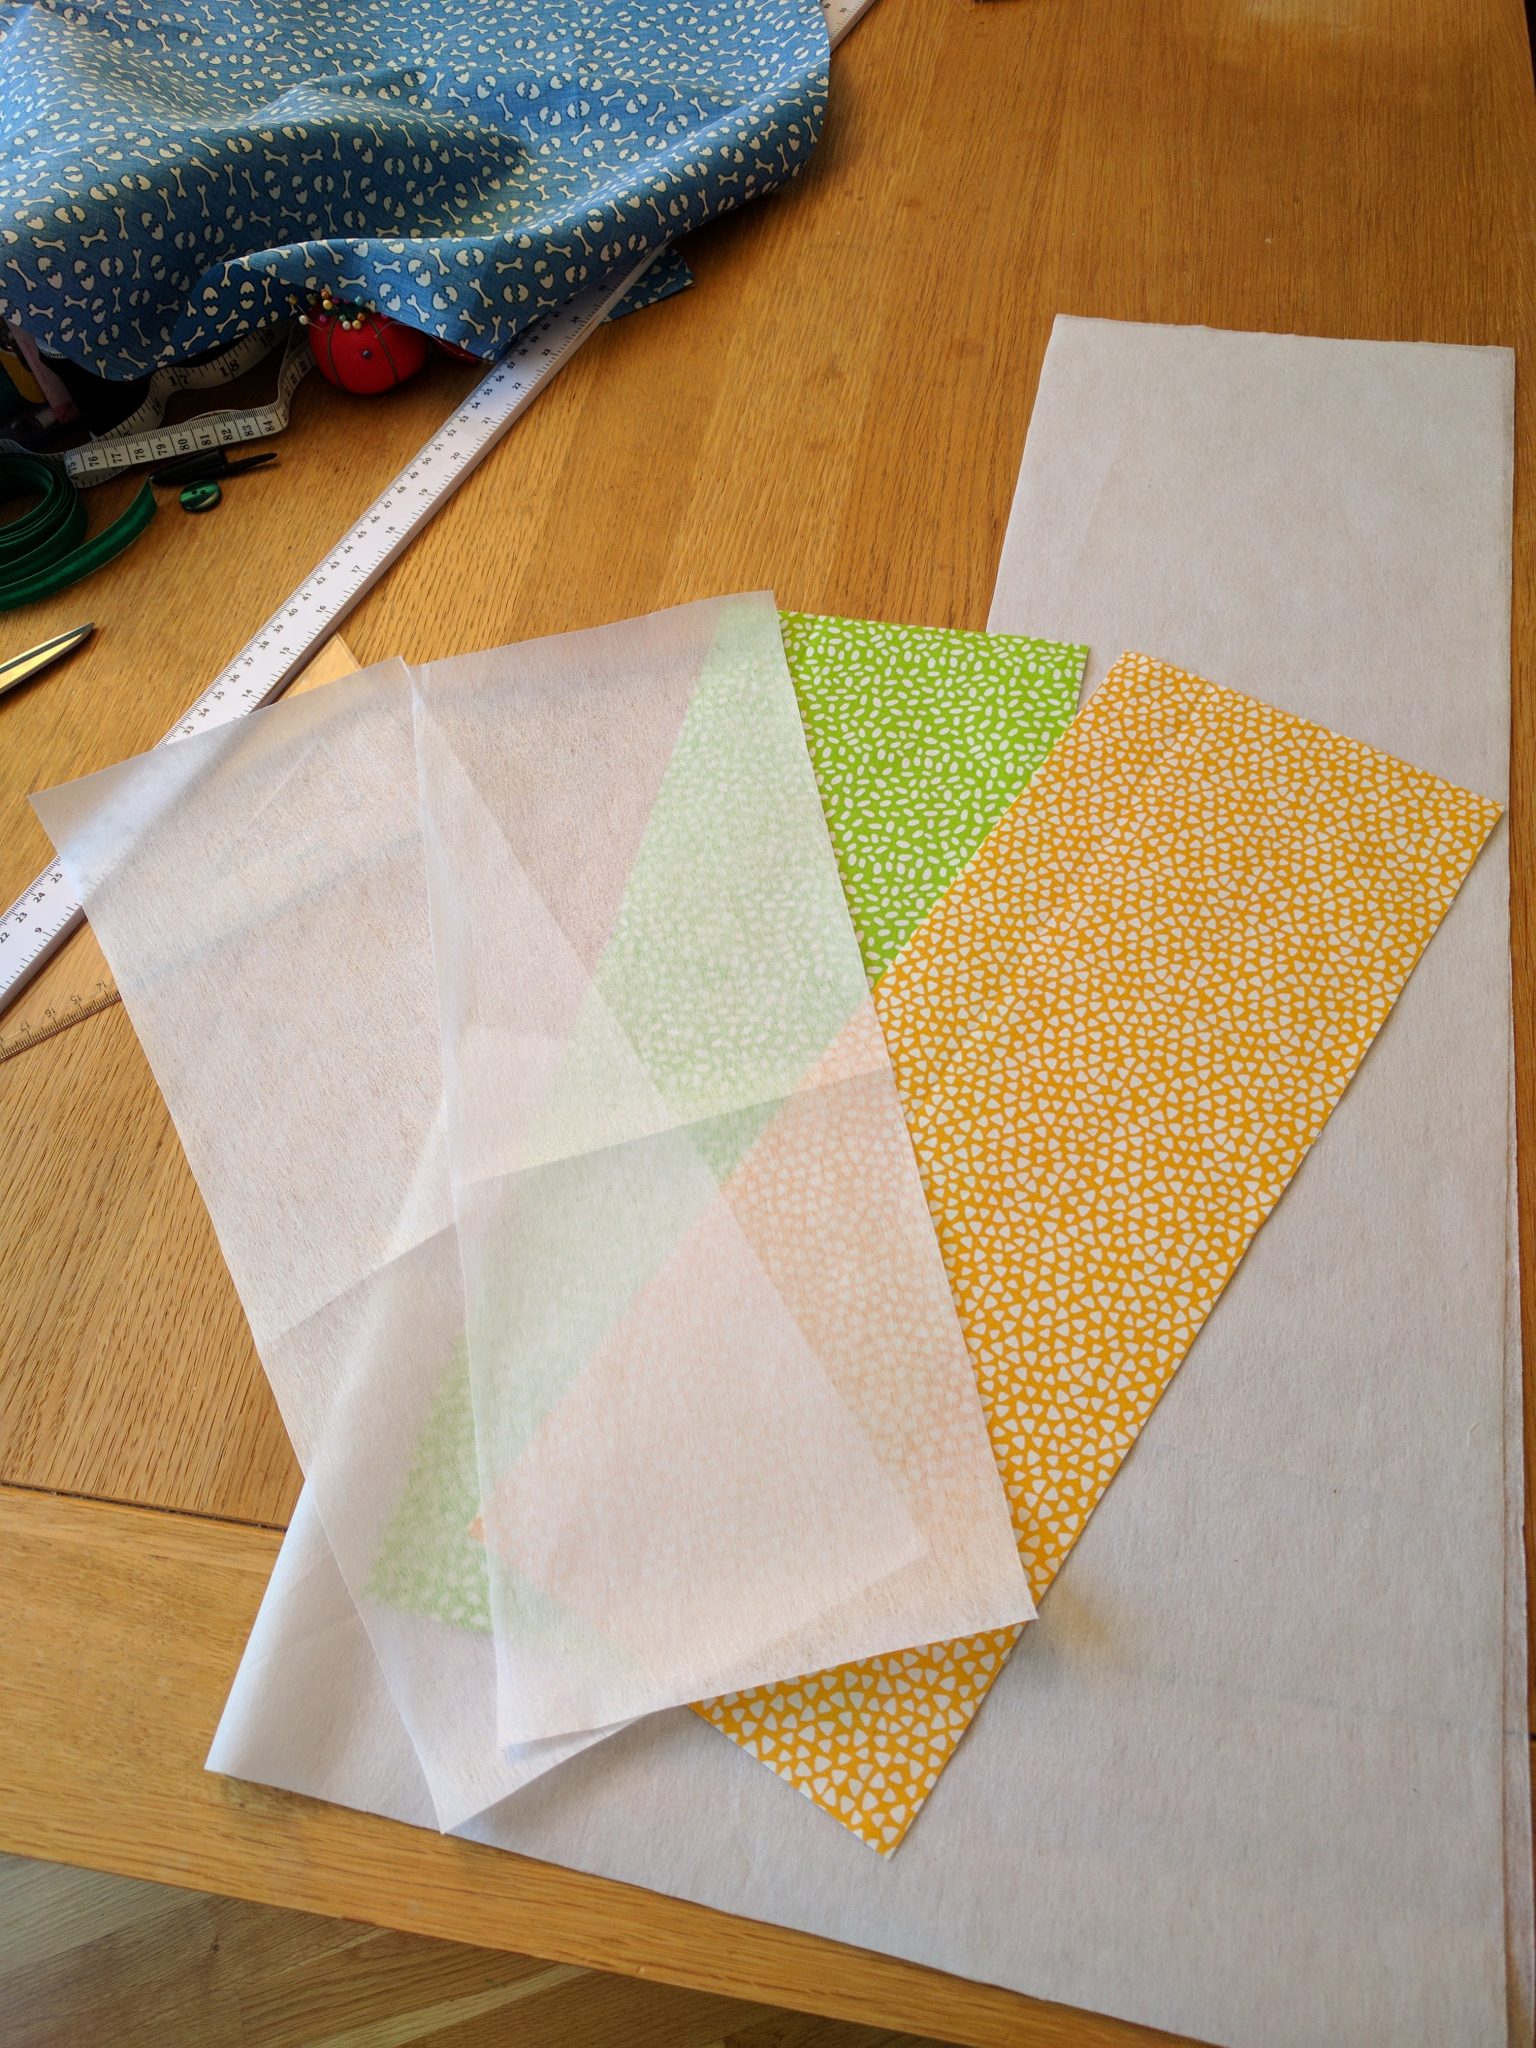
- A bundle of “fat quarters” in five different fabrics – I like these bundles of six from Hobbycraft
- 1m of medium-weight fusible interfacing
- 3m of 0.5inch (12mm) bias binding tape in a contrasting colour
- A 2cm button that matches the binding tape
- Thread in the same colour as the binding tape
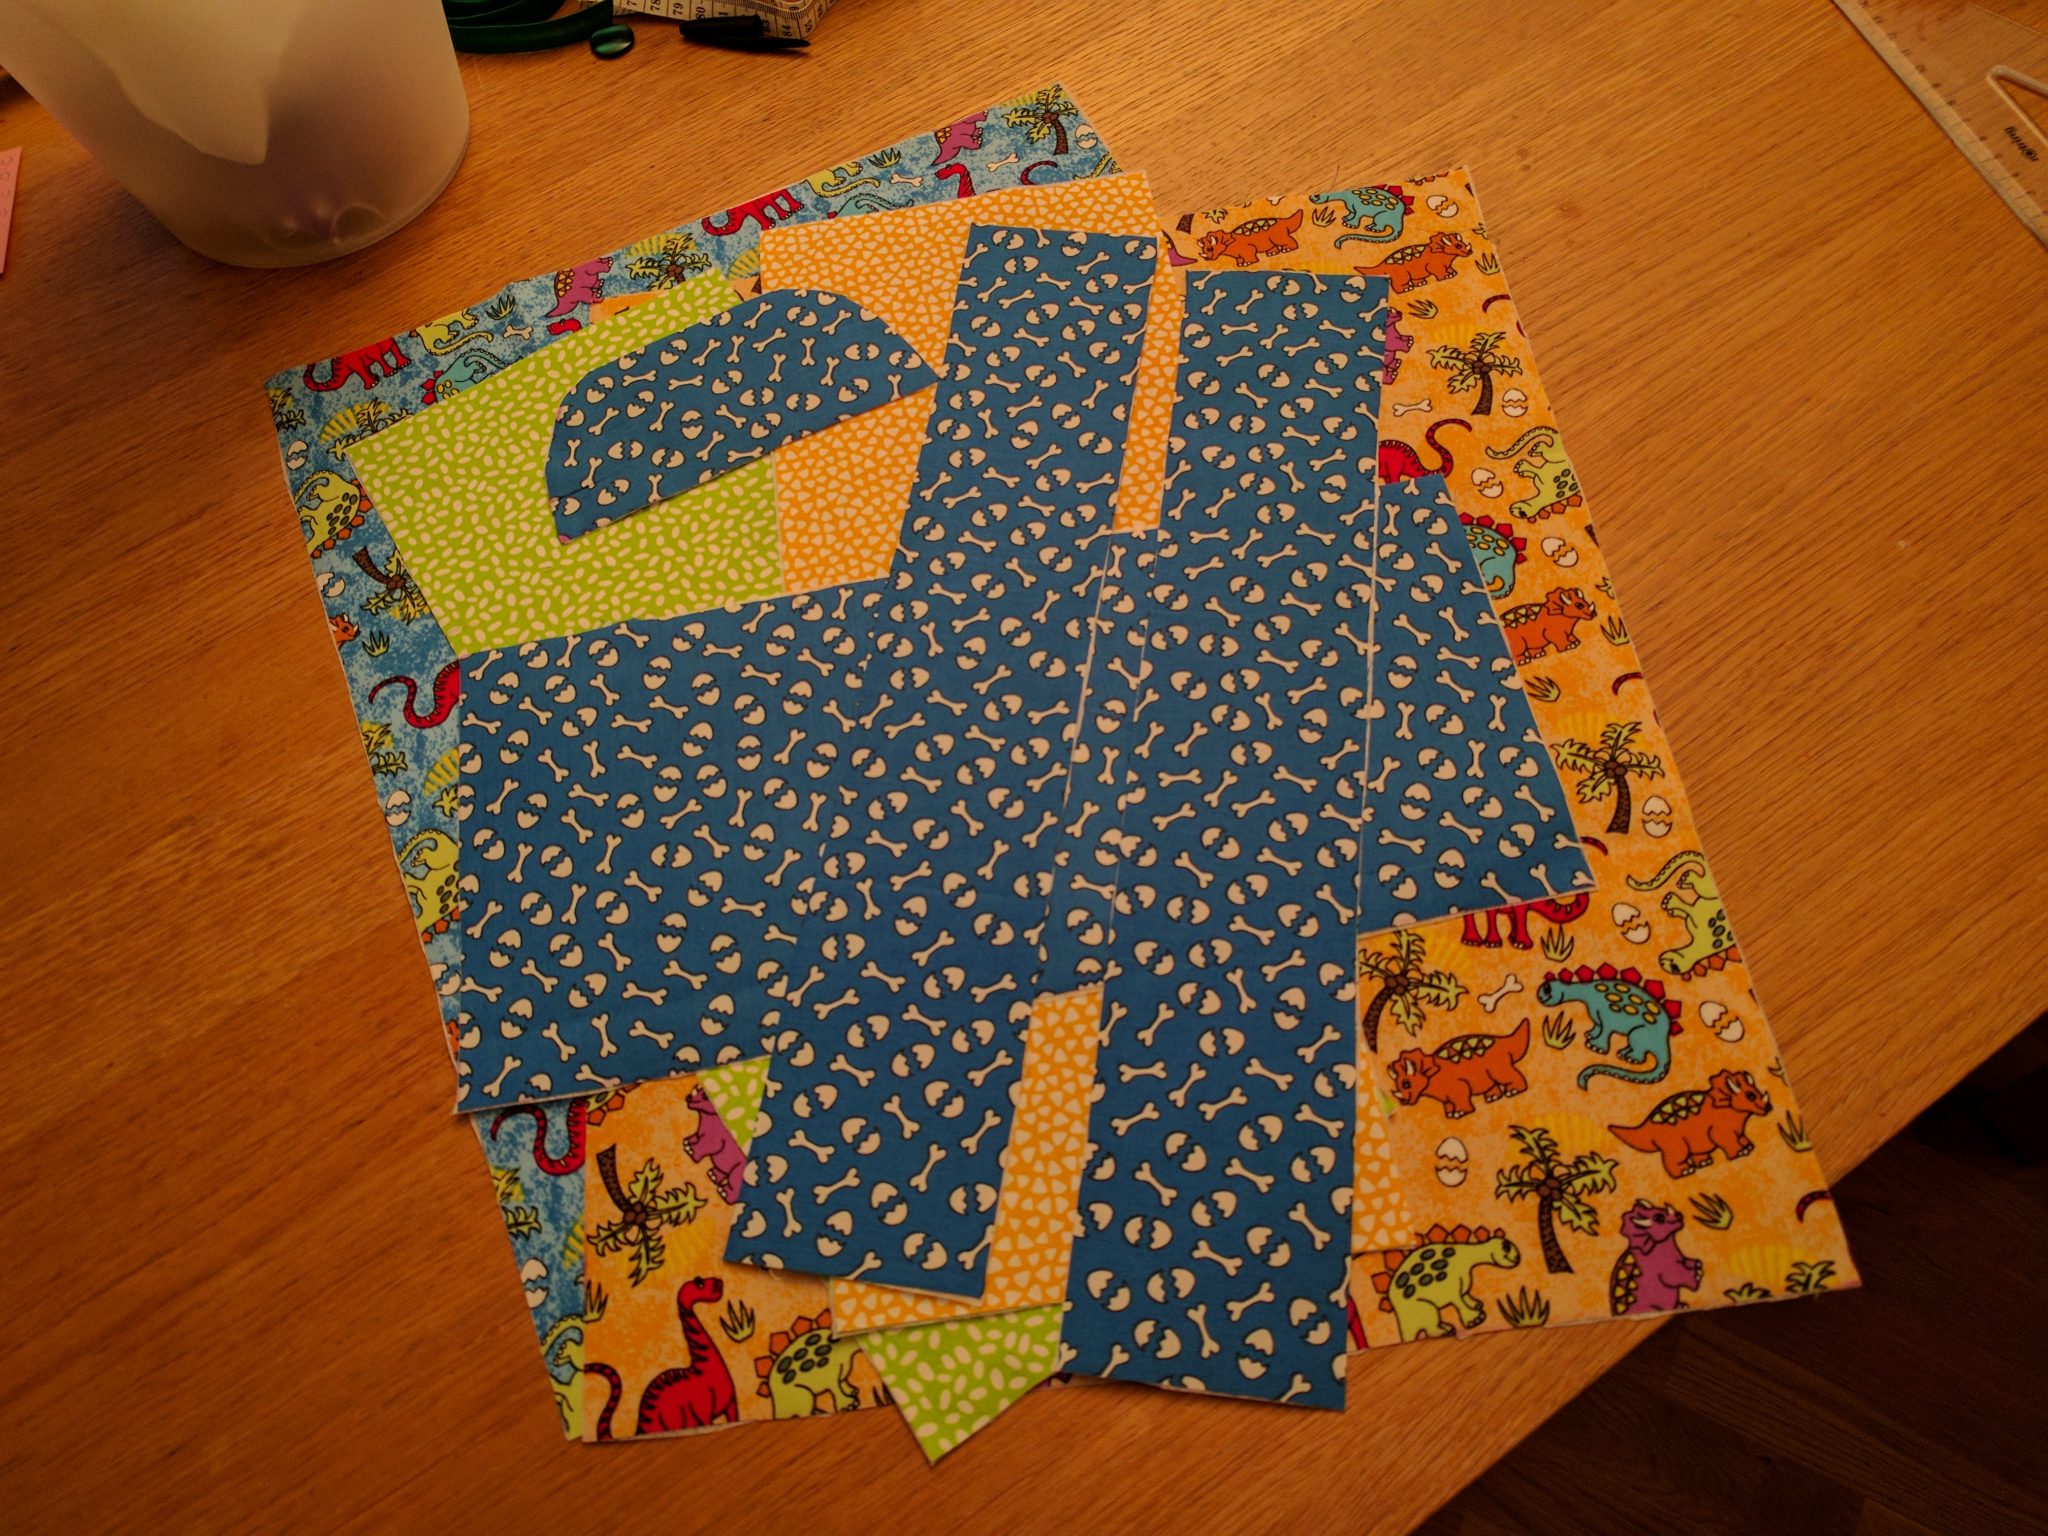
The cutting
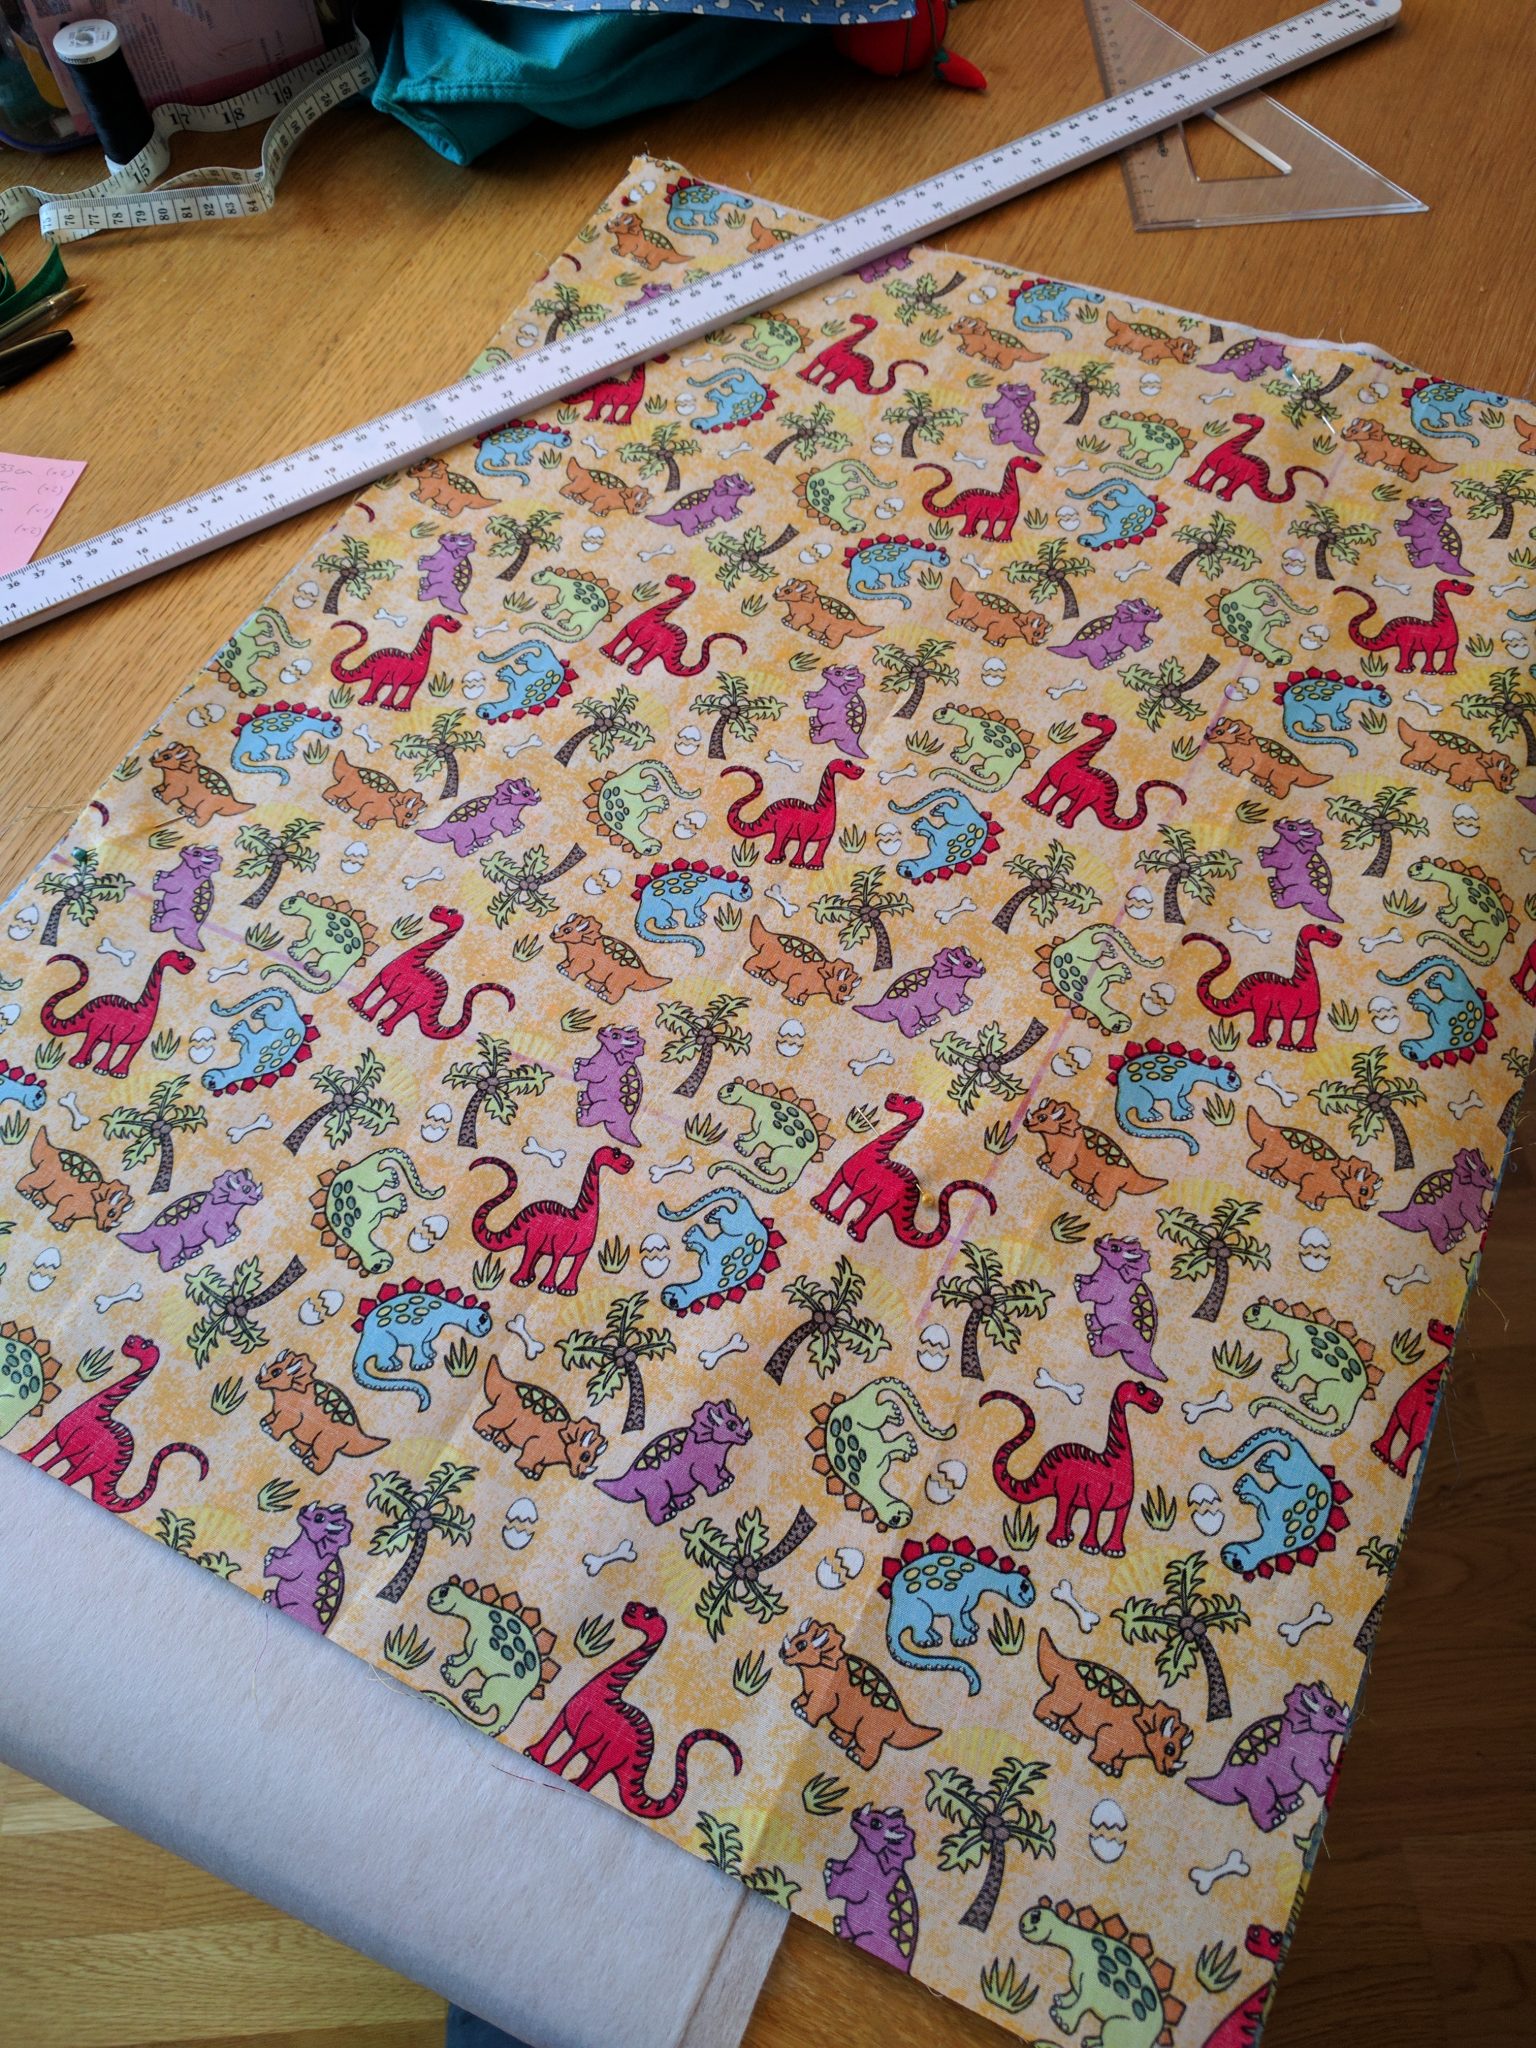
Front and back: 40x33cm

Front, back and interfacing
Sides: 40x15cm

Fabric pen comes out with soapy water
Handles: 38x7cm

Handles and interfacing
Base: 33x15cm. Flap: 7x14cm
Base, flap and interfacing
Cut yourself the following pieces:
Front and back: 40 x 33cm (1 each in the two most striking fabrics, plus 2x interfacing)
Side: 40 x 15cm (1 each in two contrasting fabrics, plus 2x interfacing)
Base: 33 x 15cm (1 in fabric you want to show when rolled up, plus 1x interfacing)
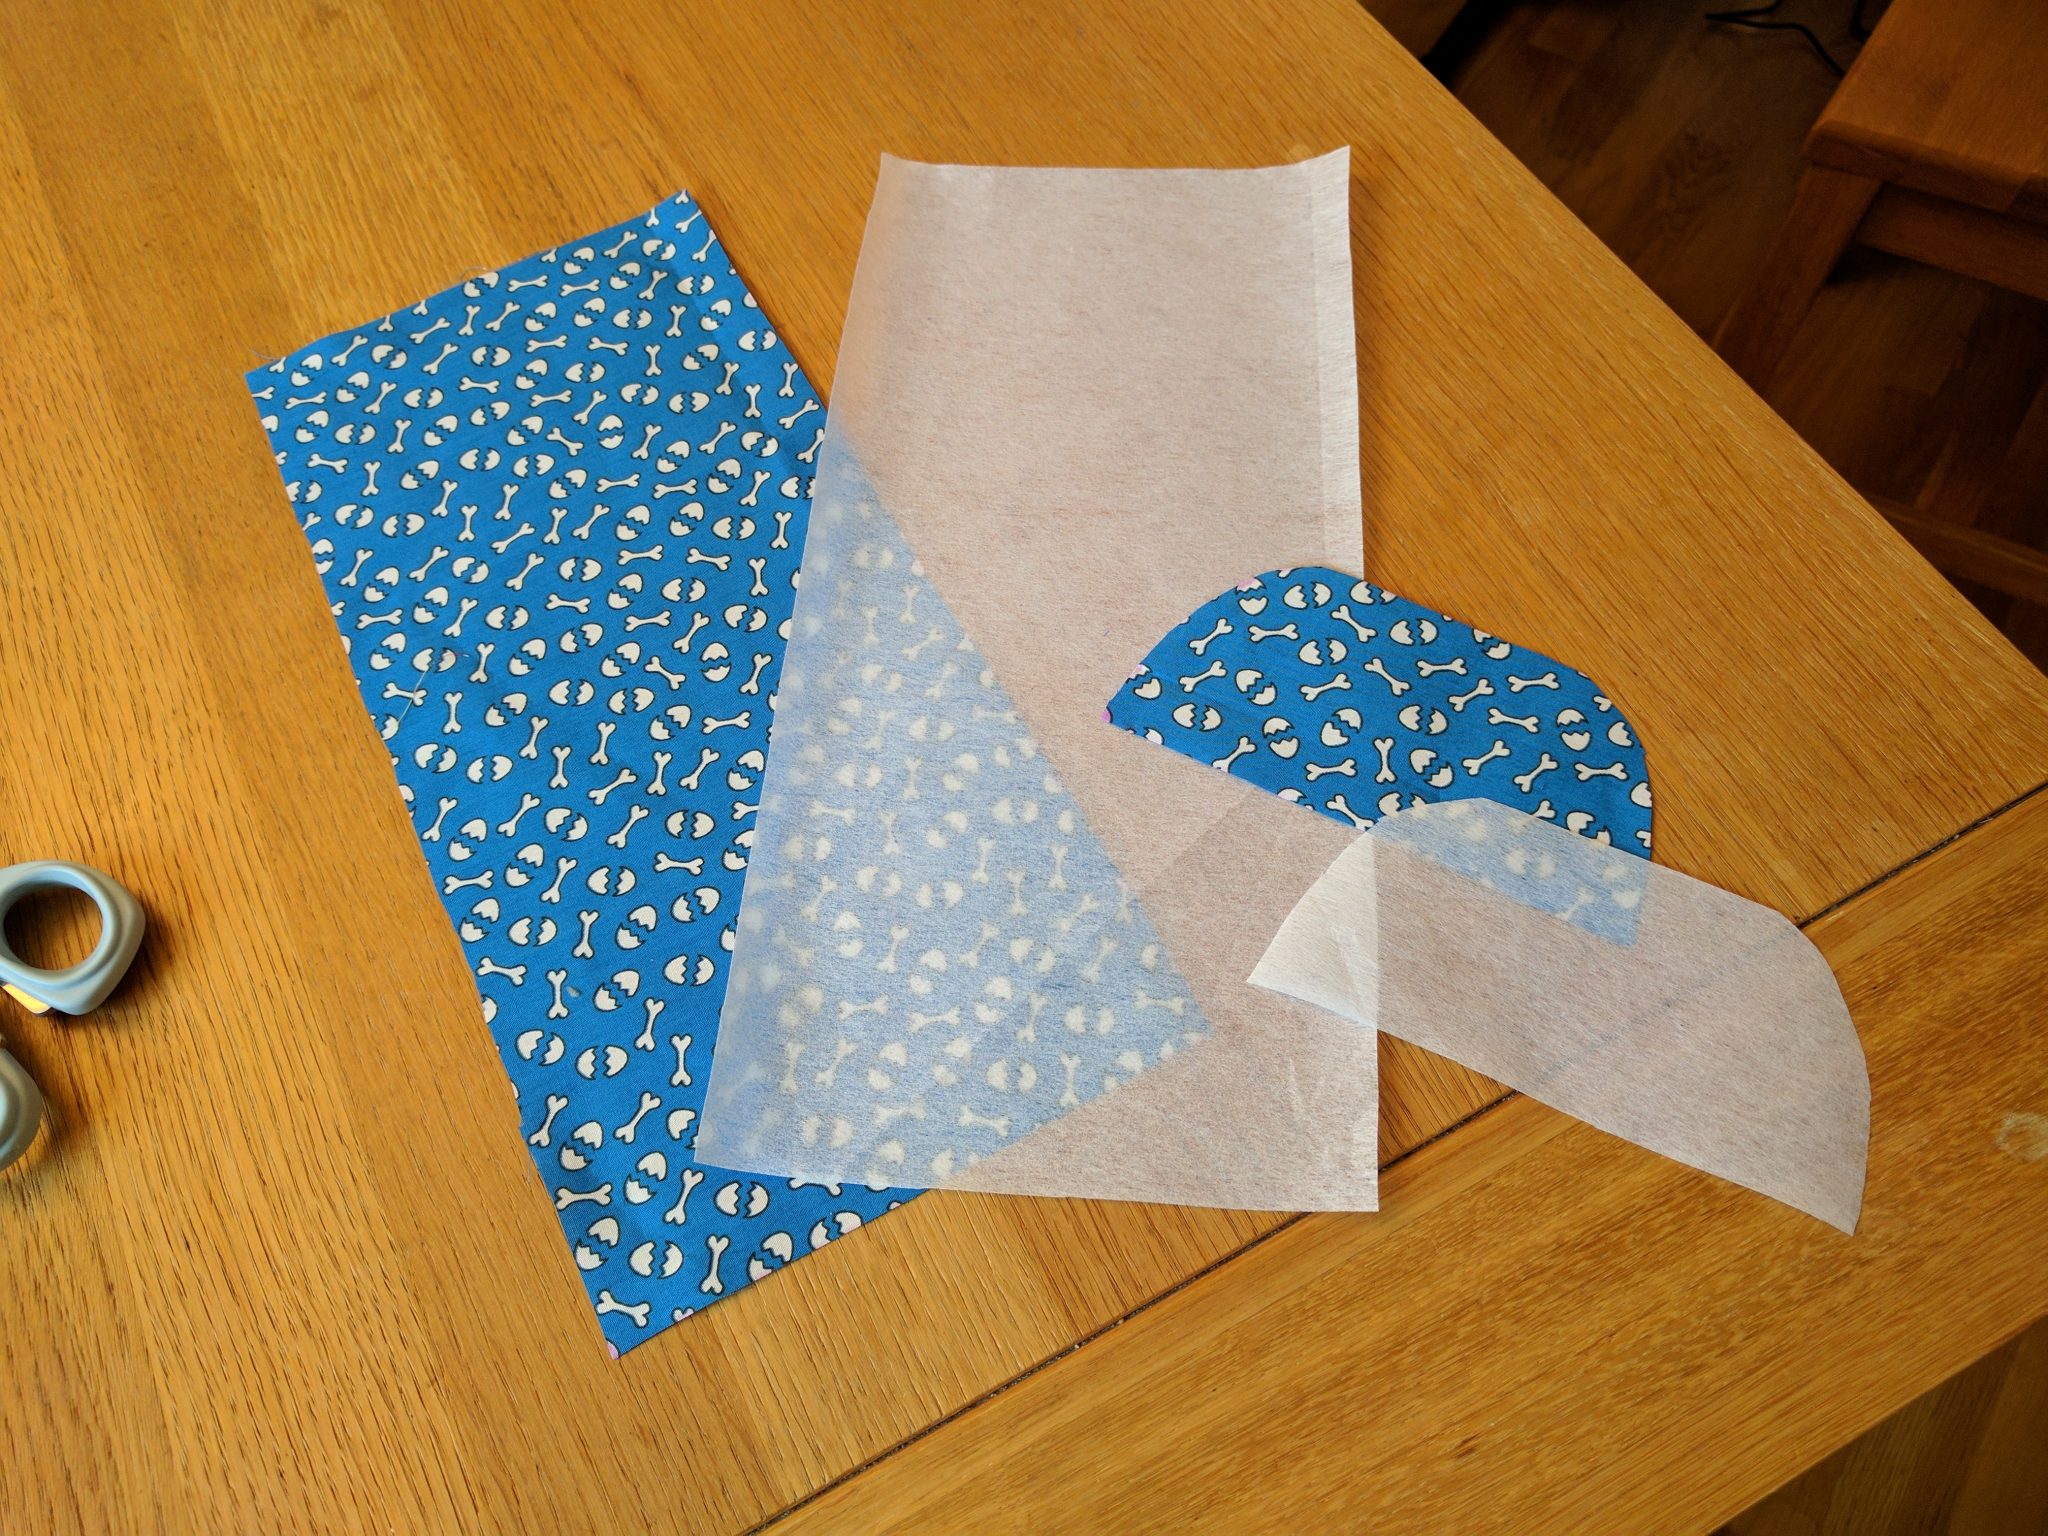
Flap: 14 x 7cm, with hand-drawn curve as in the picture (1 in same fabric as base, plus 1x interfacing)
Handles: 38 x 7cm (2x same fabric as base, plus 2x interfacing)
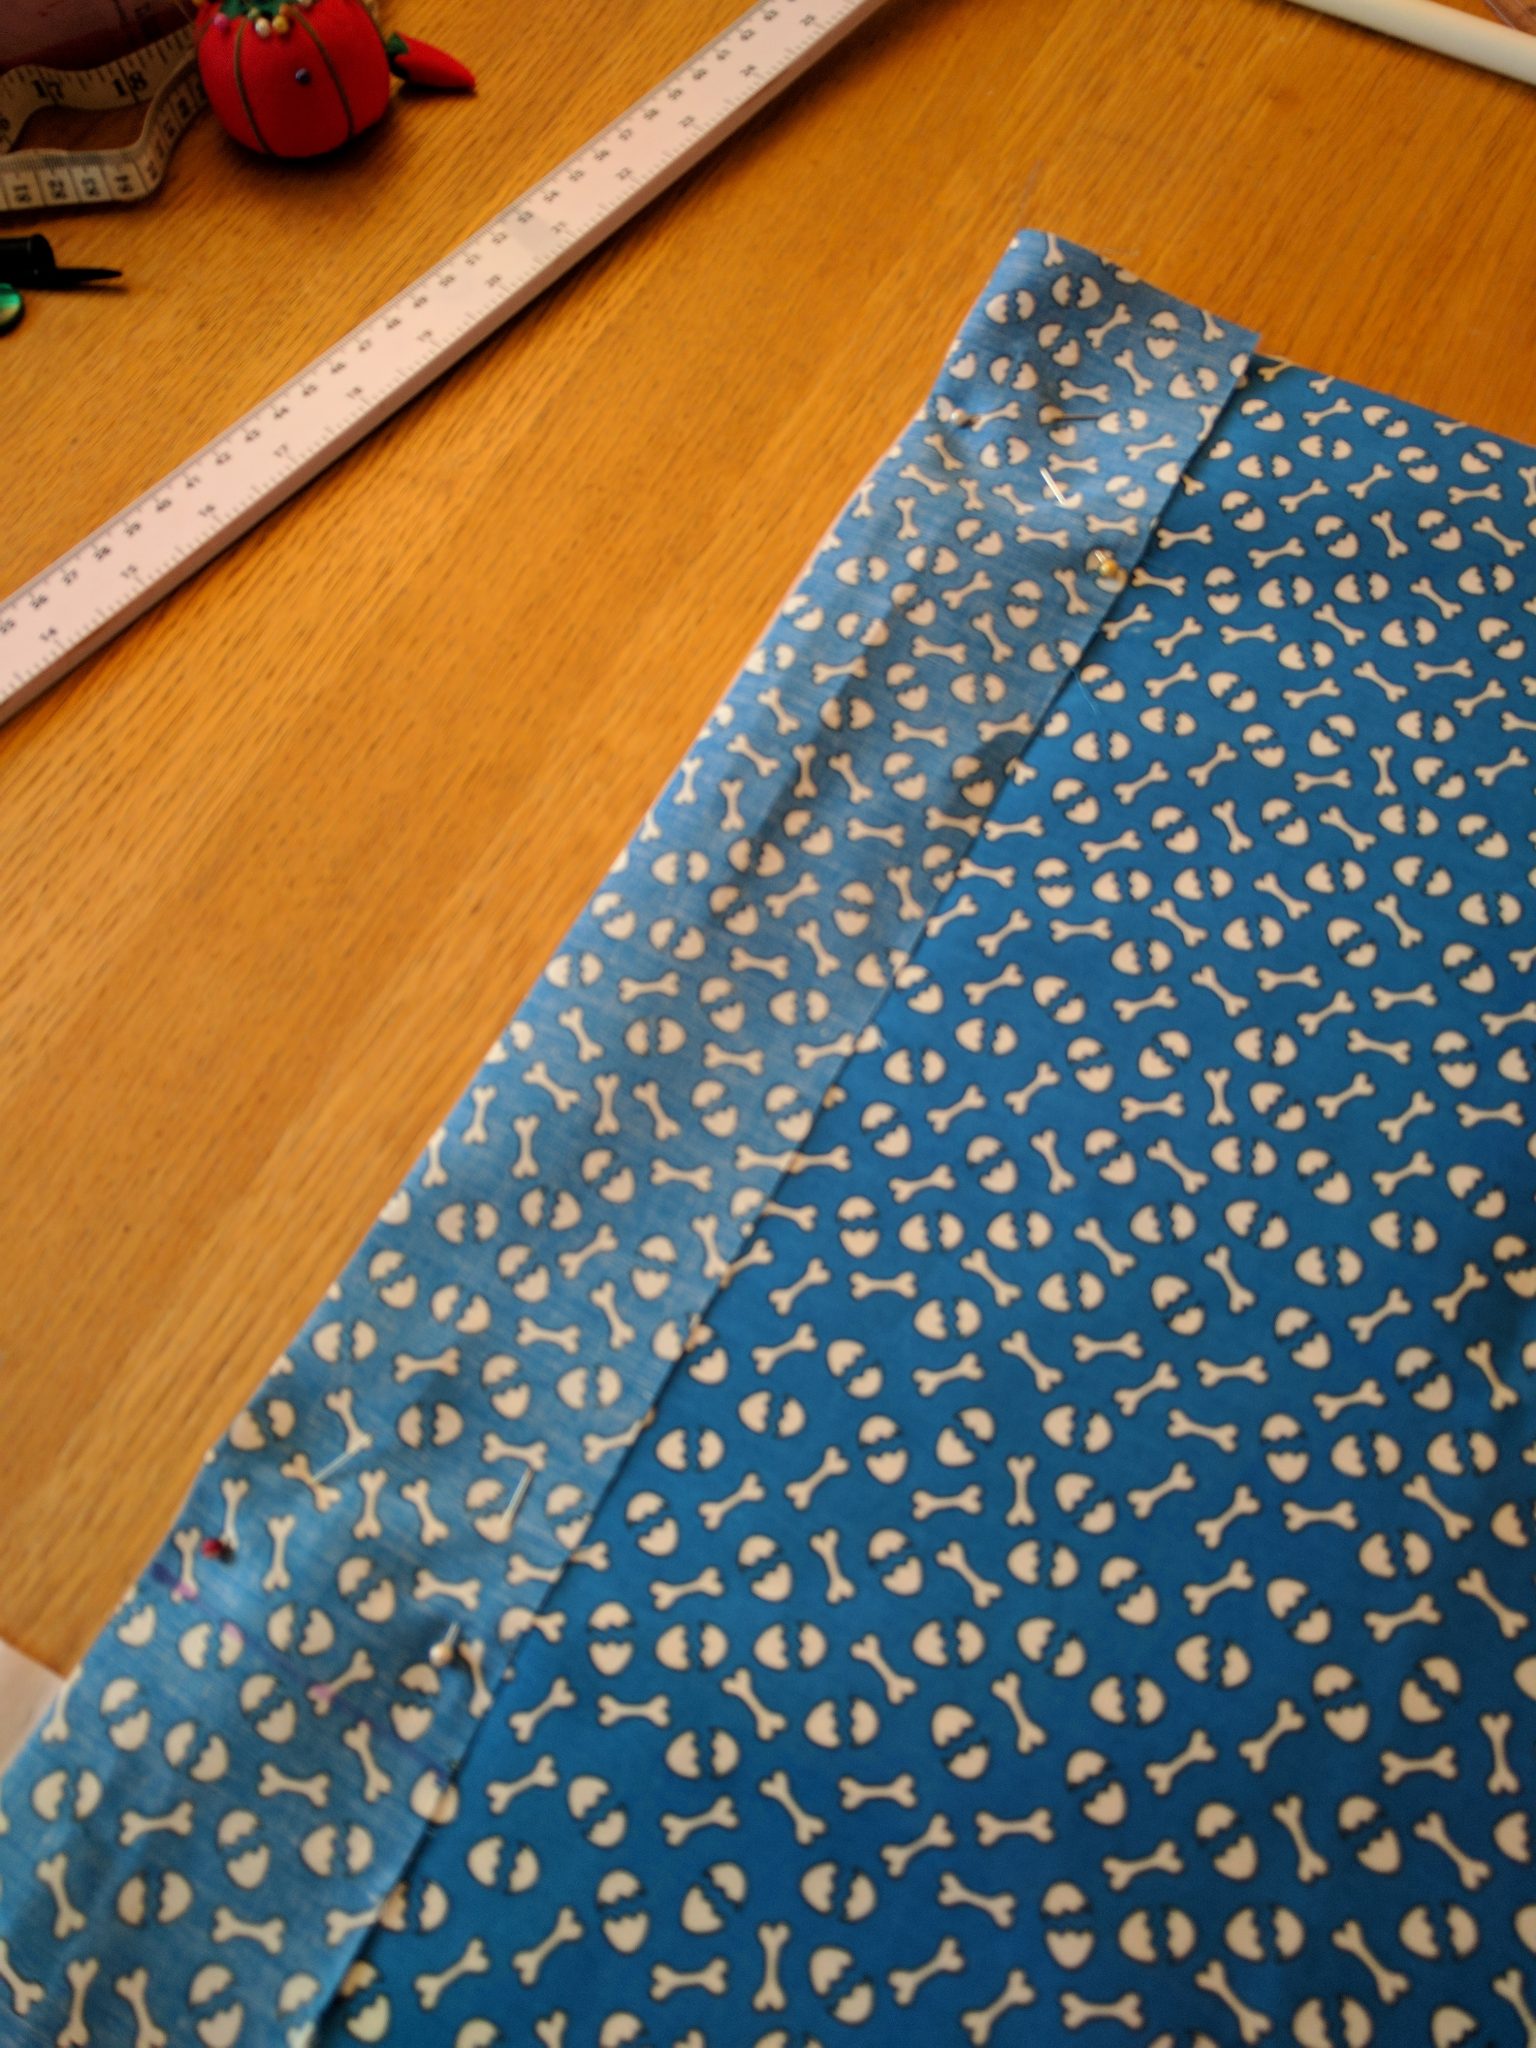
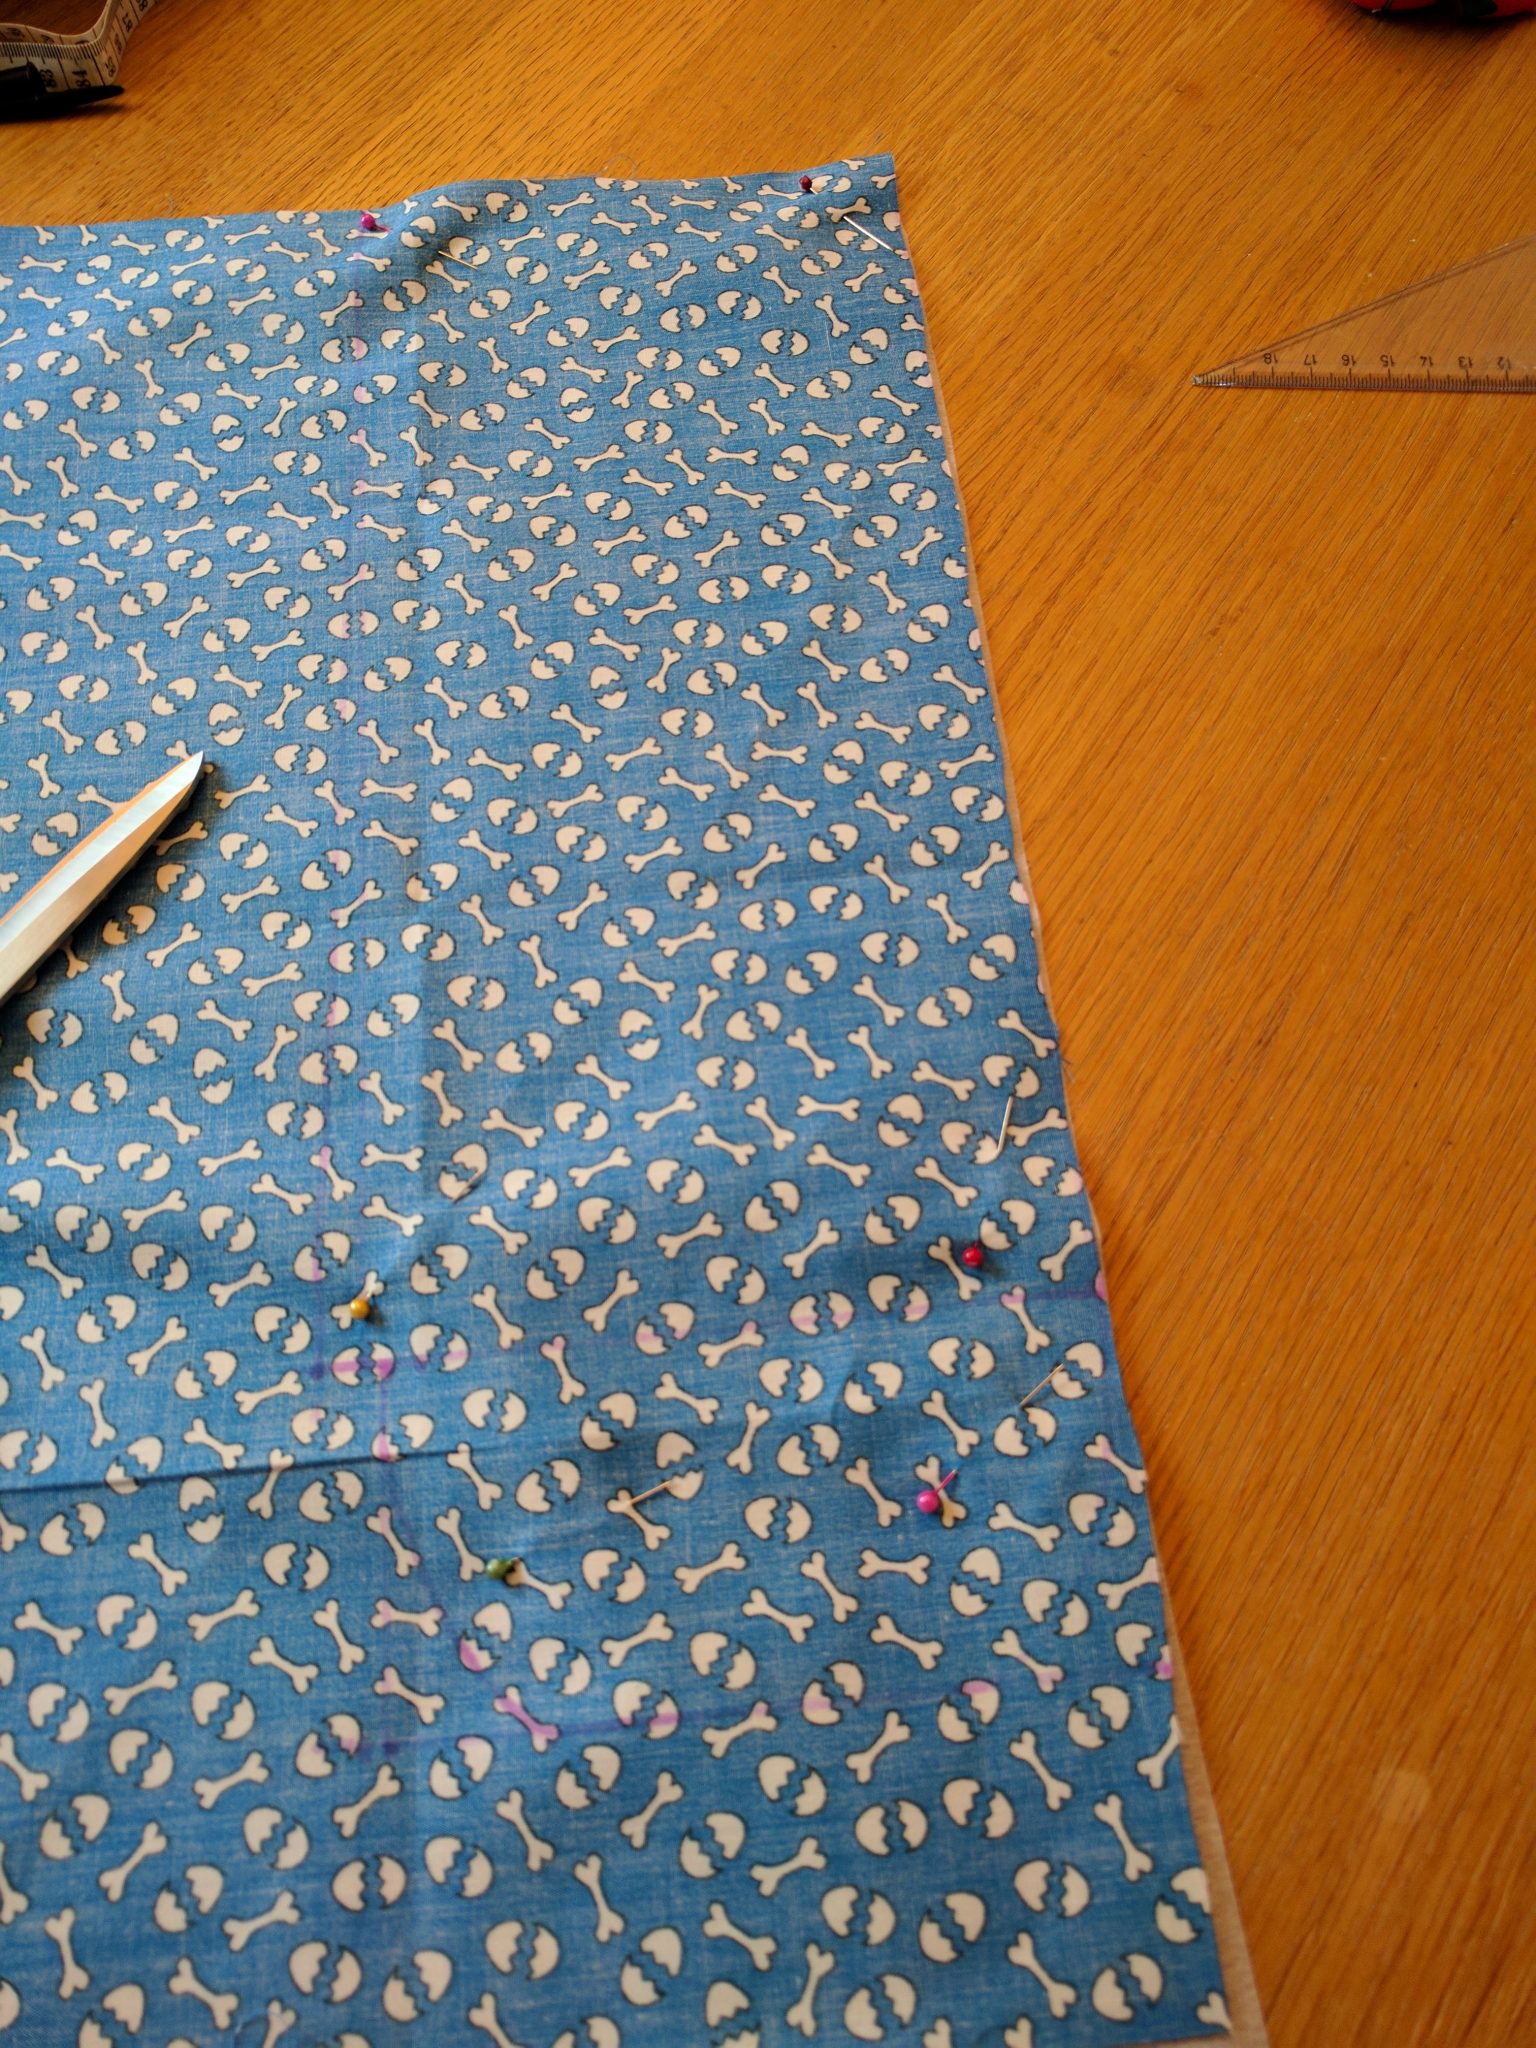
I like to cheat a little here and pin all the fabrics in the same shape together so they can be cut in one go. For the handles, folding the fabric over by 7cm gives me the chance to cut two pieces at the same time. See the pictures for examples.
I like to use a washable fabric pen to mark my fabric. If you make mistakes or you need to wash it out of light coloured fabrics, you can just use regular hand soap.
Preparing the pieces
Fusing the interfacing
All the pieces interfaced

Optional overlocking
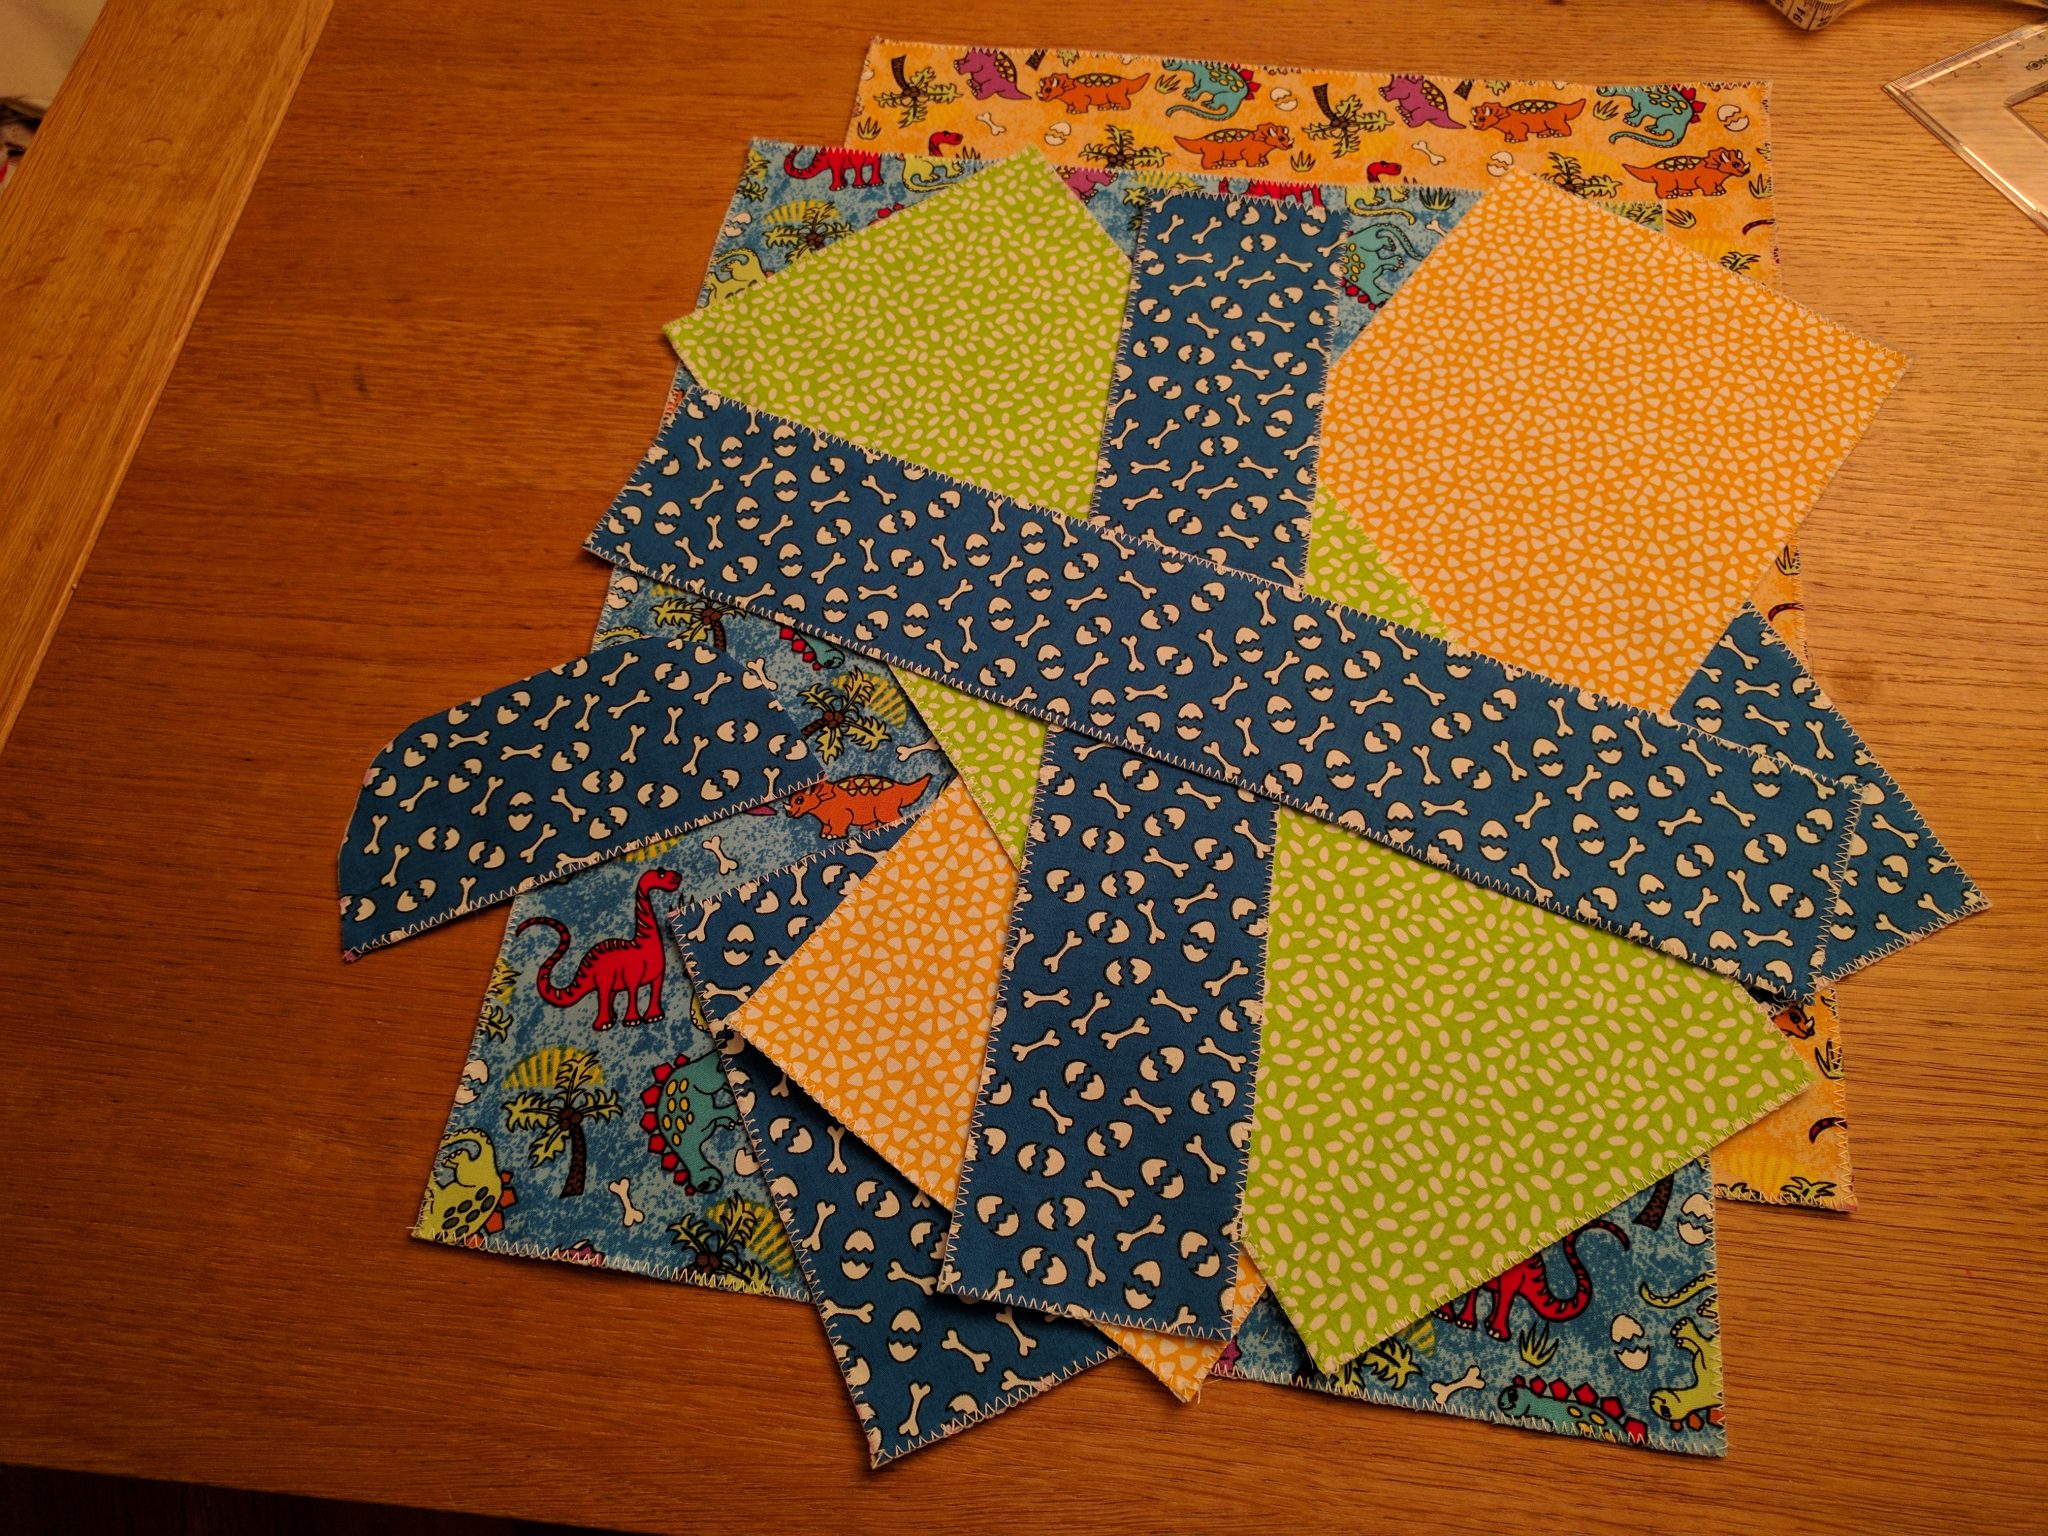
Now your pieces are prepared
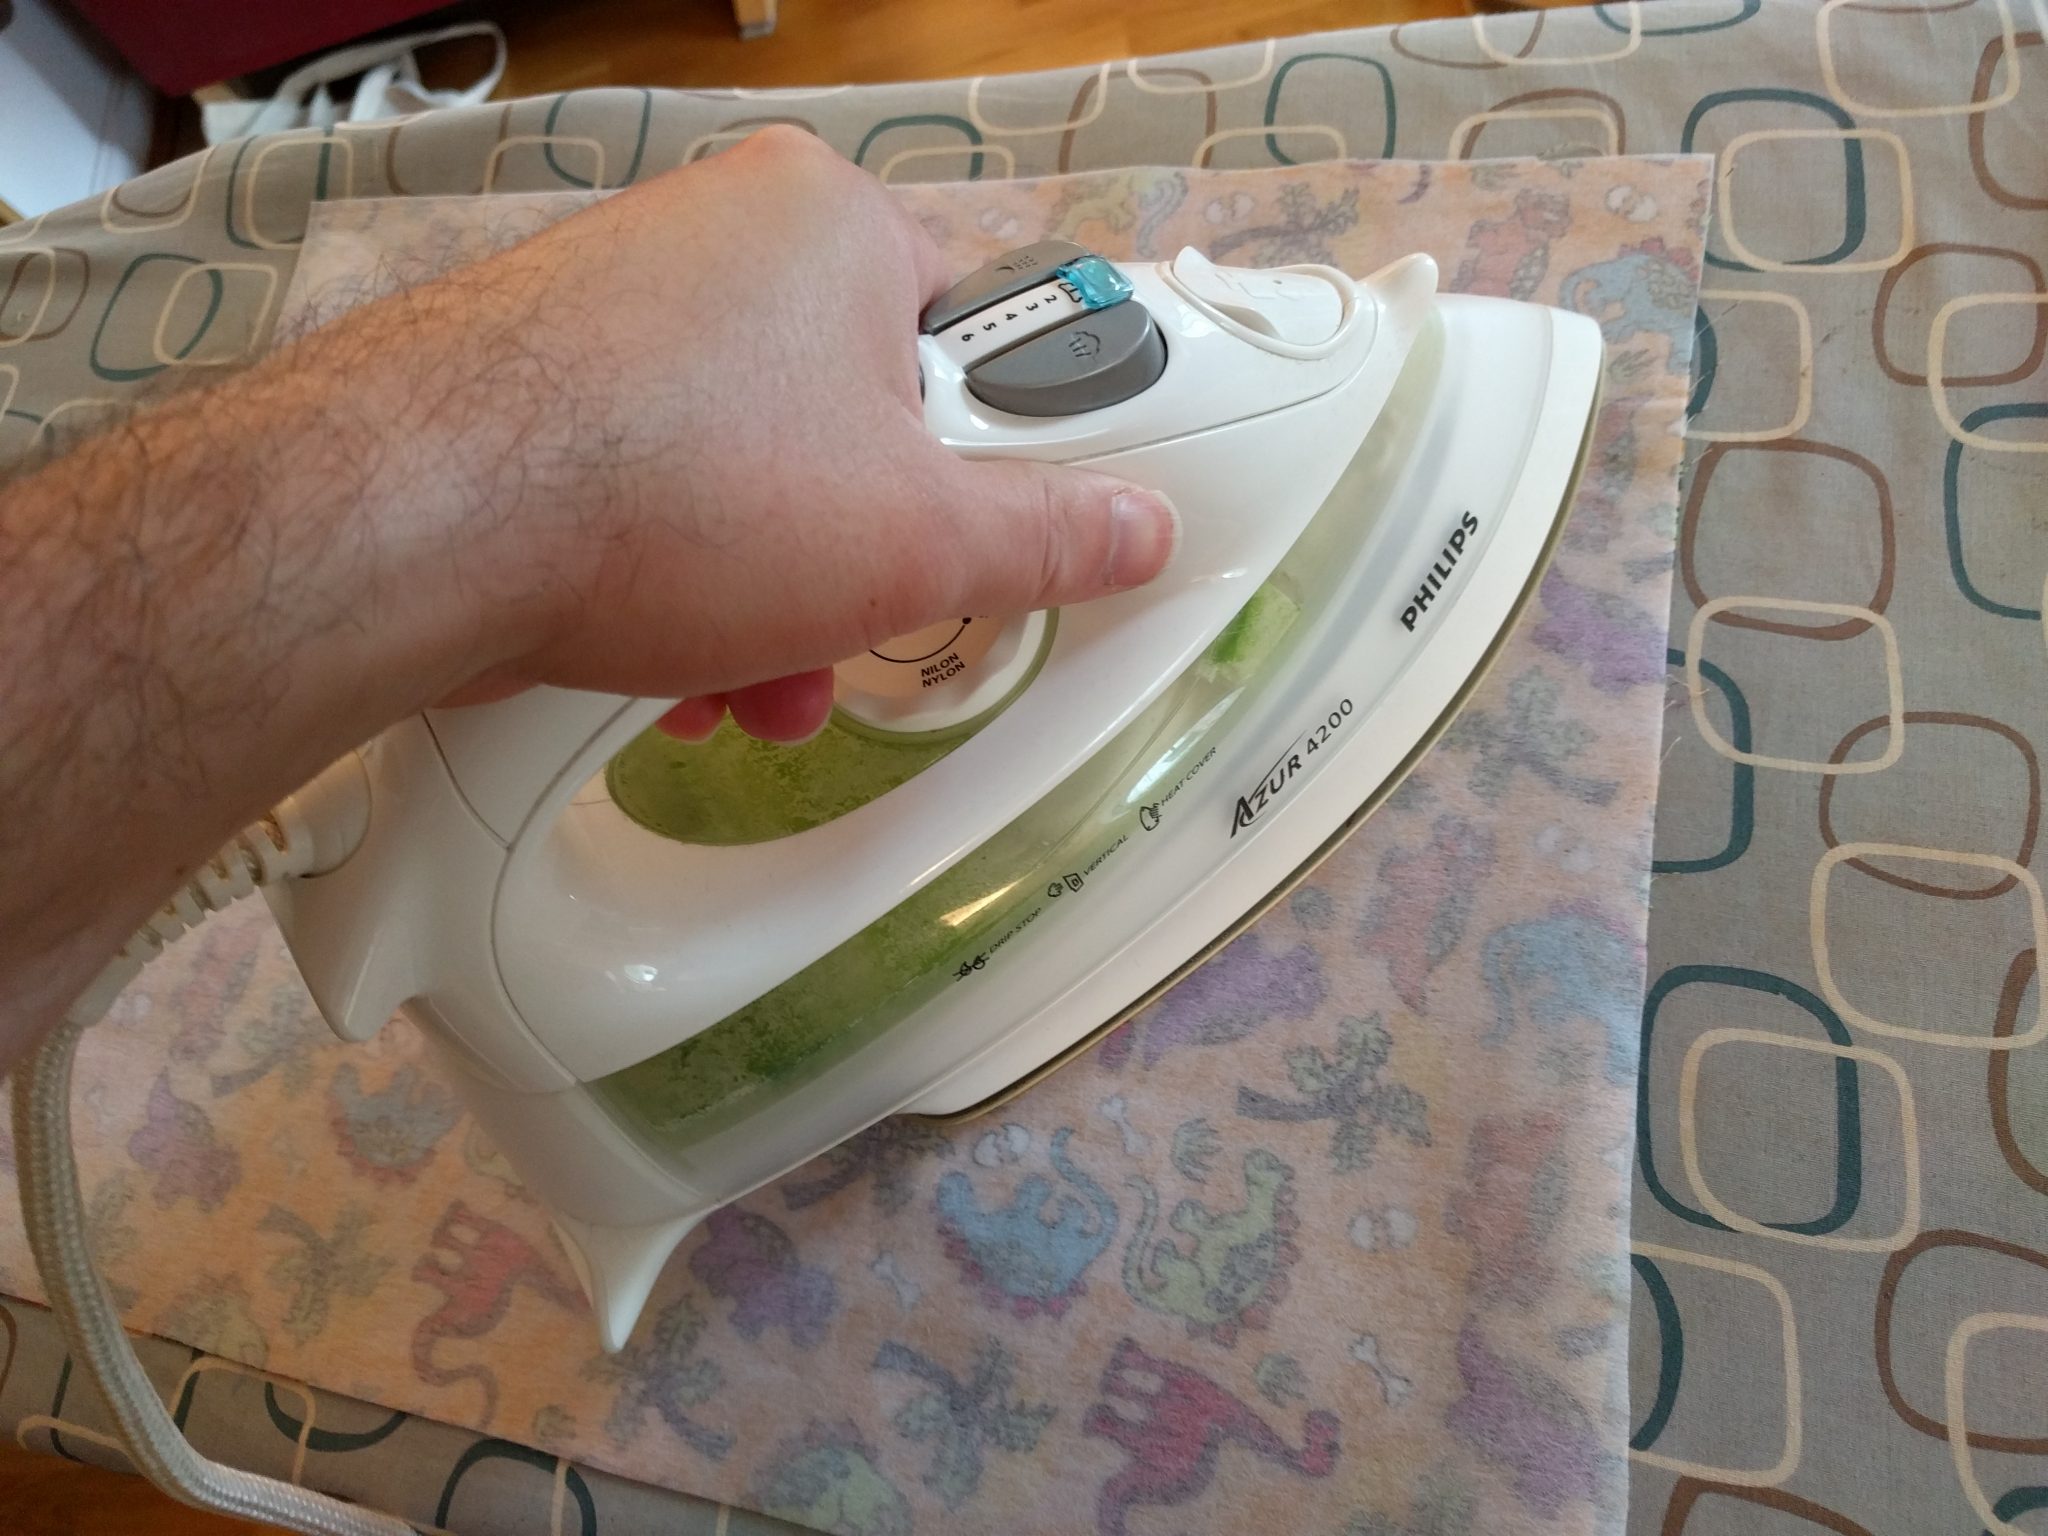
Each piece of fabric will have a corresponding piece of interfacing. Fuse the interfacing according to your haberdasher’s instructions (in my case it’s a few seconds’ press with a medium iron, no steam).
Optionally, if you own an overlocking foot you can overlock all the pieces now to keep the edges from fraying while you build the bag. This uses a lot of thread, so it’s best done with cheap white thread instead of wasting your valuable colours. Don’t bother overlocking the curved edge, because we’re going to bind that one right away.
Hems and the flap
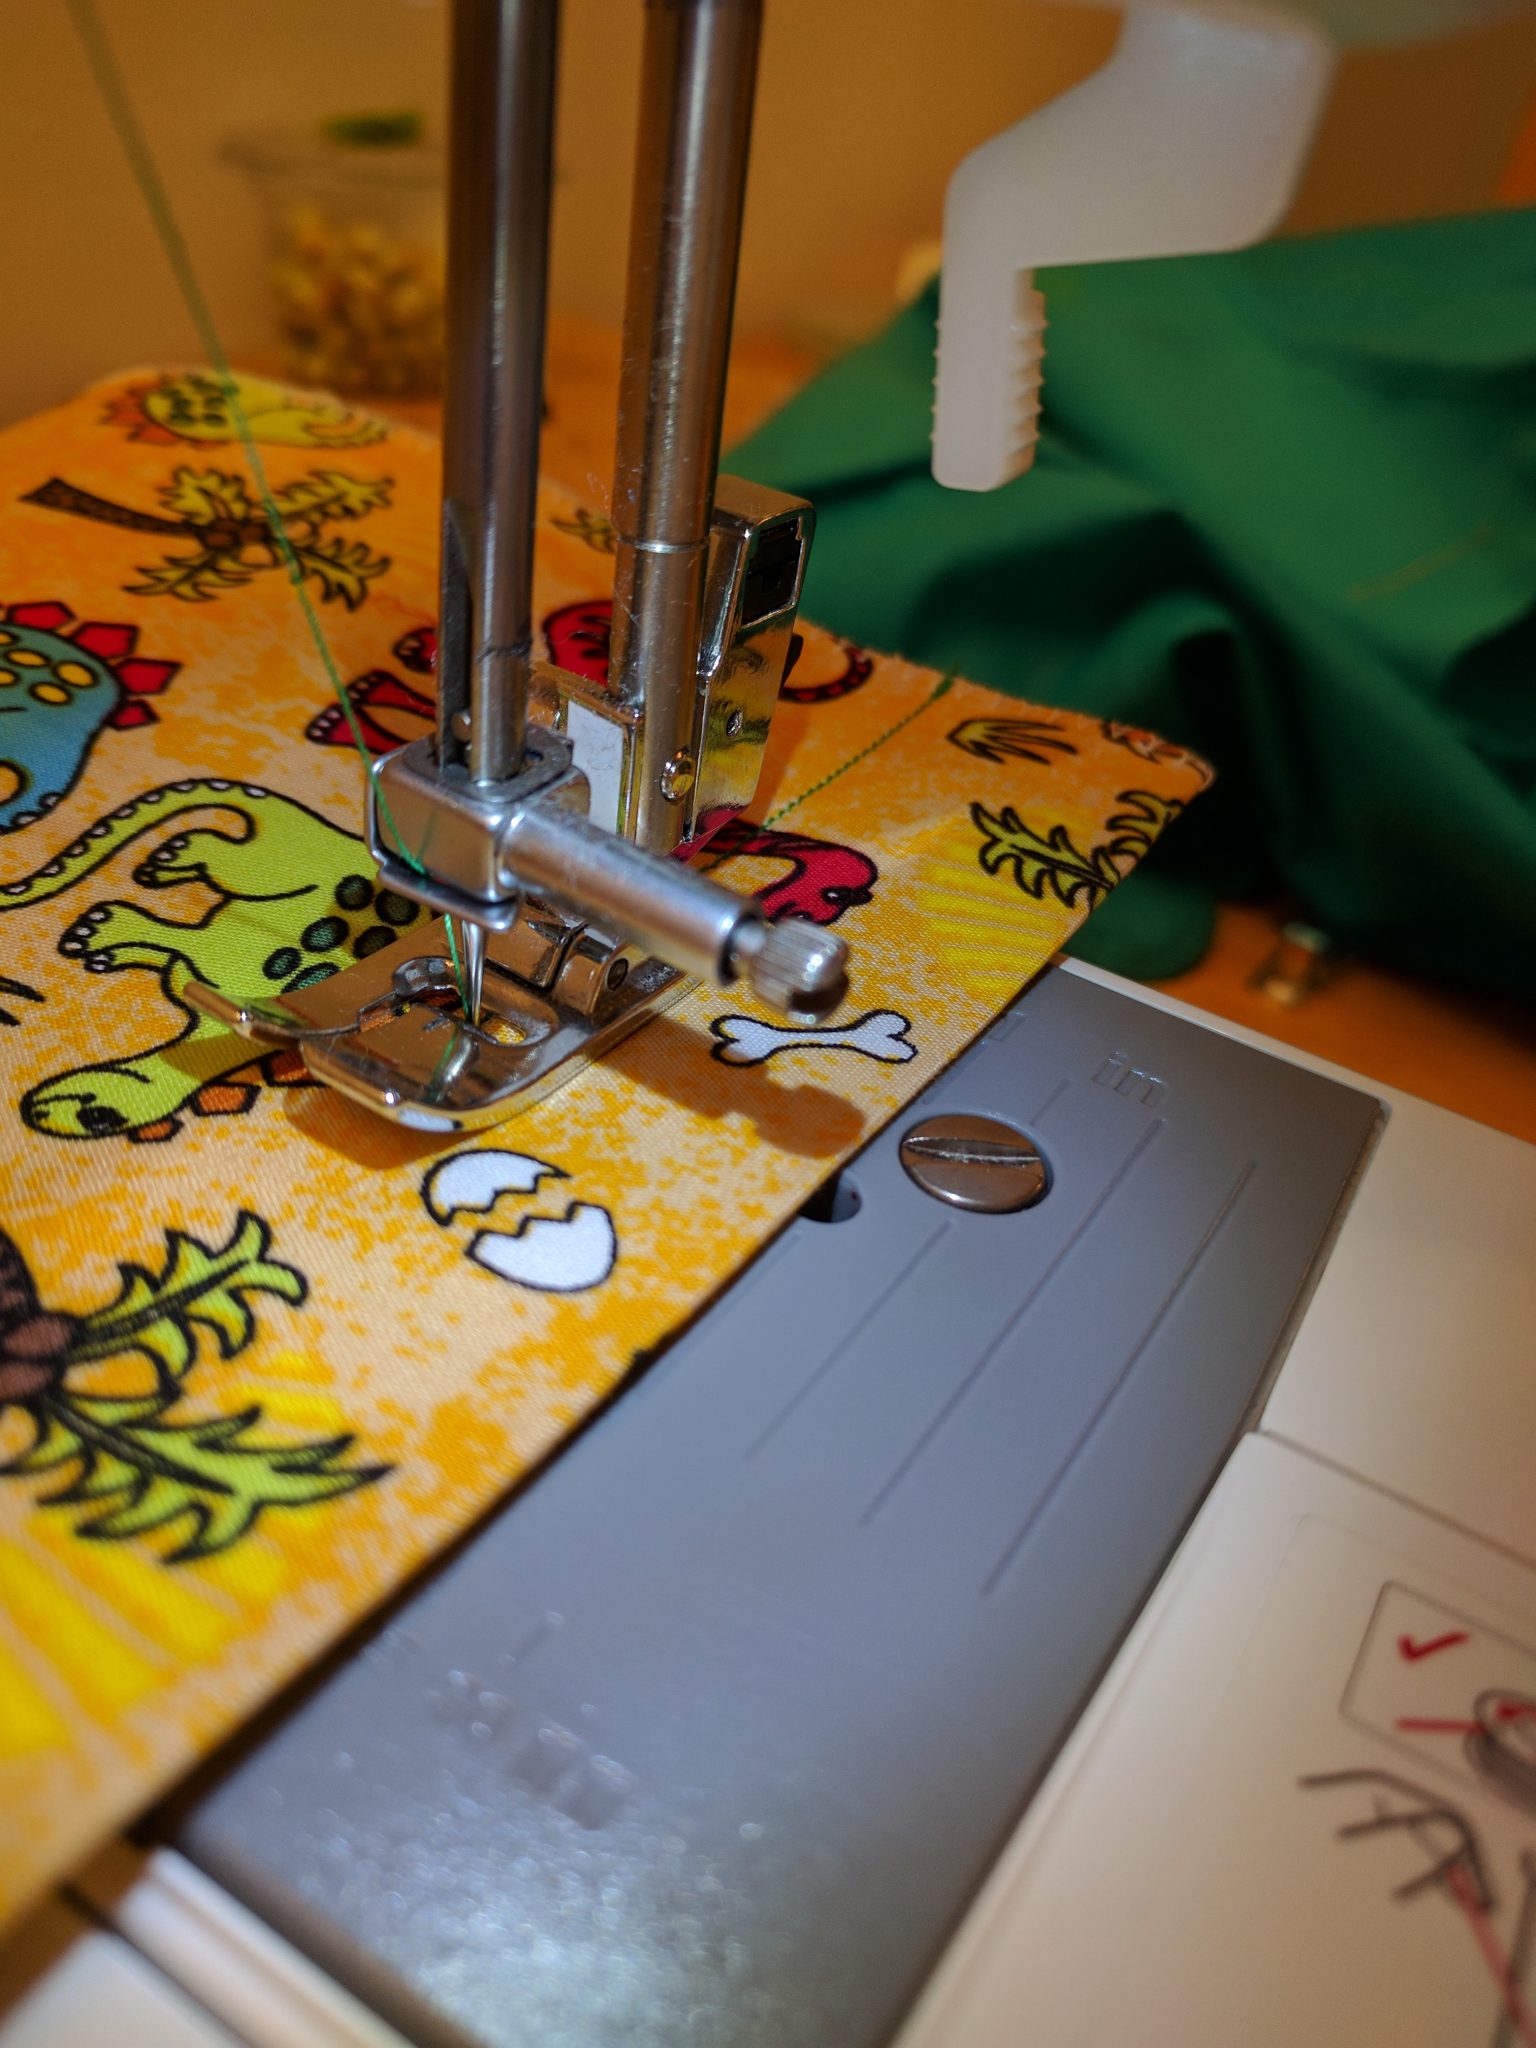
Hemming the tops
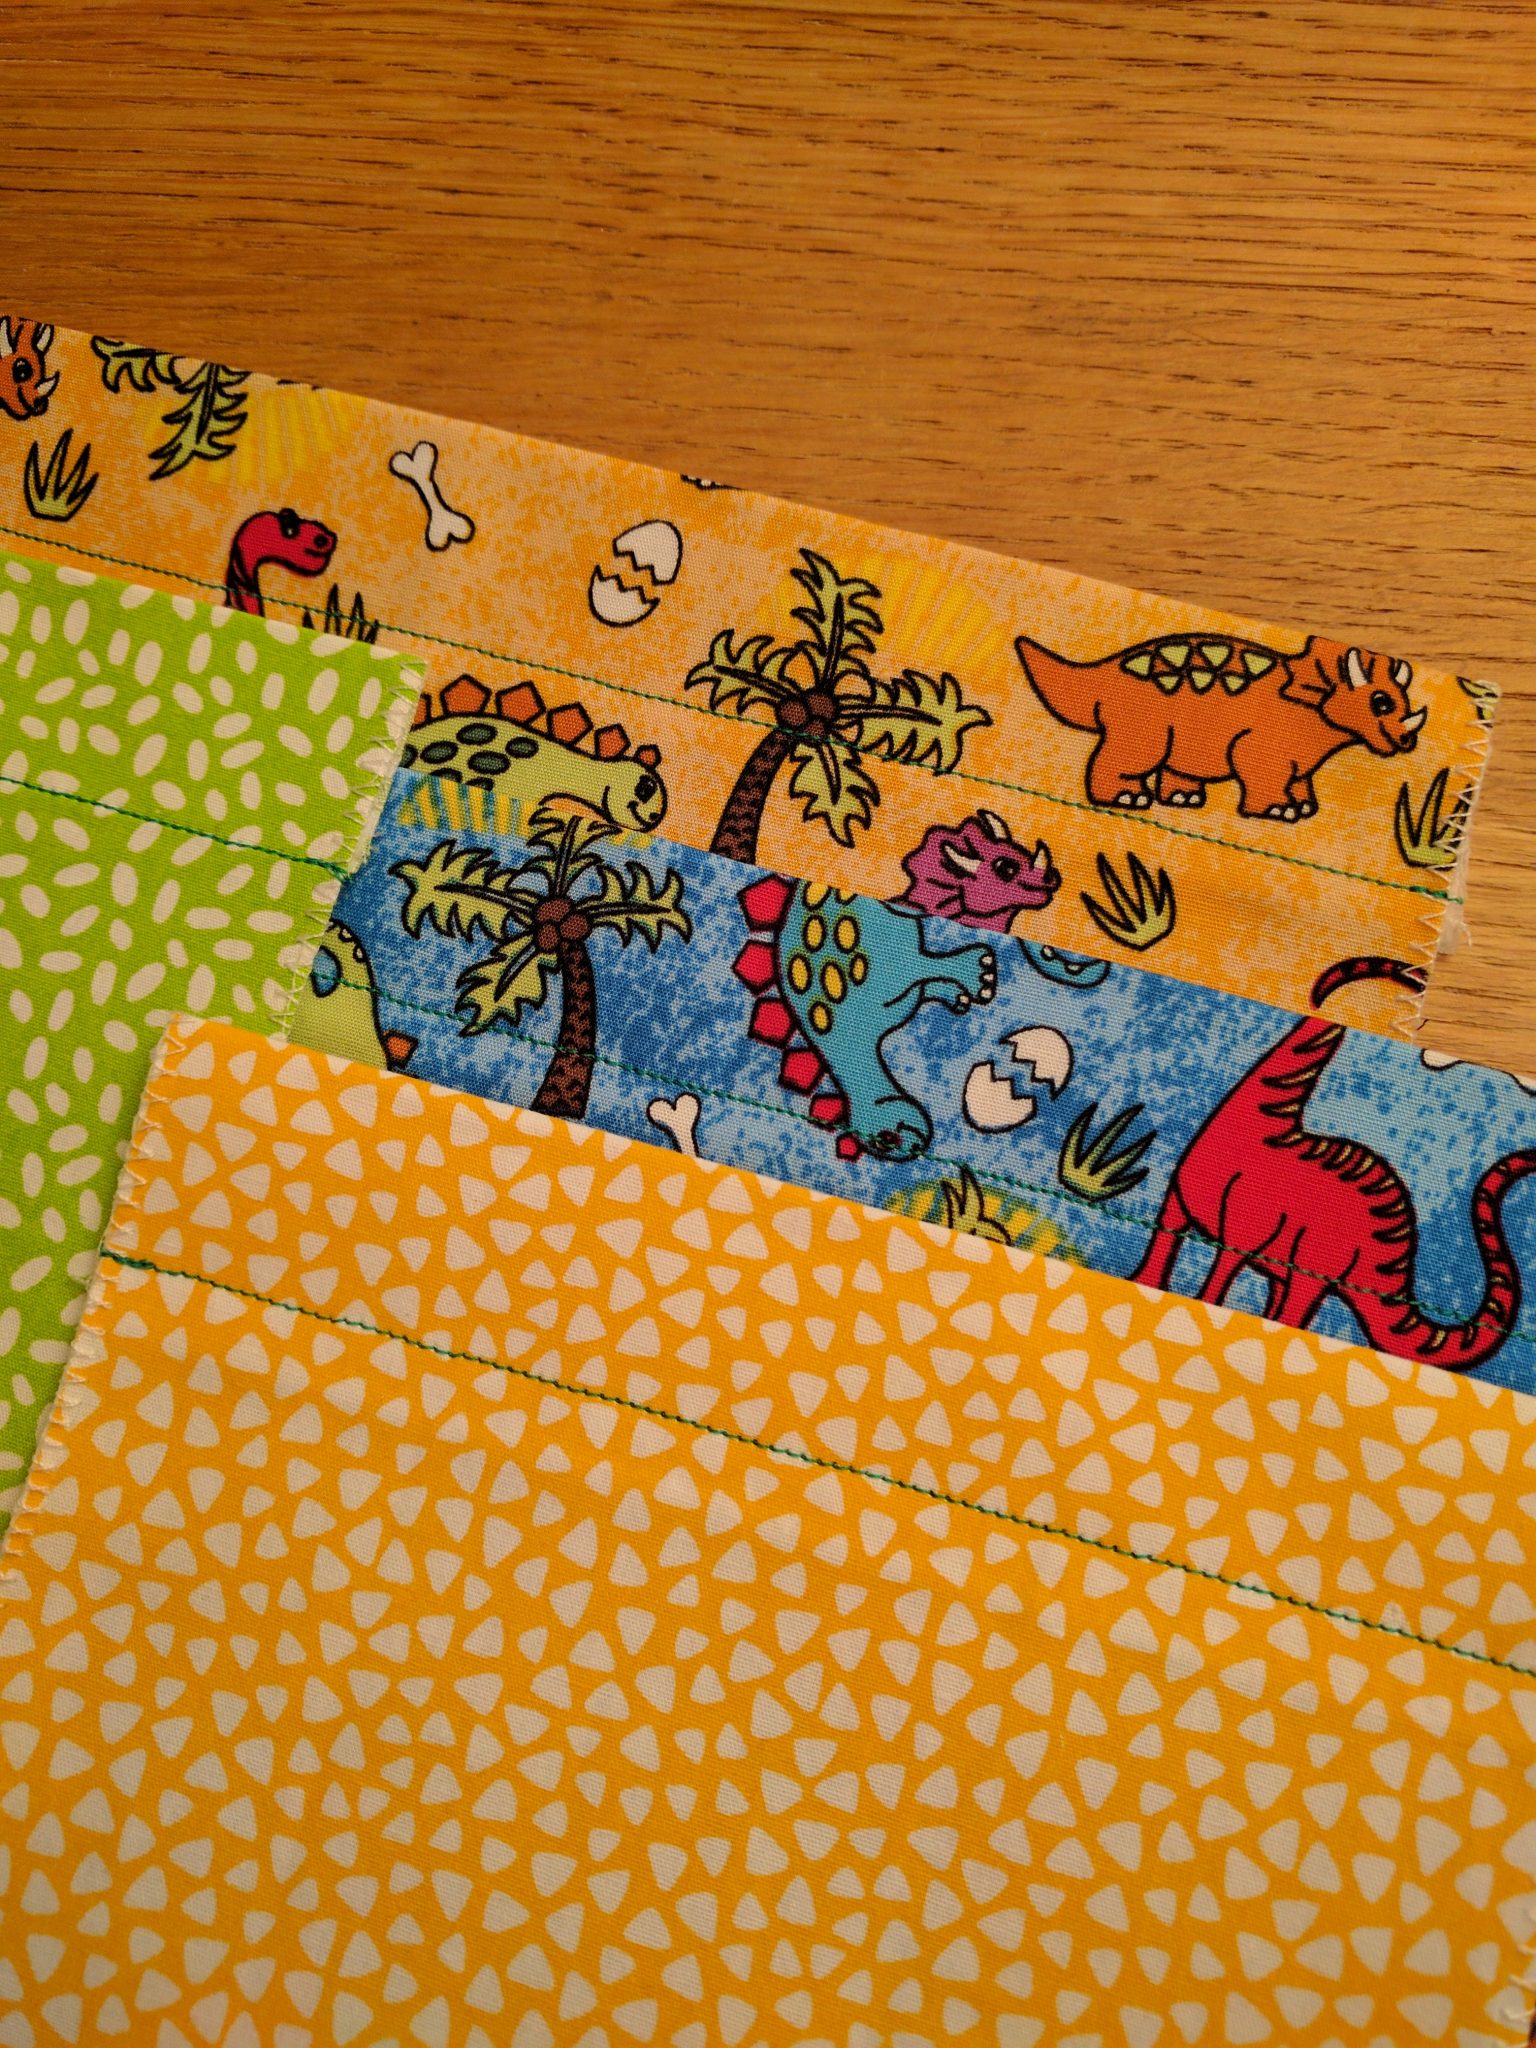
All in all, four hems
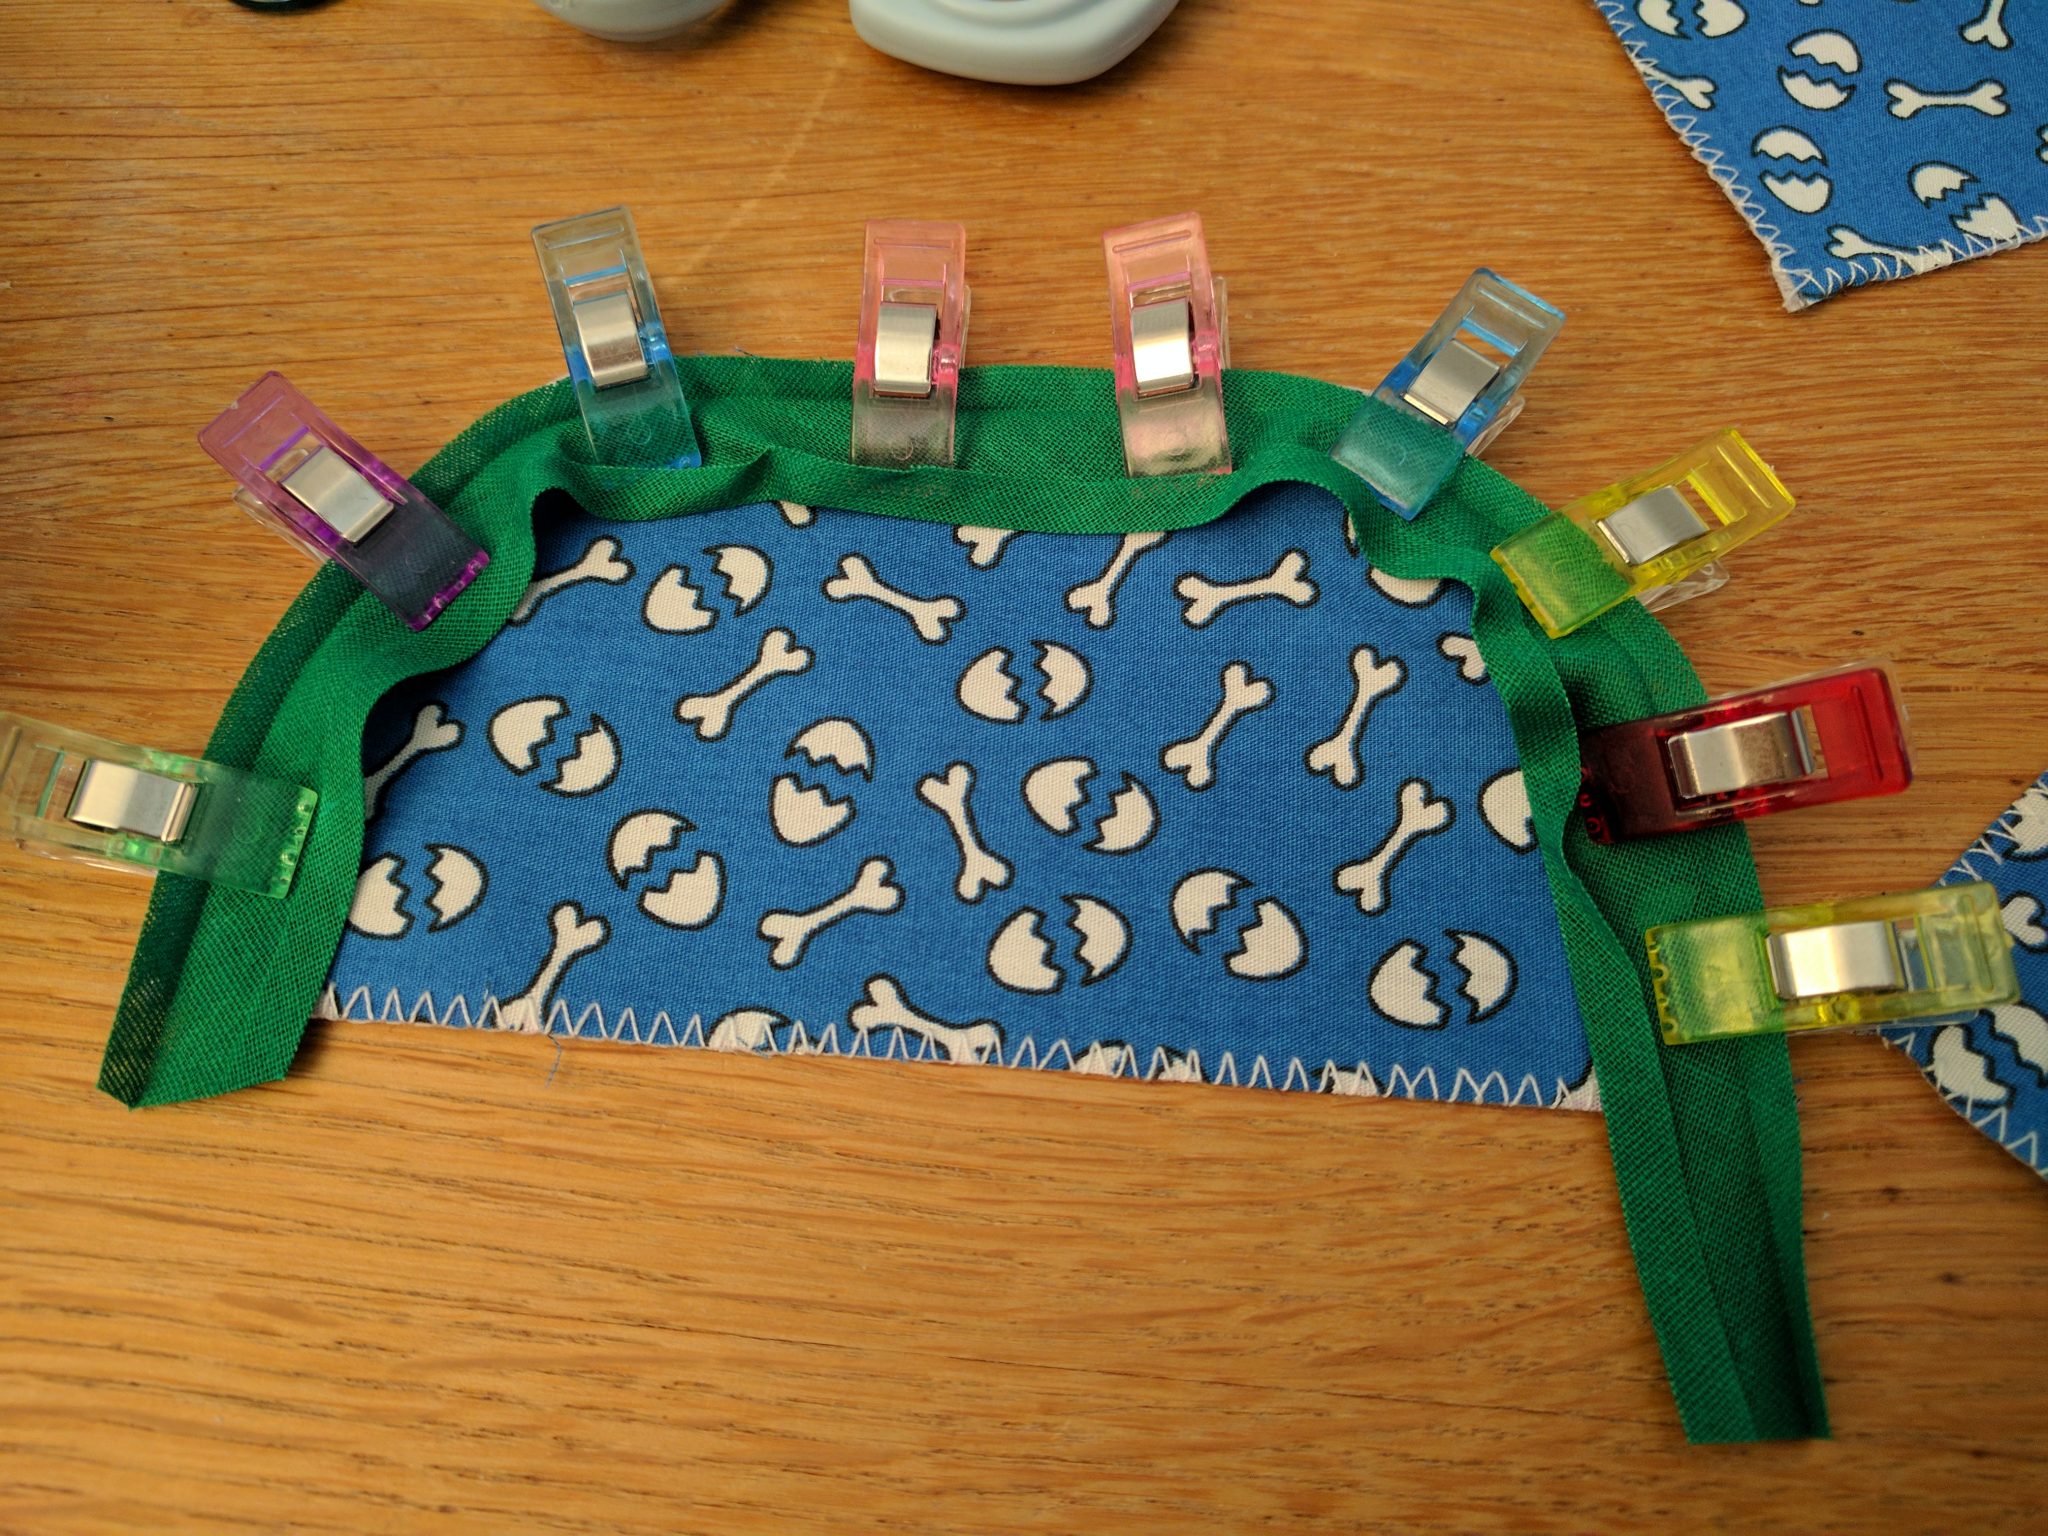
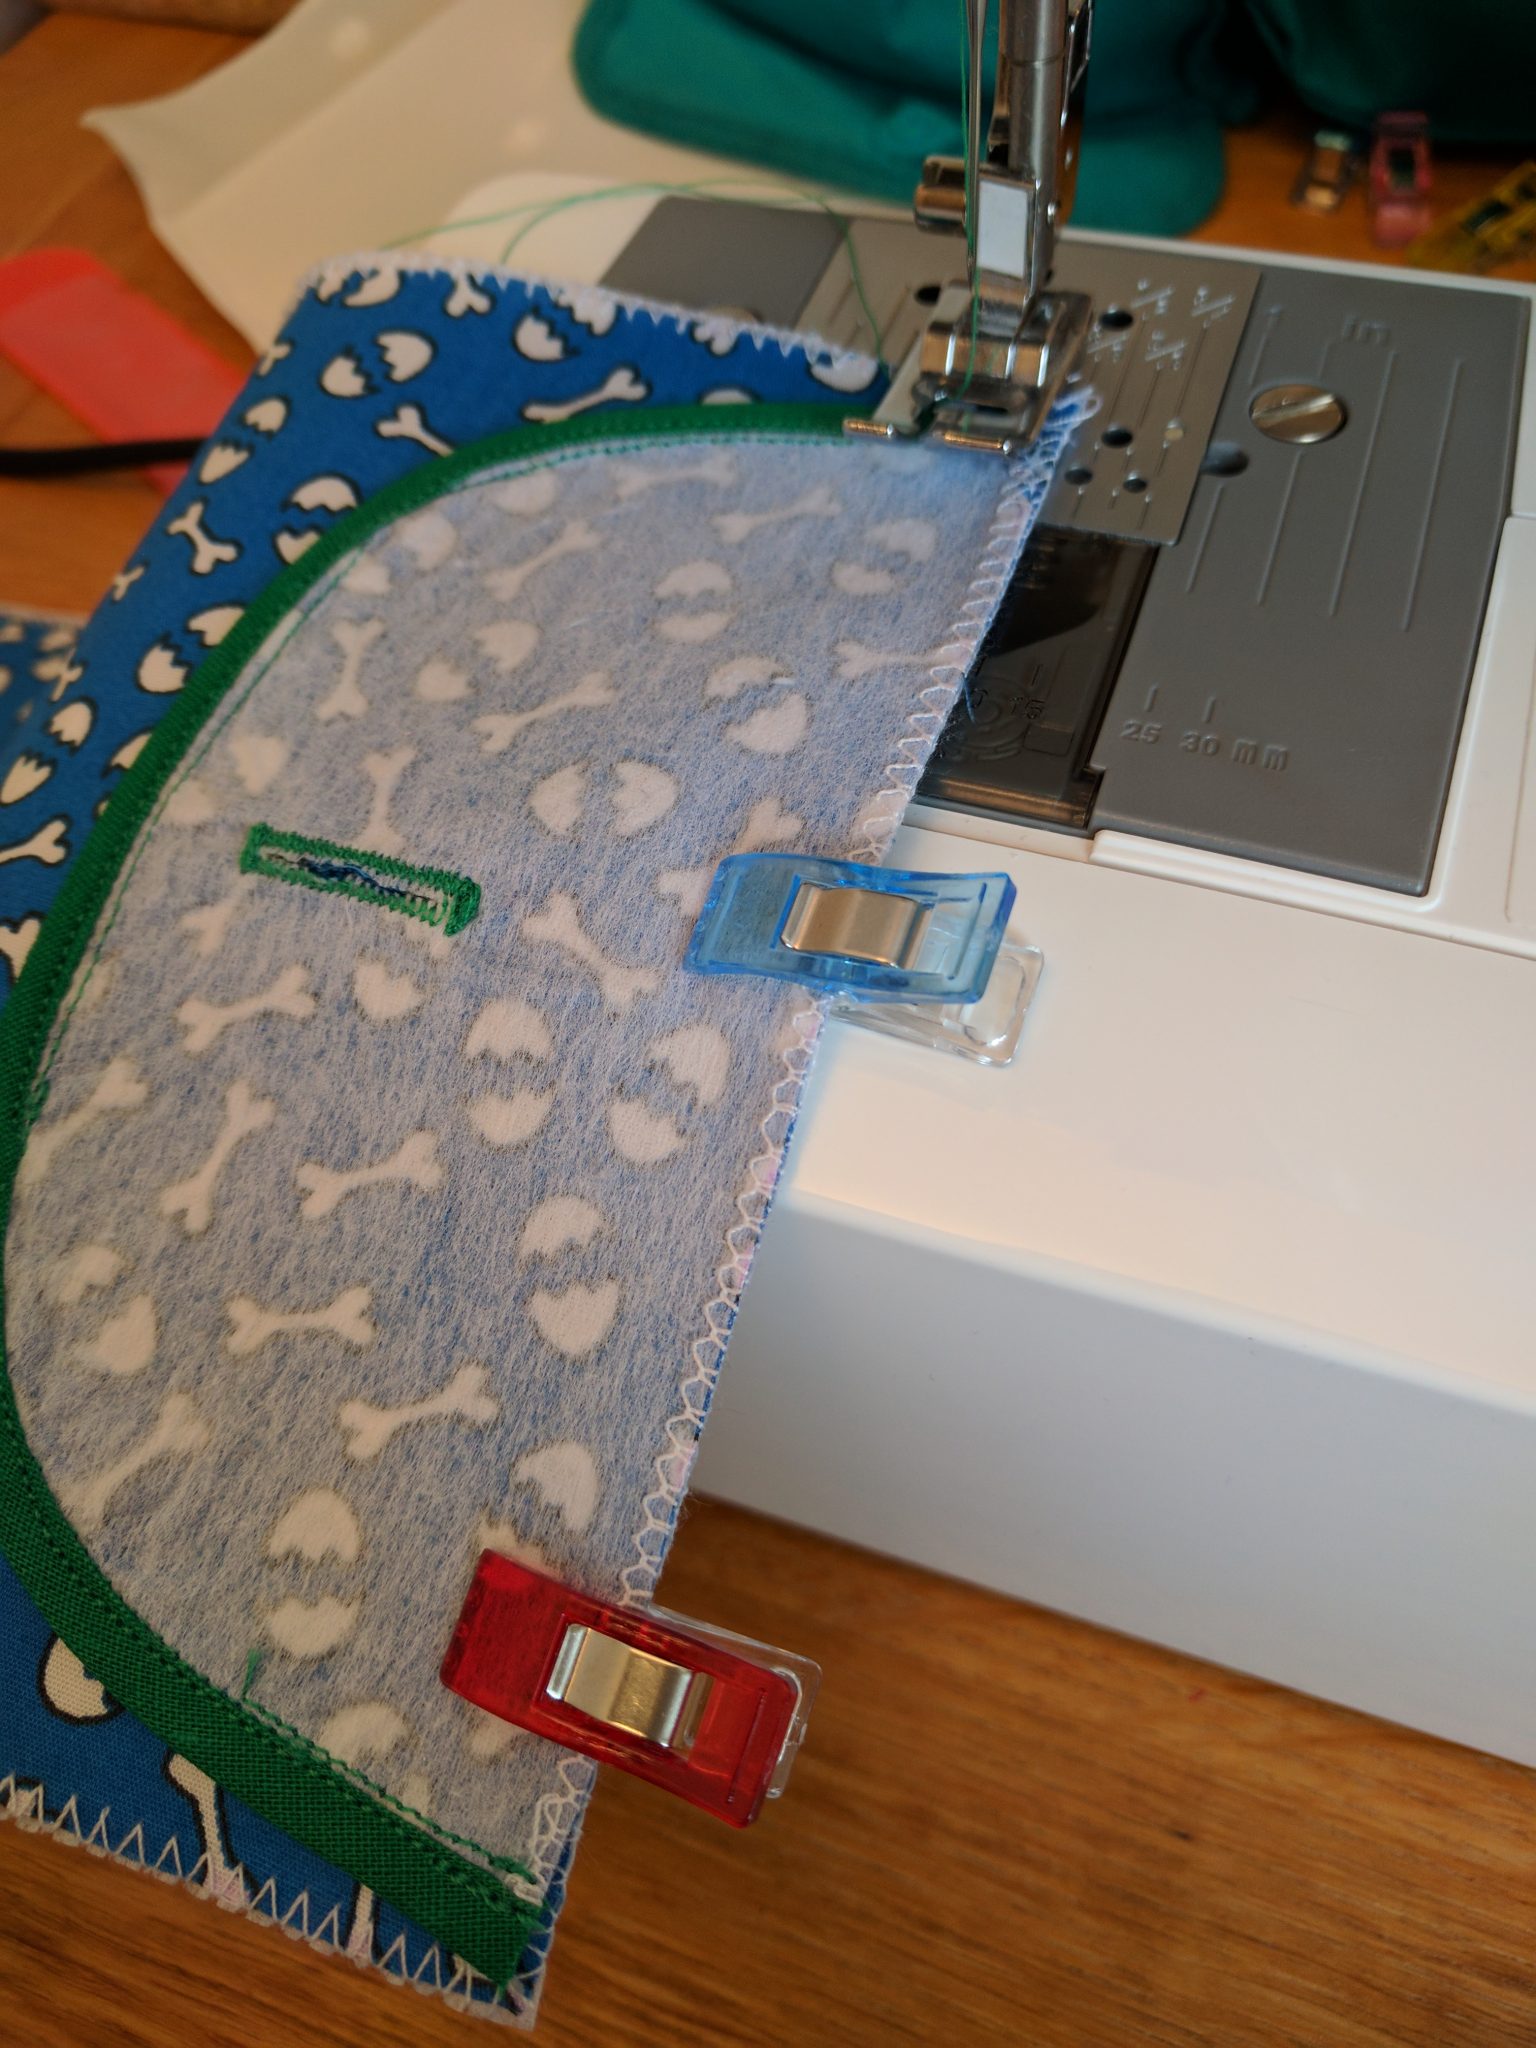
Binding the curve
Really important to layer this one
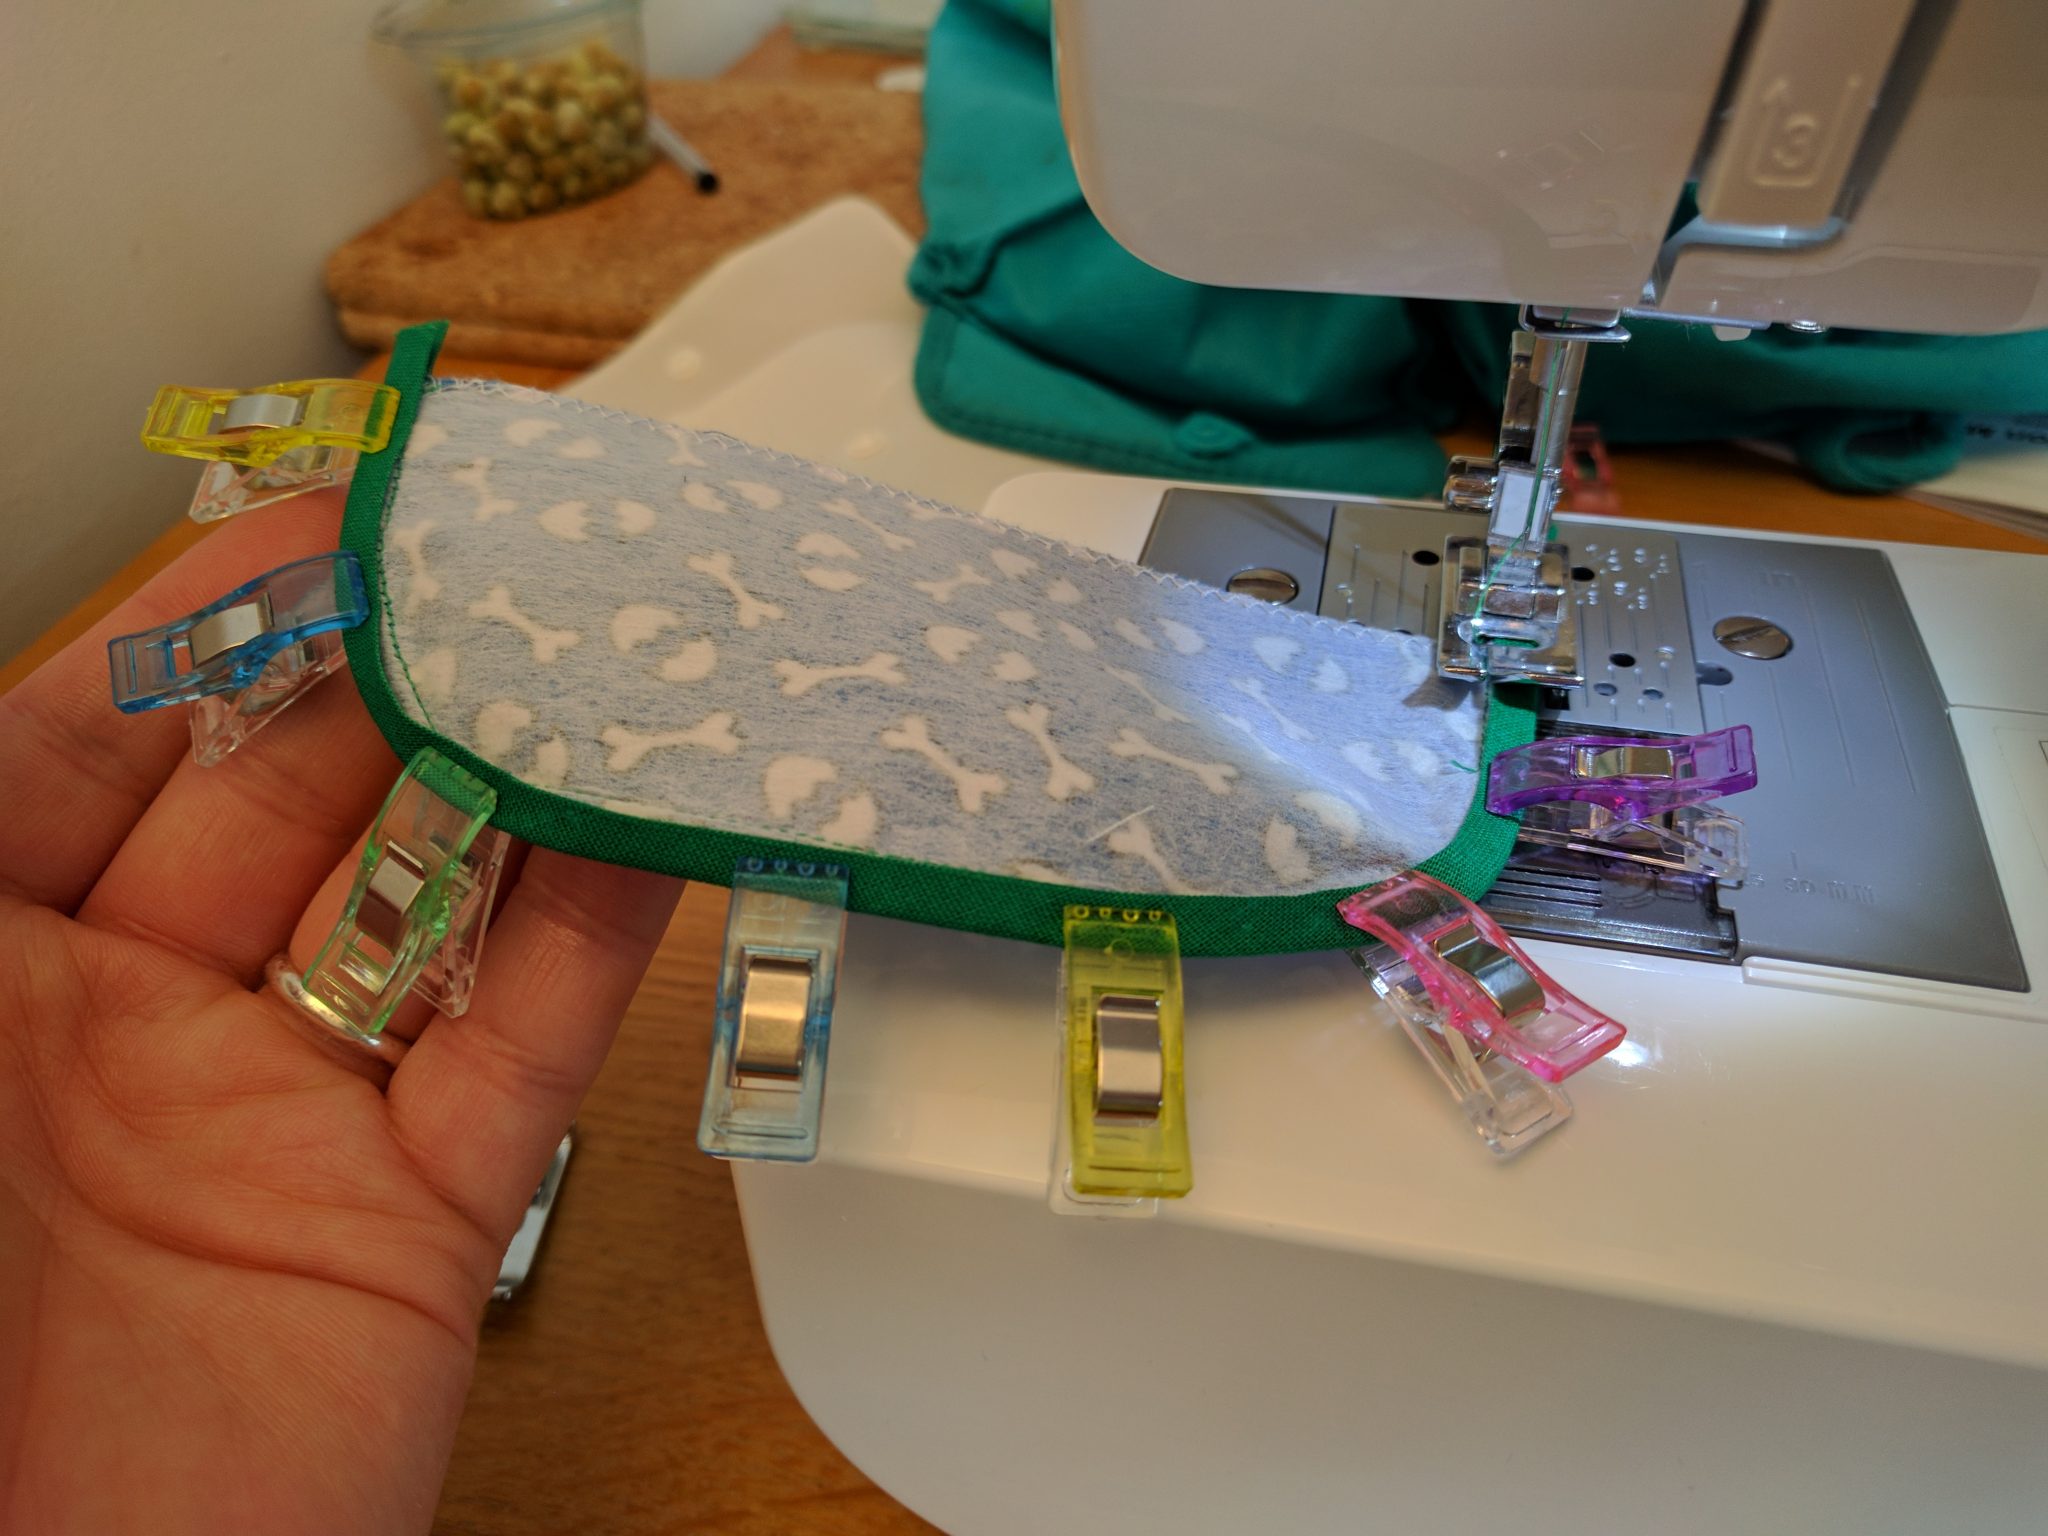
I cheat here and do the reverse upside down
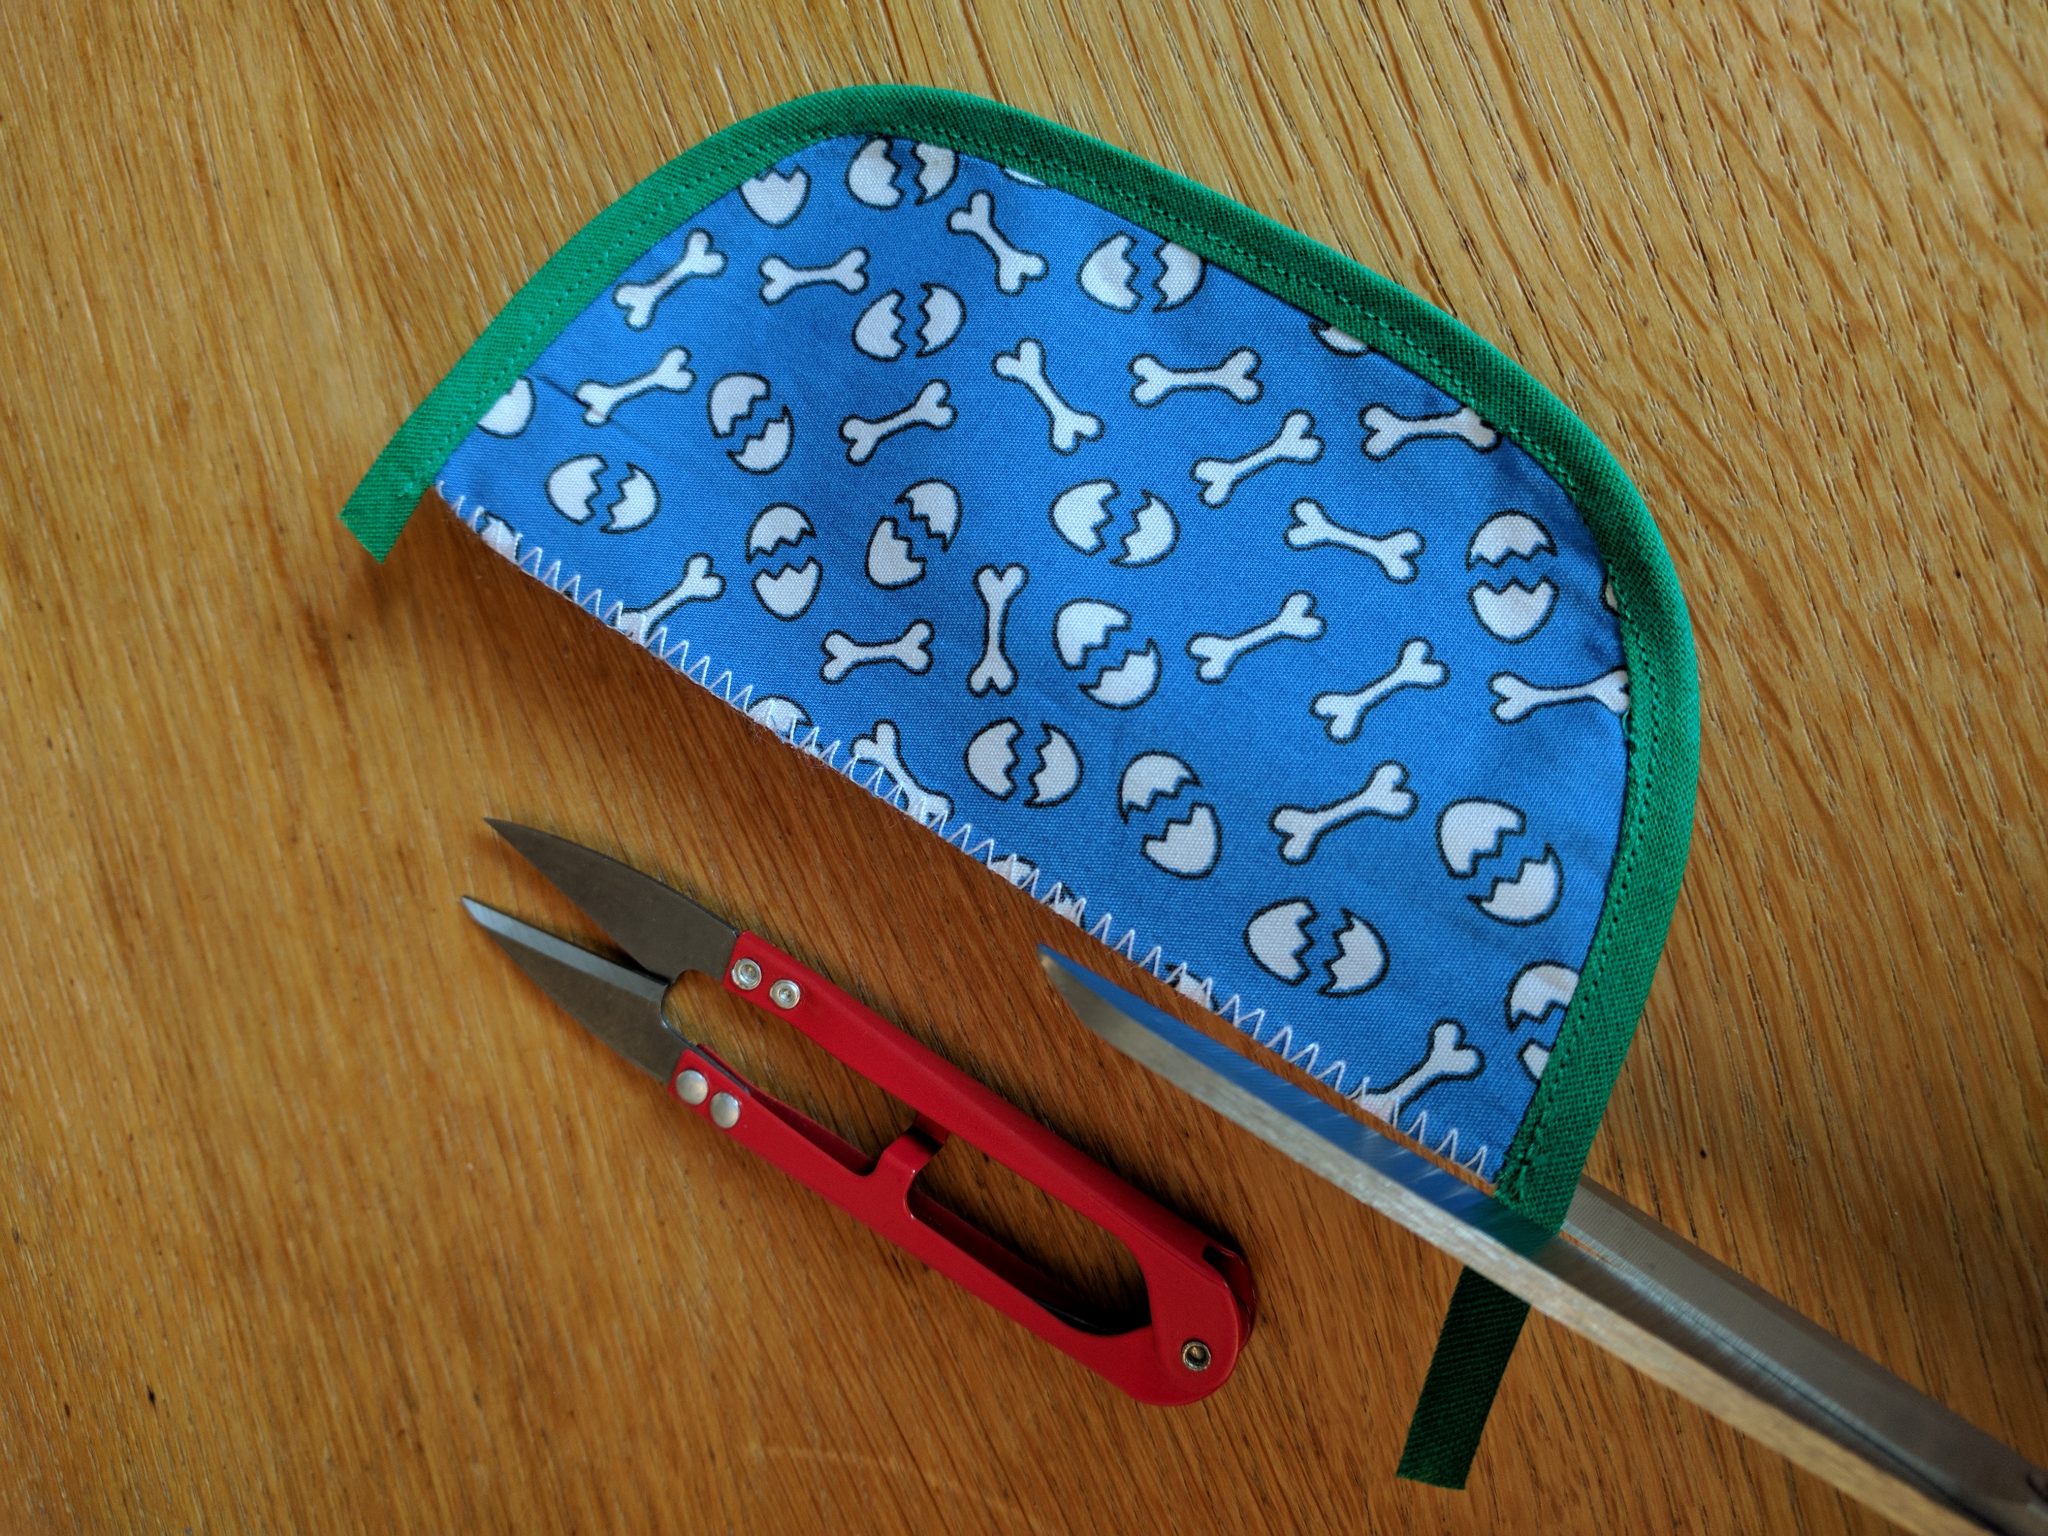
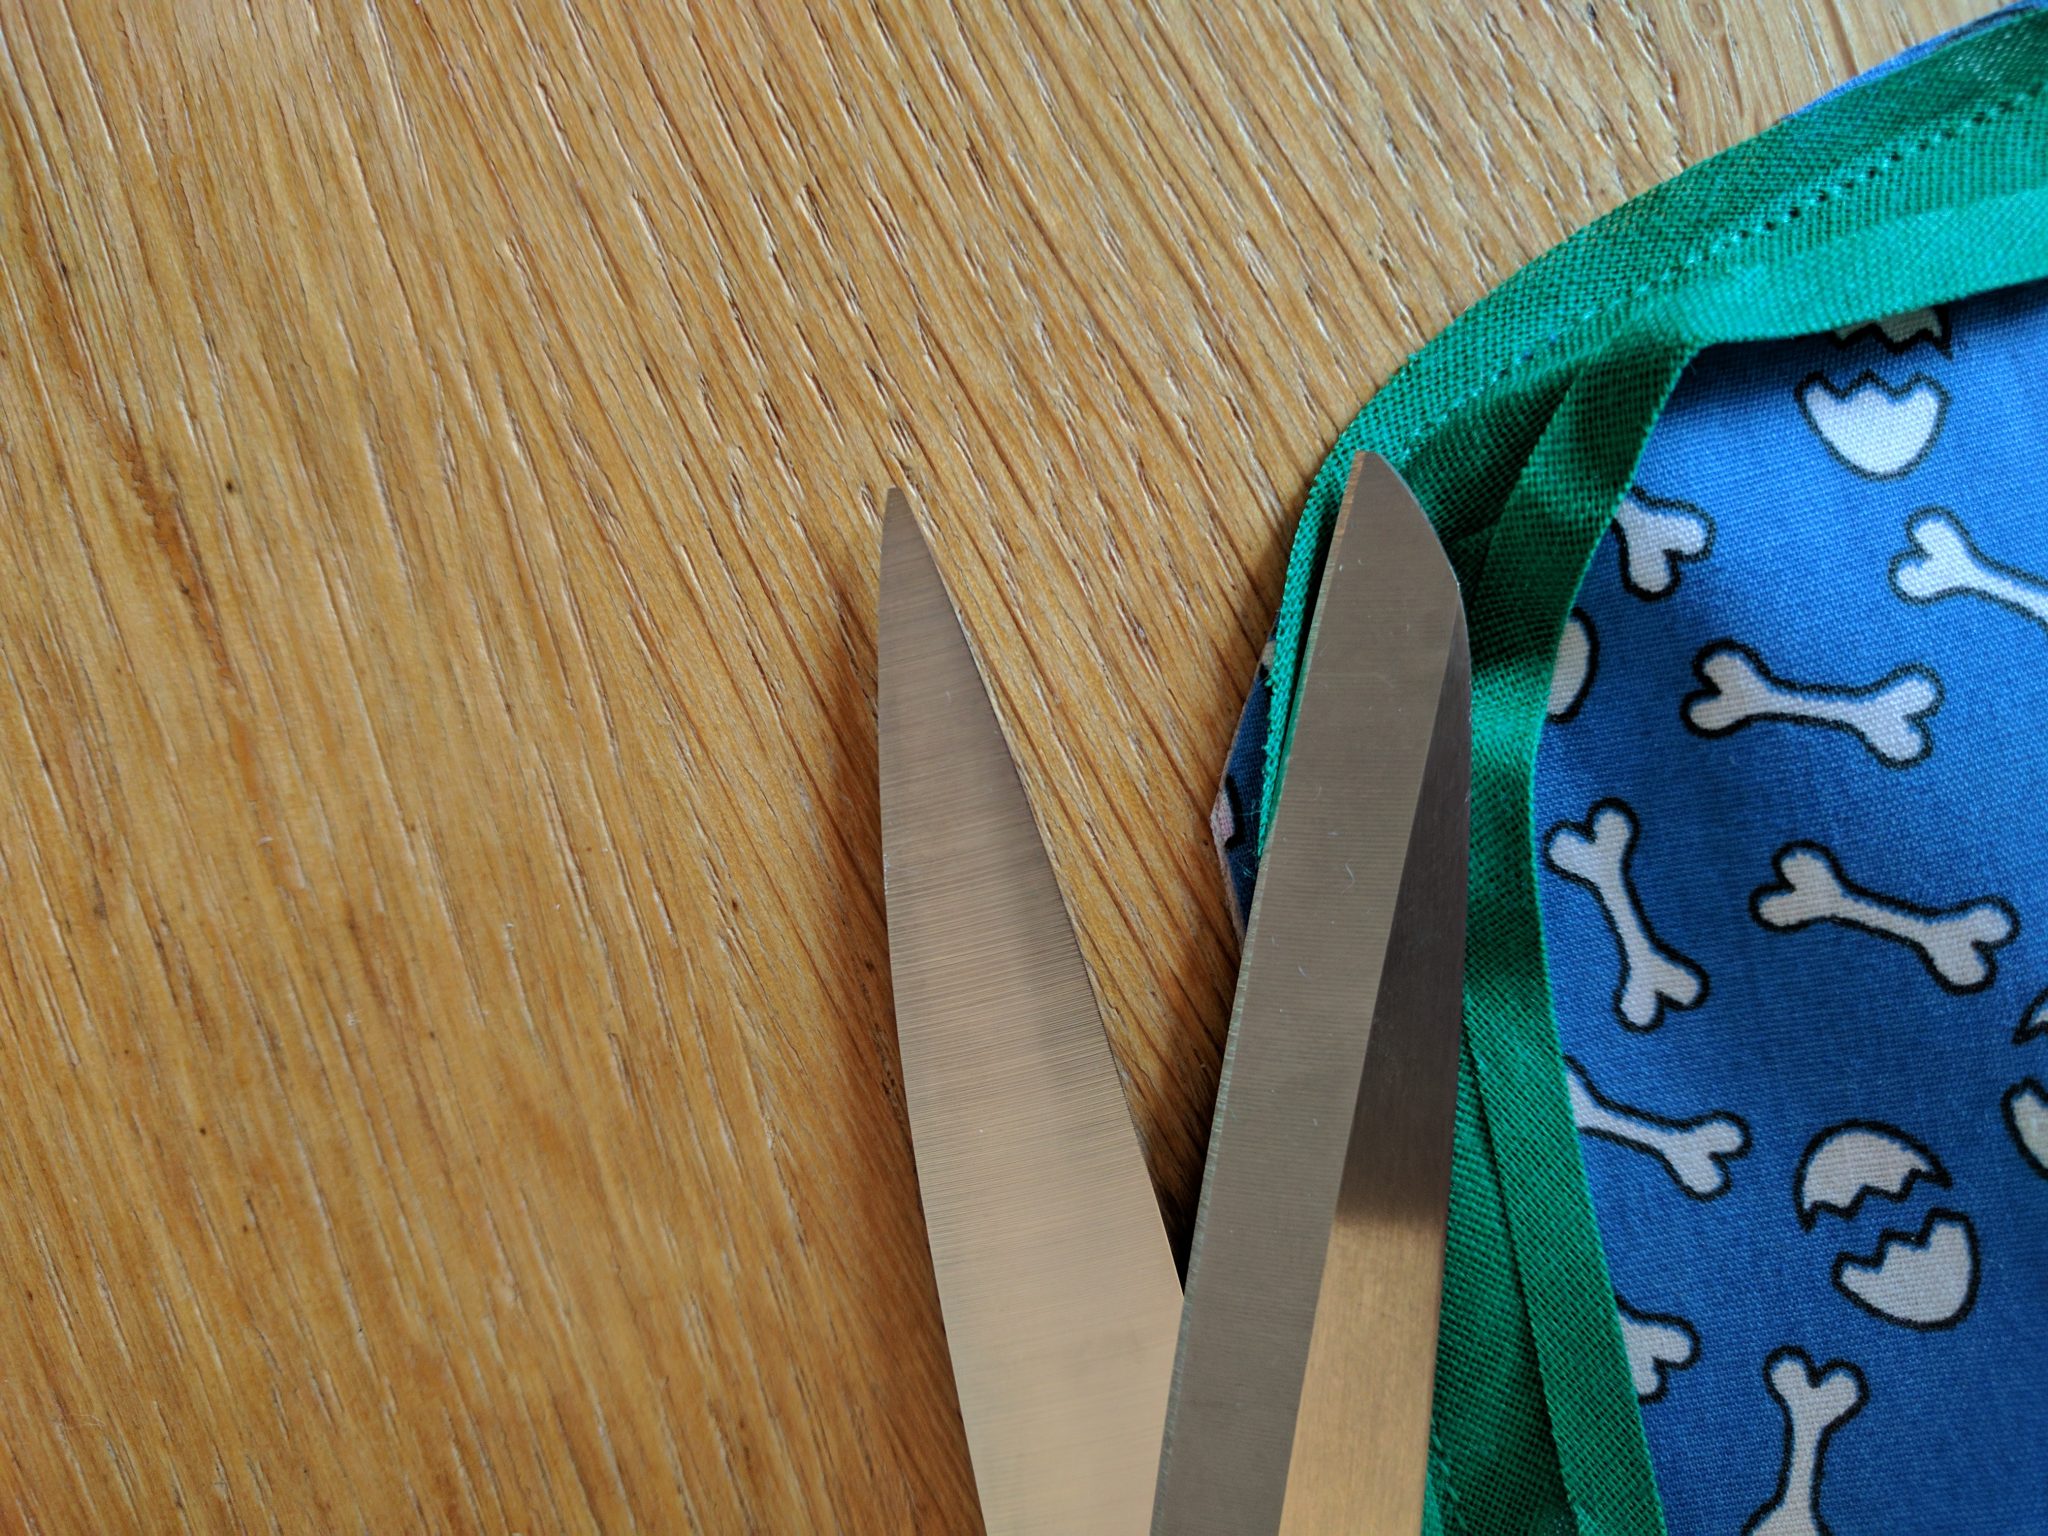
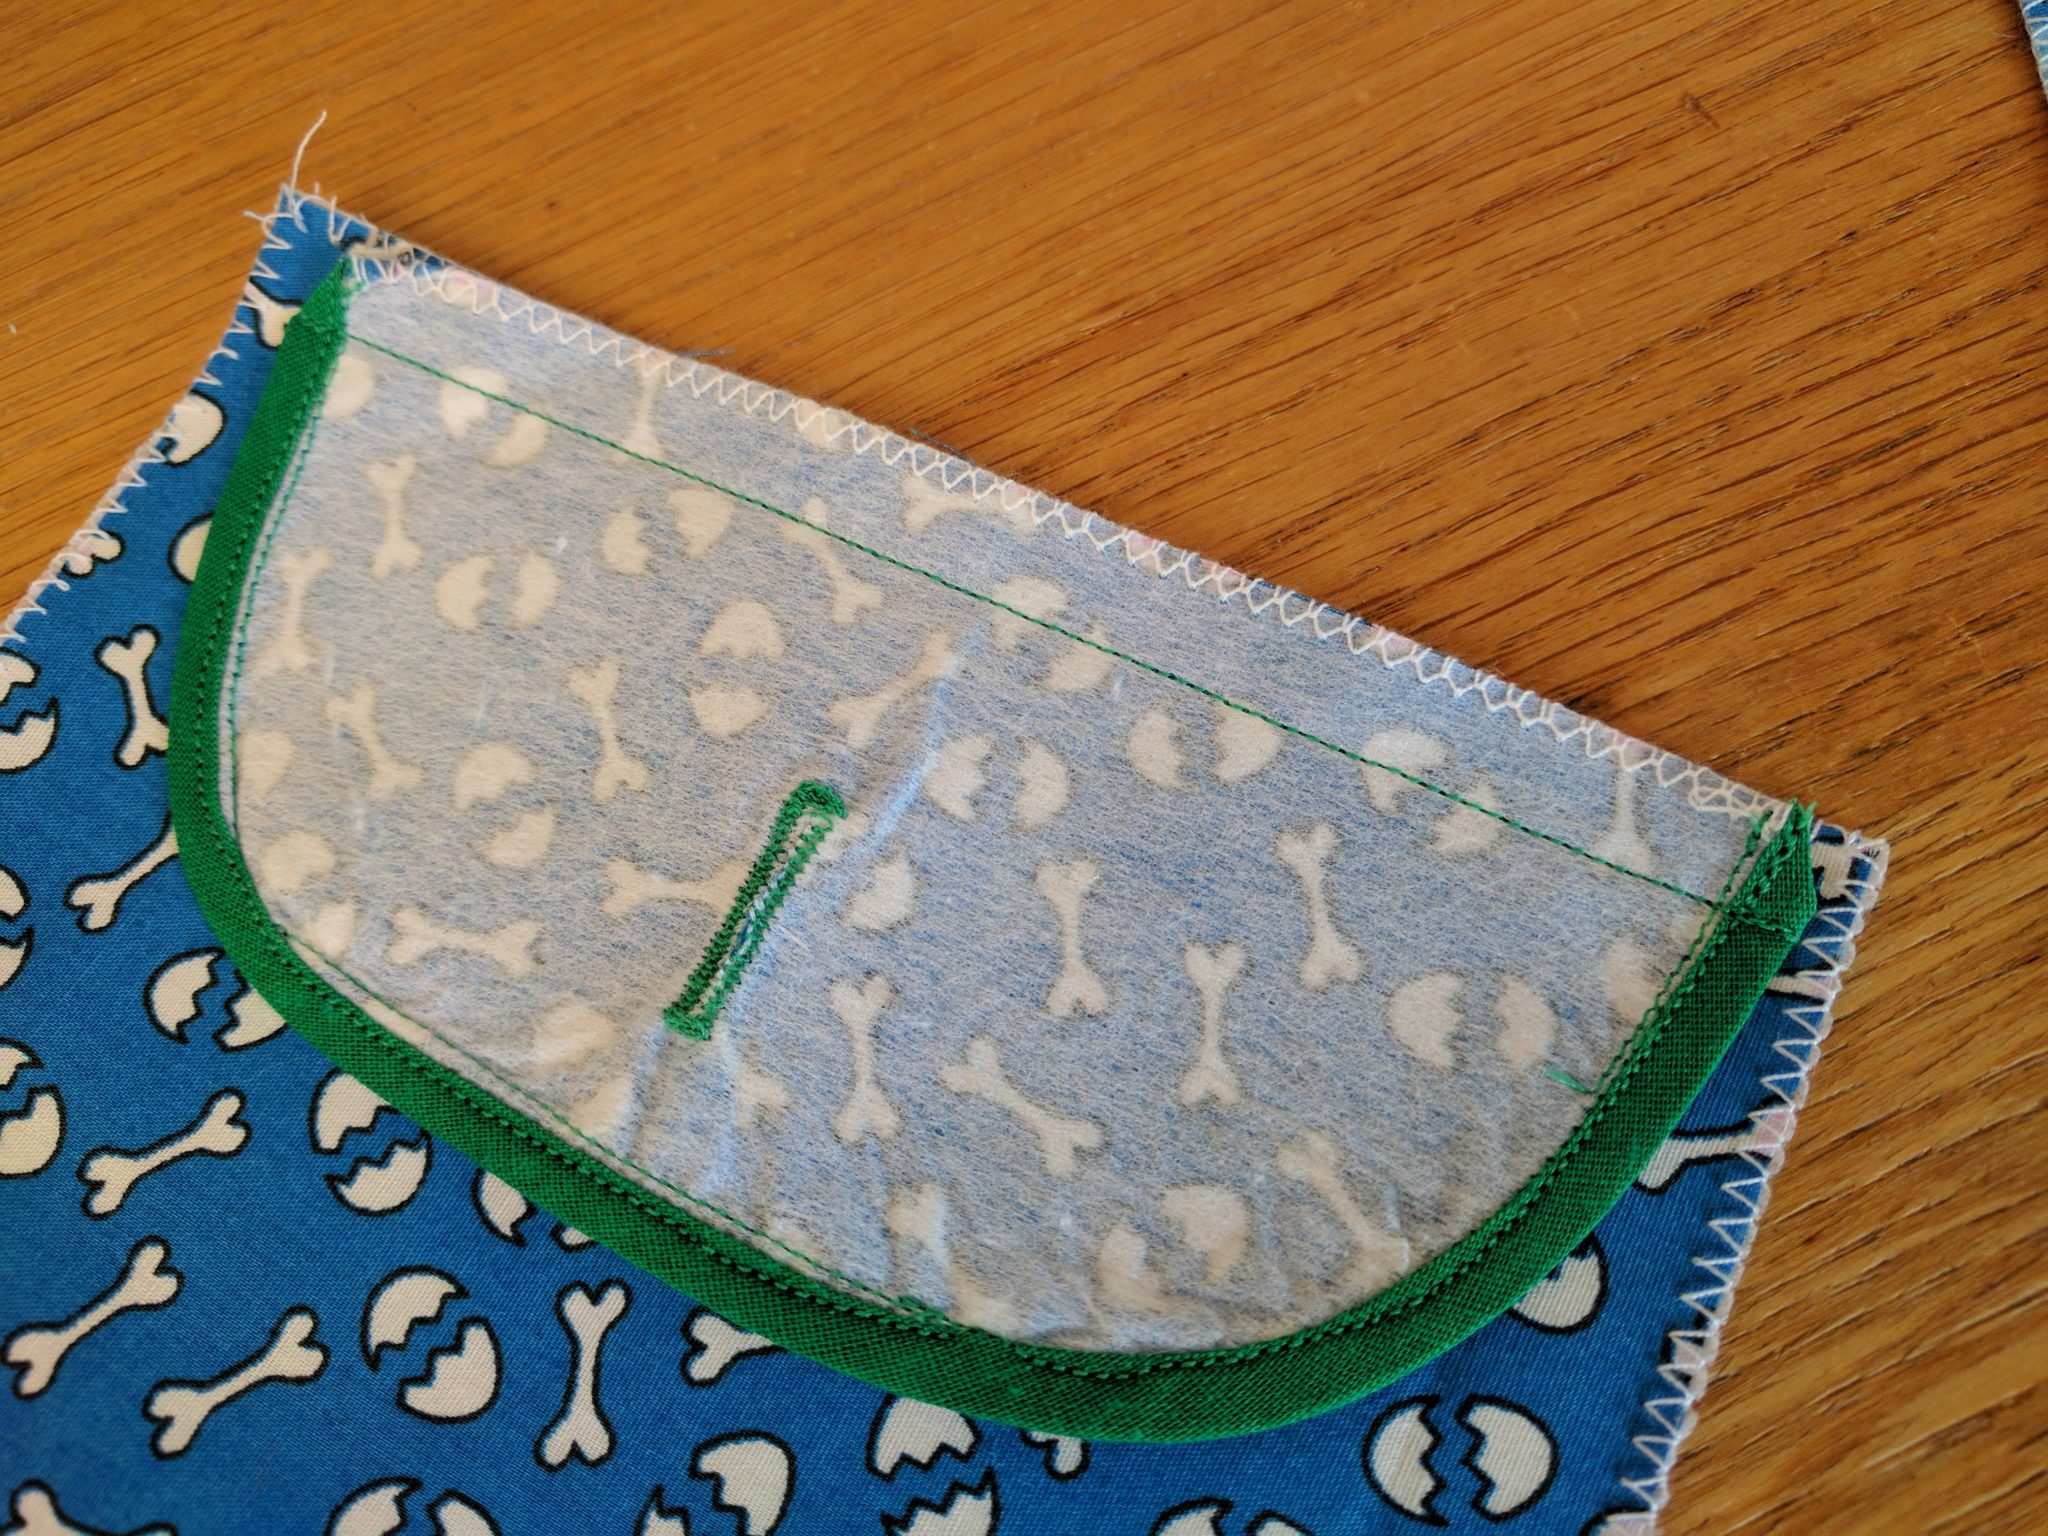
Trim the binding
Press under 30mm at the top edge of the front, back and side pieces. This will form the opening of your bag. Sew in a hem on each of the four pieces at 25mm.
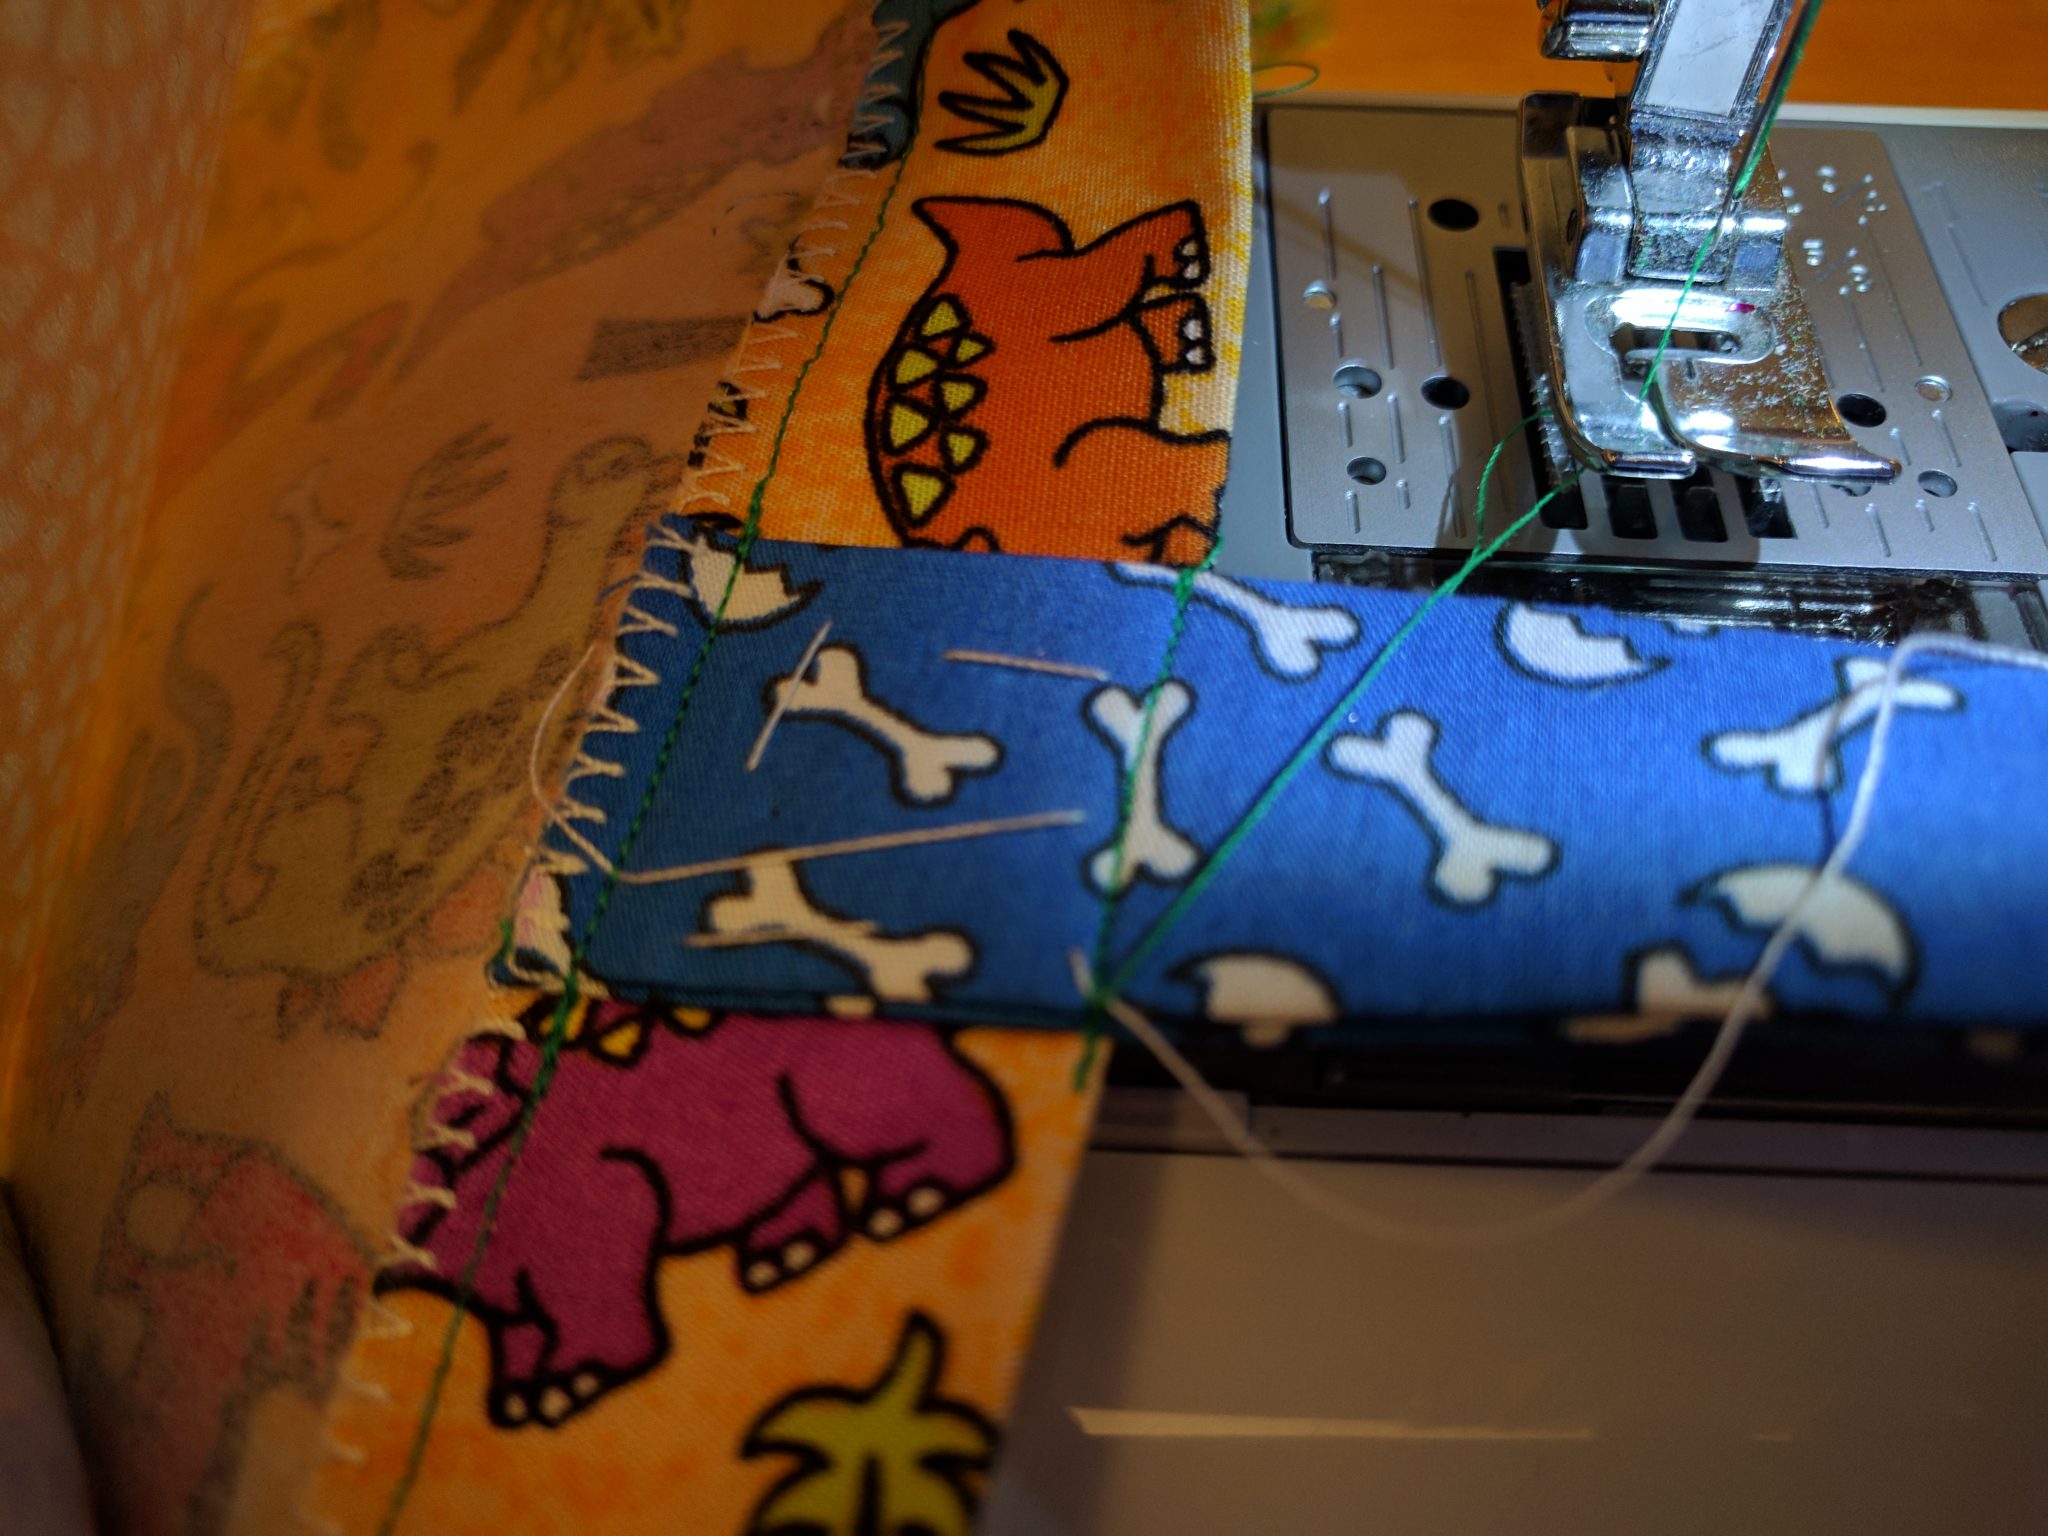
Next, attach bias binding to the curve of the flap, starting on the right side. Make sure you layer the edges after sewing the first seam so that it folds nice and cleanly. I like to cheat when sewing bias binding and do the reverse facing upwards – it might not be the neatest stitch but it means I know that it’s catching all the way round. Once you’ve bound the edge, trim the ends so they line up with the fabric.
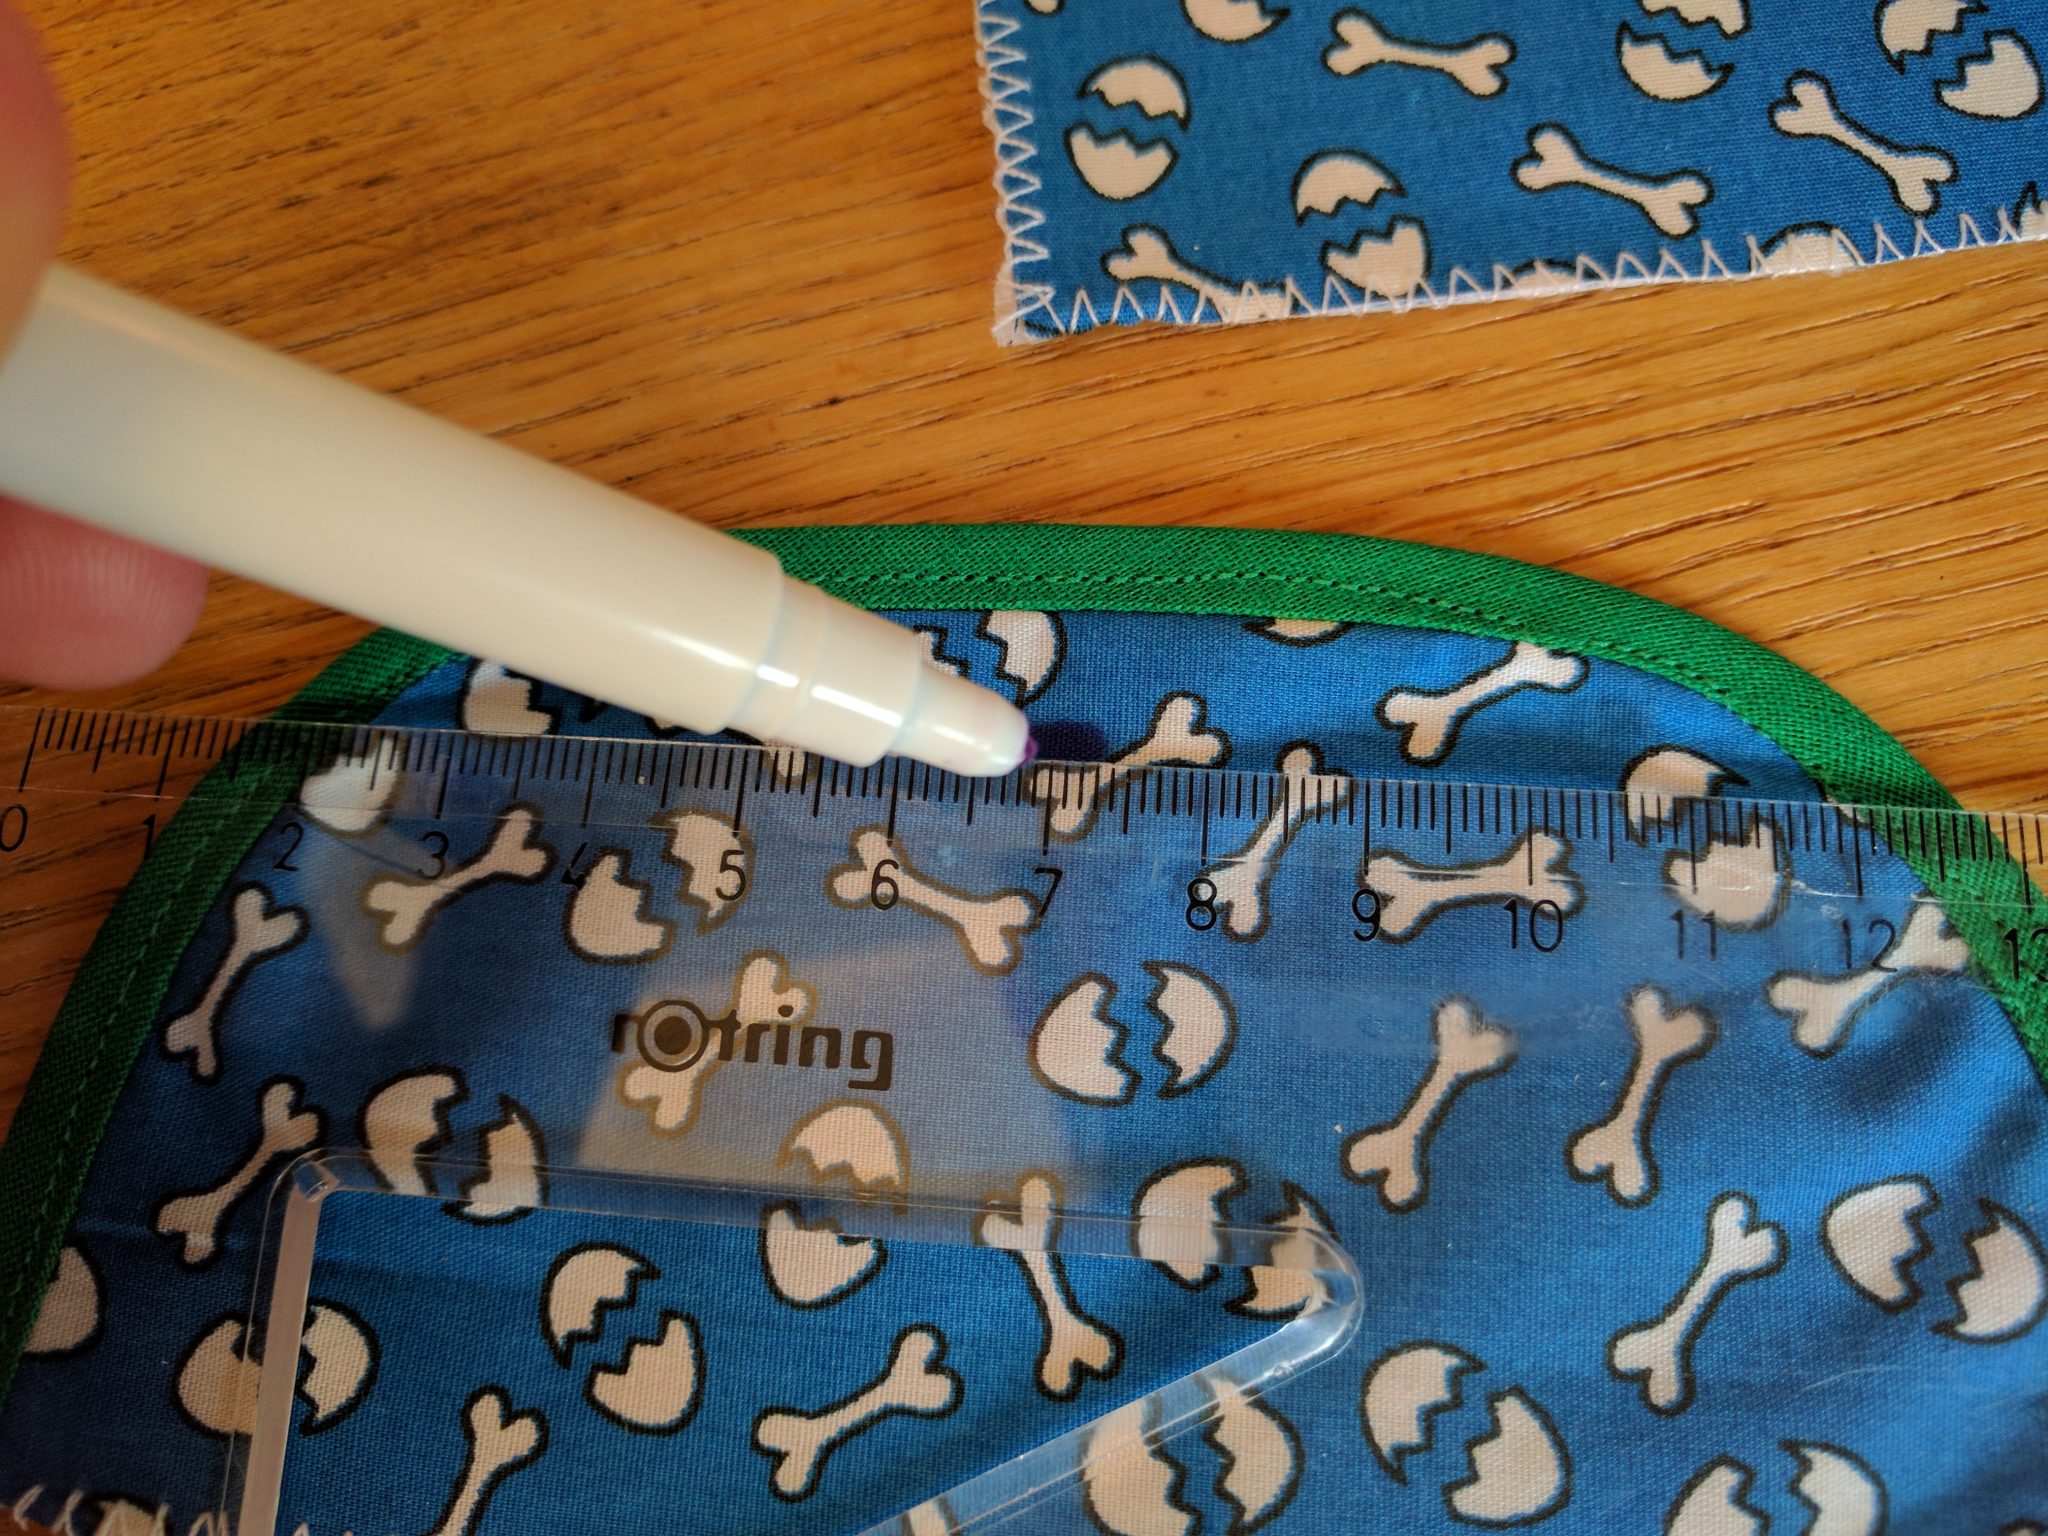
Finding the halfway point
Marking where the buttonhole will go
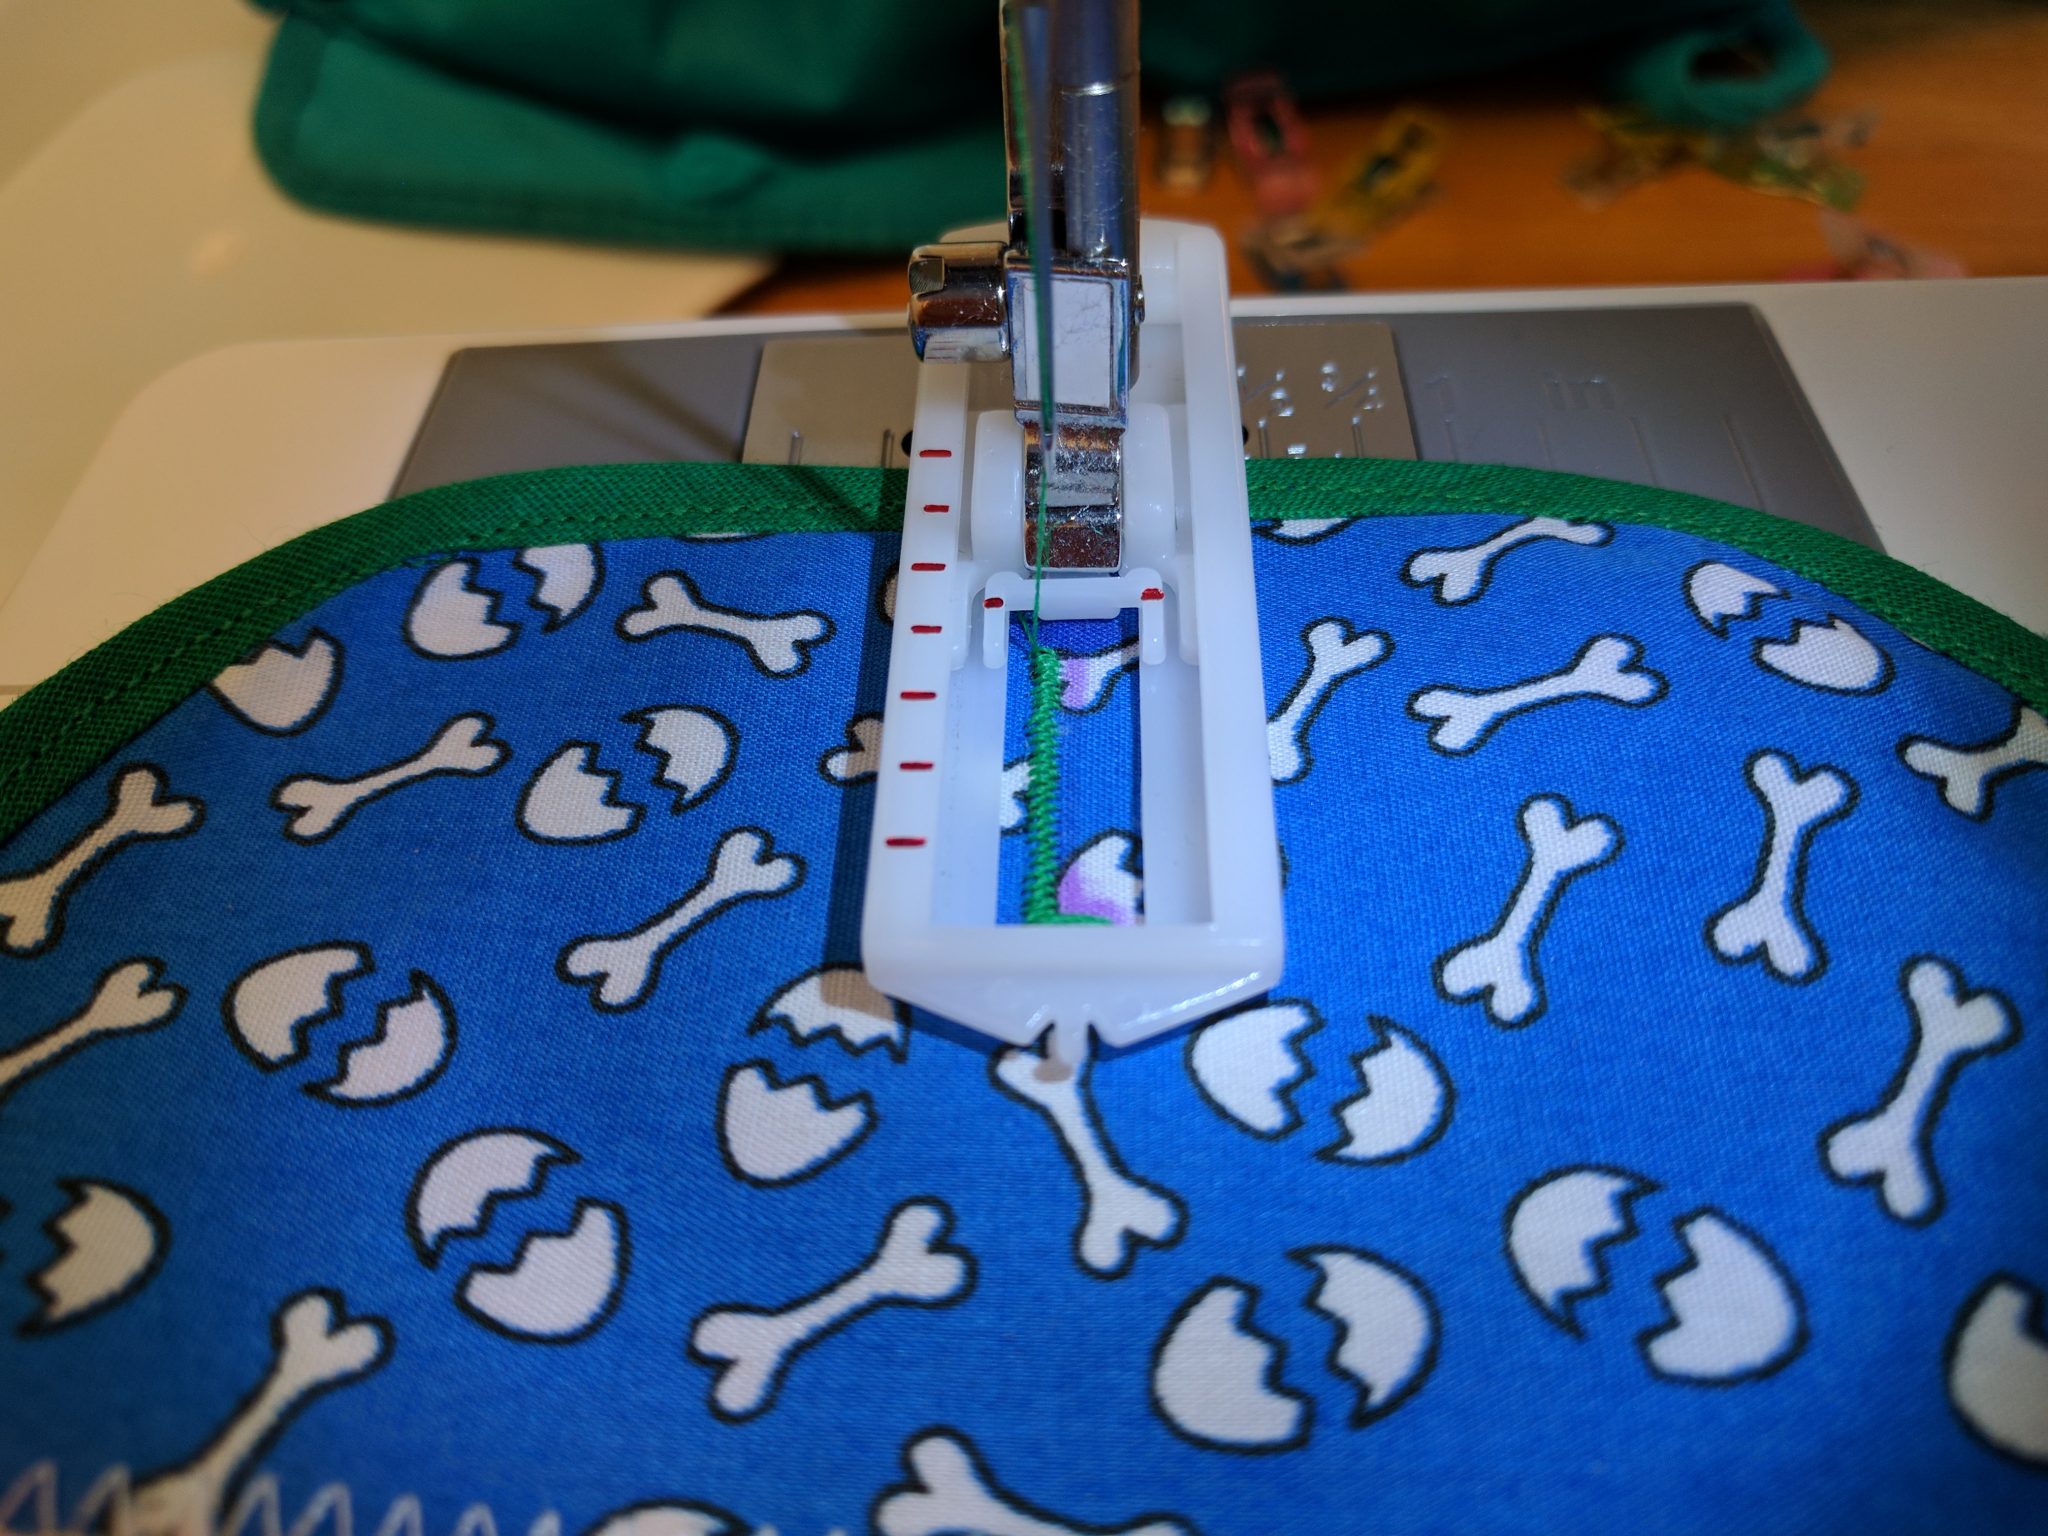
Sewing the buttonhole
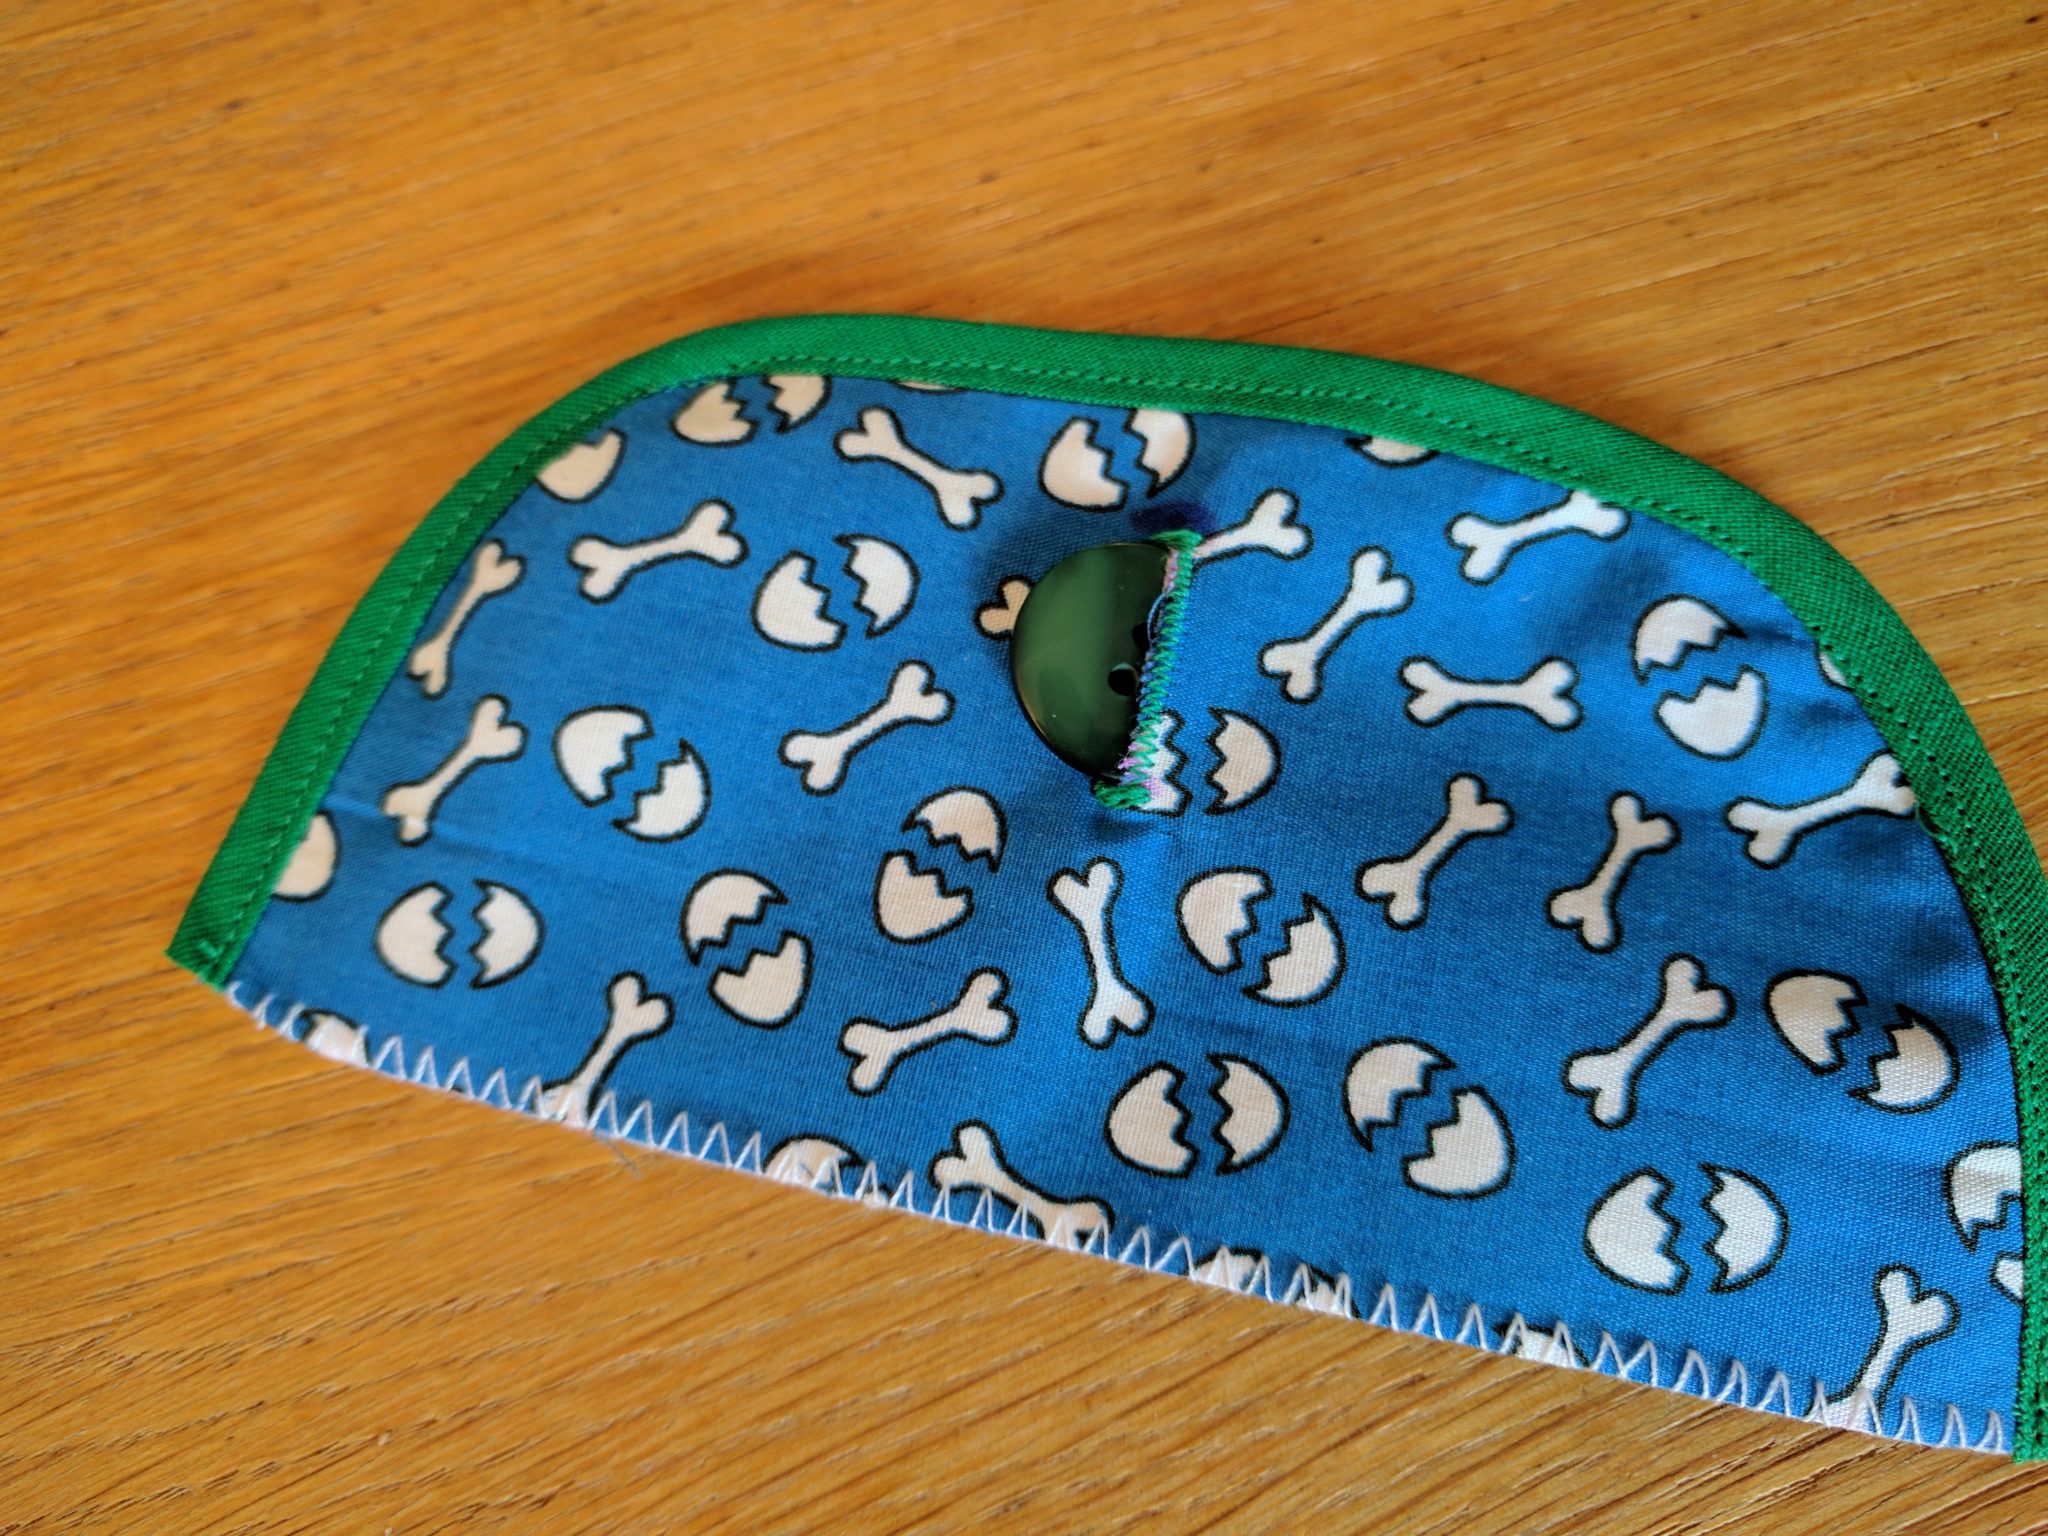
And a quick test
Next, sew in a buttonhole slightly larger than your button (e.g. 21 or 22mm), following your own machine’s instructions for sewing buttonholes. You’ll want it to be halfway along the flap (70mm). I sewed it vertically but in hindsight a horizontal buttonhole might actually be easier to do up. It probably doesn’t matter much, so whichever you like the look of more!
Pin the flap to the short edge of the base, right sides together
Sew in a slightly wider seam at 10mm
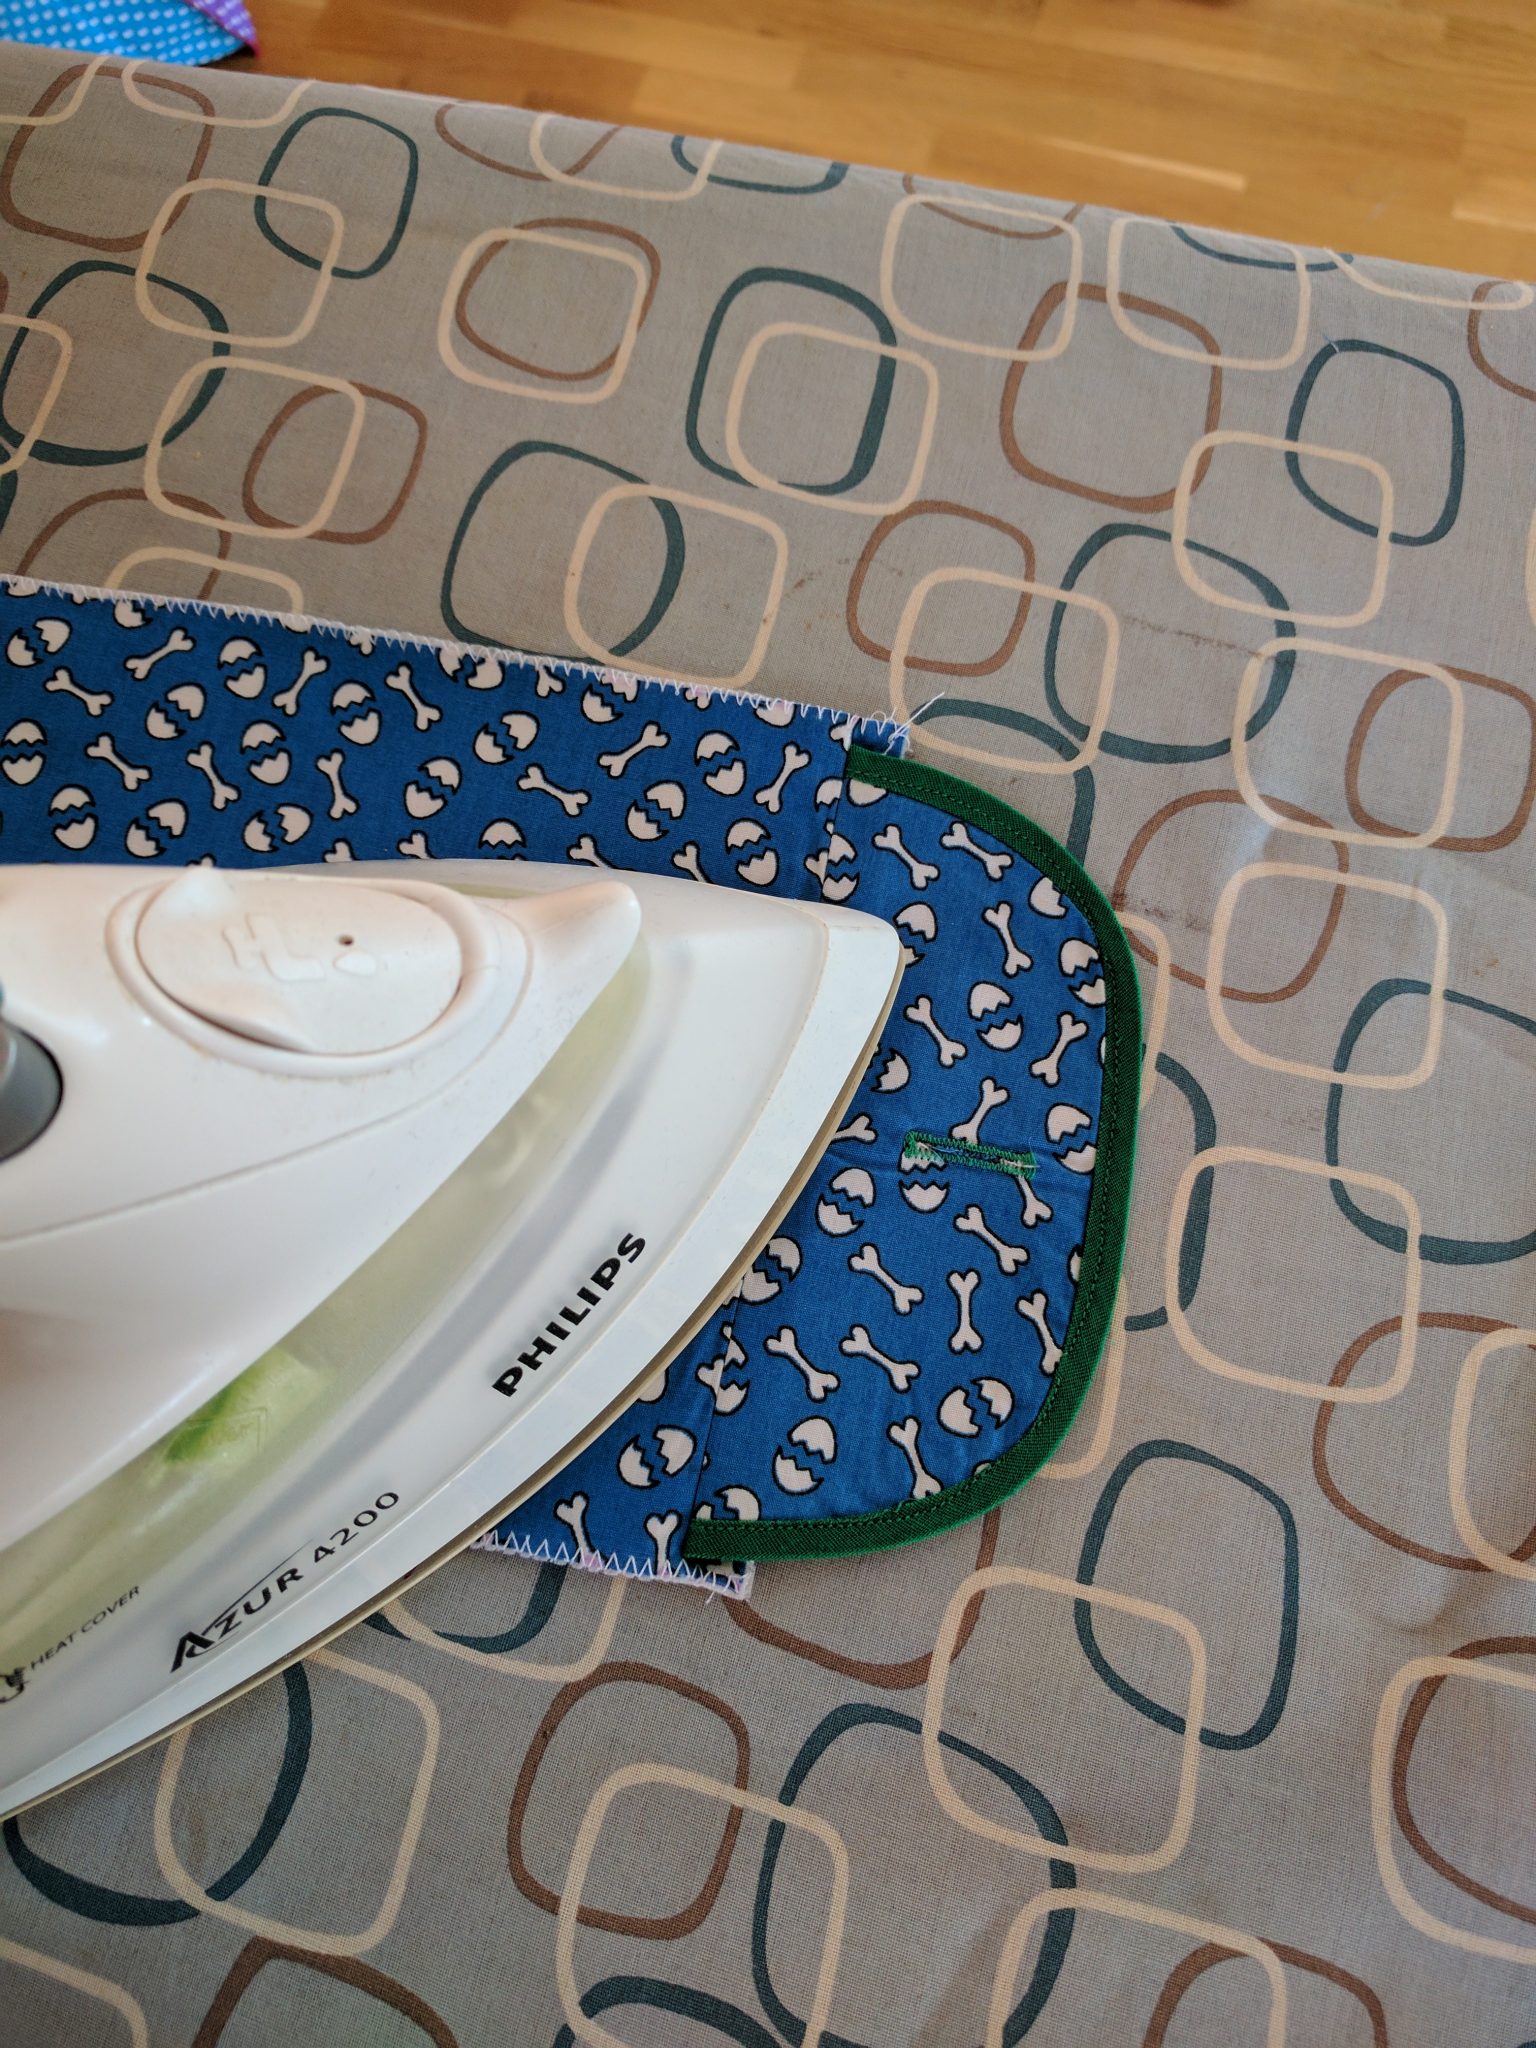
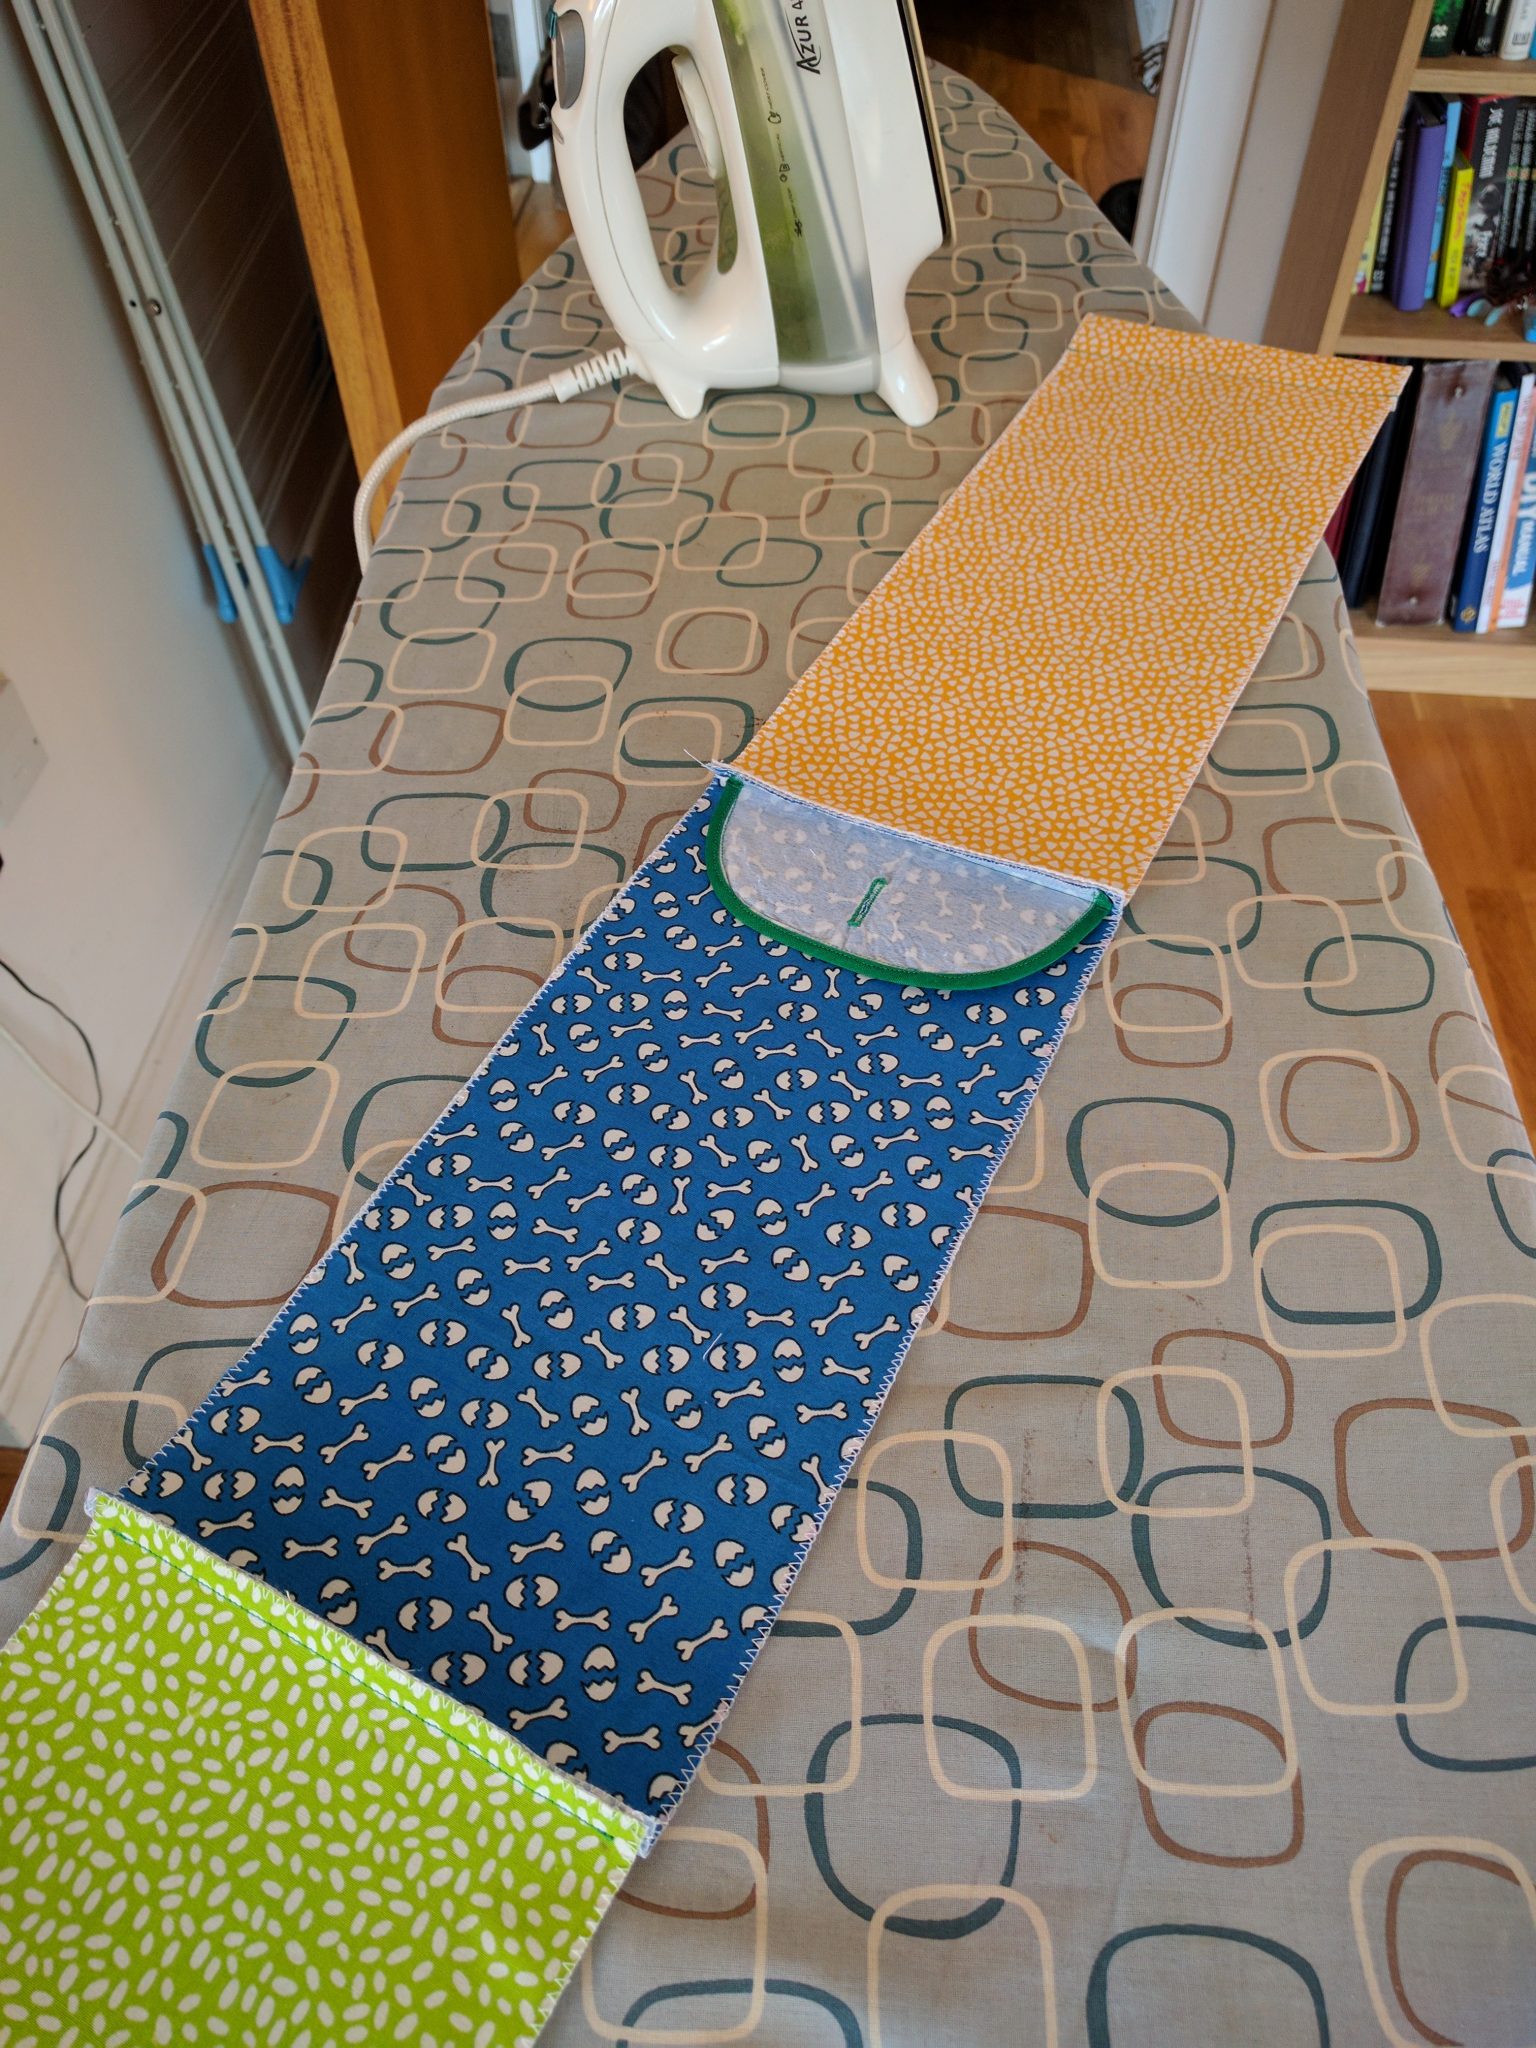
Press the flap open
Now we need to attach the flap before we start assembling the bag.
Pin the flap to the short edge of the base piece (the one with the same fabric), right sides together. Sew in a seam at 3/8″ (10mm) so it sits slightly outside the 1/4″ (6mm) seam we’ll be using for the bag itself. Press it open with a hot iron.
Assembling the bag

Mark 6mm from the edges
Attach the sides first

Then attach the front and back pieces
Now it’s starting to look like a bag!

Trim the corners: be careful!
Now the moment you’ve been waiting for – assembling the bag.
First, mark 6mm from the edges on the right side of the side pieces. You’re going to be sewing seams between these marks, and not right to the edge of the fabric.
Attach the two side pieces to the edges of the base (including the edge with the flap), wrong sides together using a 6mm seam. Be careful to stay within the two marks and backstitch at each end for strength. Press the seams open. If you’re used to doing seams right sides together this will seem a bit weird – it’s because this bag needs to have its seams on the outside so it collapses and folds nicely.
Once that’s done, you can attach the large front and back pieces in the same way – wrong sides together, and keeping 6mm from the edges in the corners (look for the other stitching). Experienced sewers will be able to do each side in one long stitch that runs from the top to the corner, along the base and back up to the top on the other side. But for us mortals it’s fine to do it in three separate seams. Just remember to backstitch each end for strength because these seams are the ones that will bear the weight of the bag’s contents.
You can trim the corners when you’re done (this will make binding a little easier), but don’t trim them too close to the seam or you’ll end up with tiny visible holes once the binding is put in.
So much binding

Start by binding the short edges of the base.
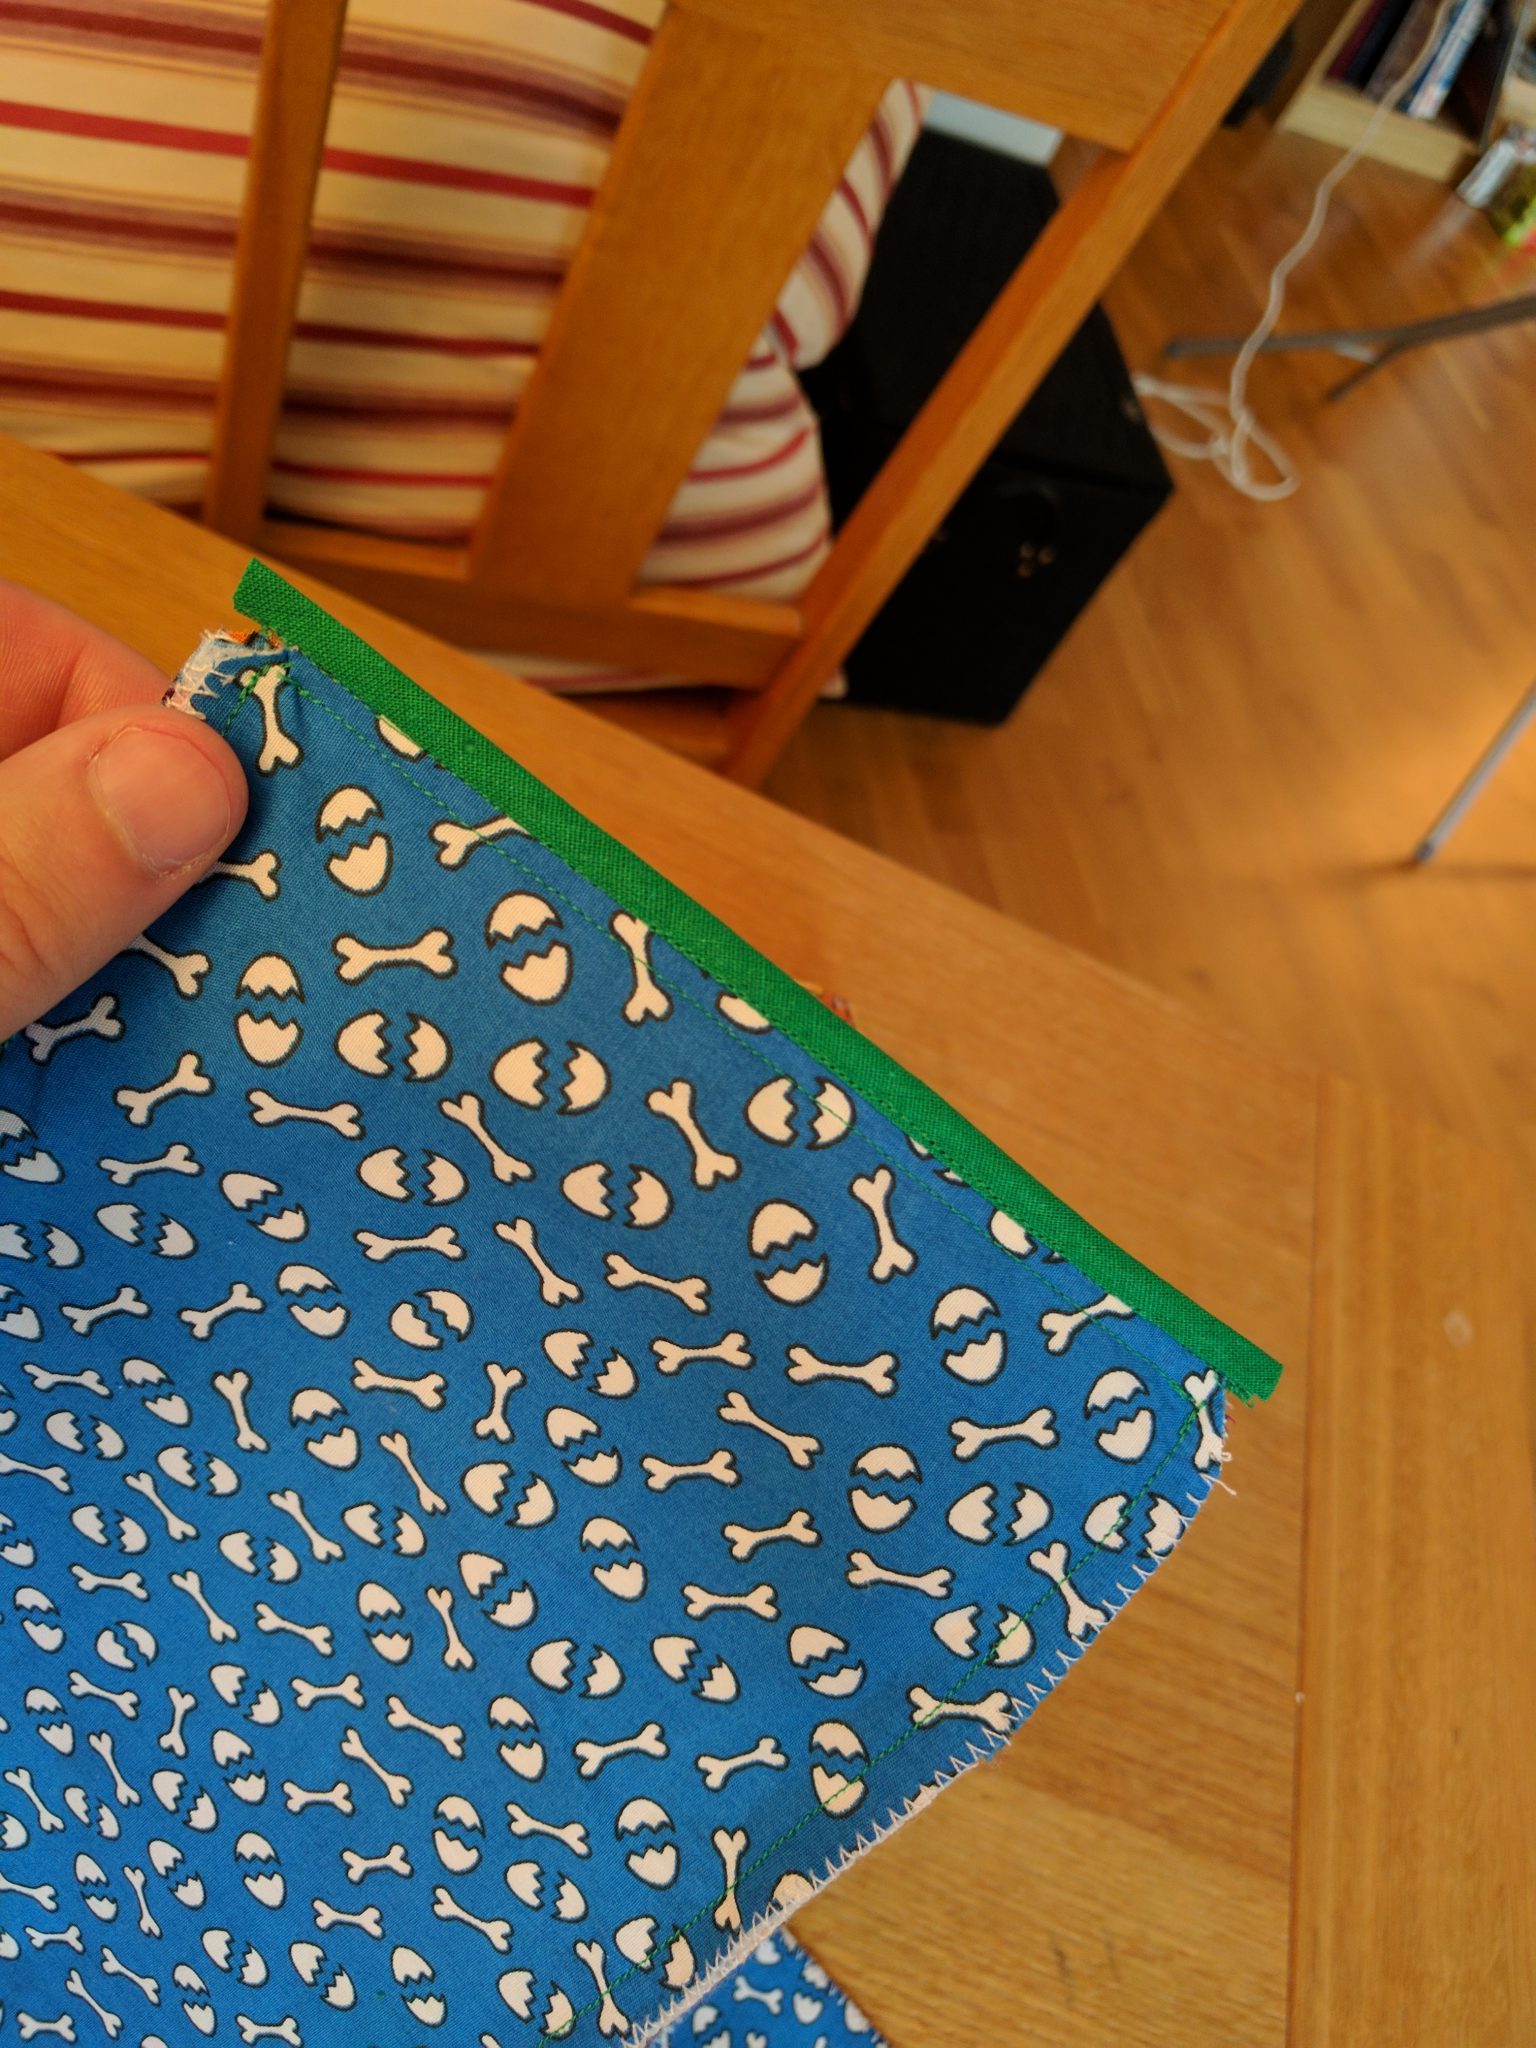
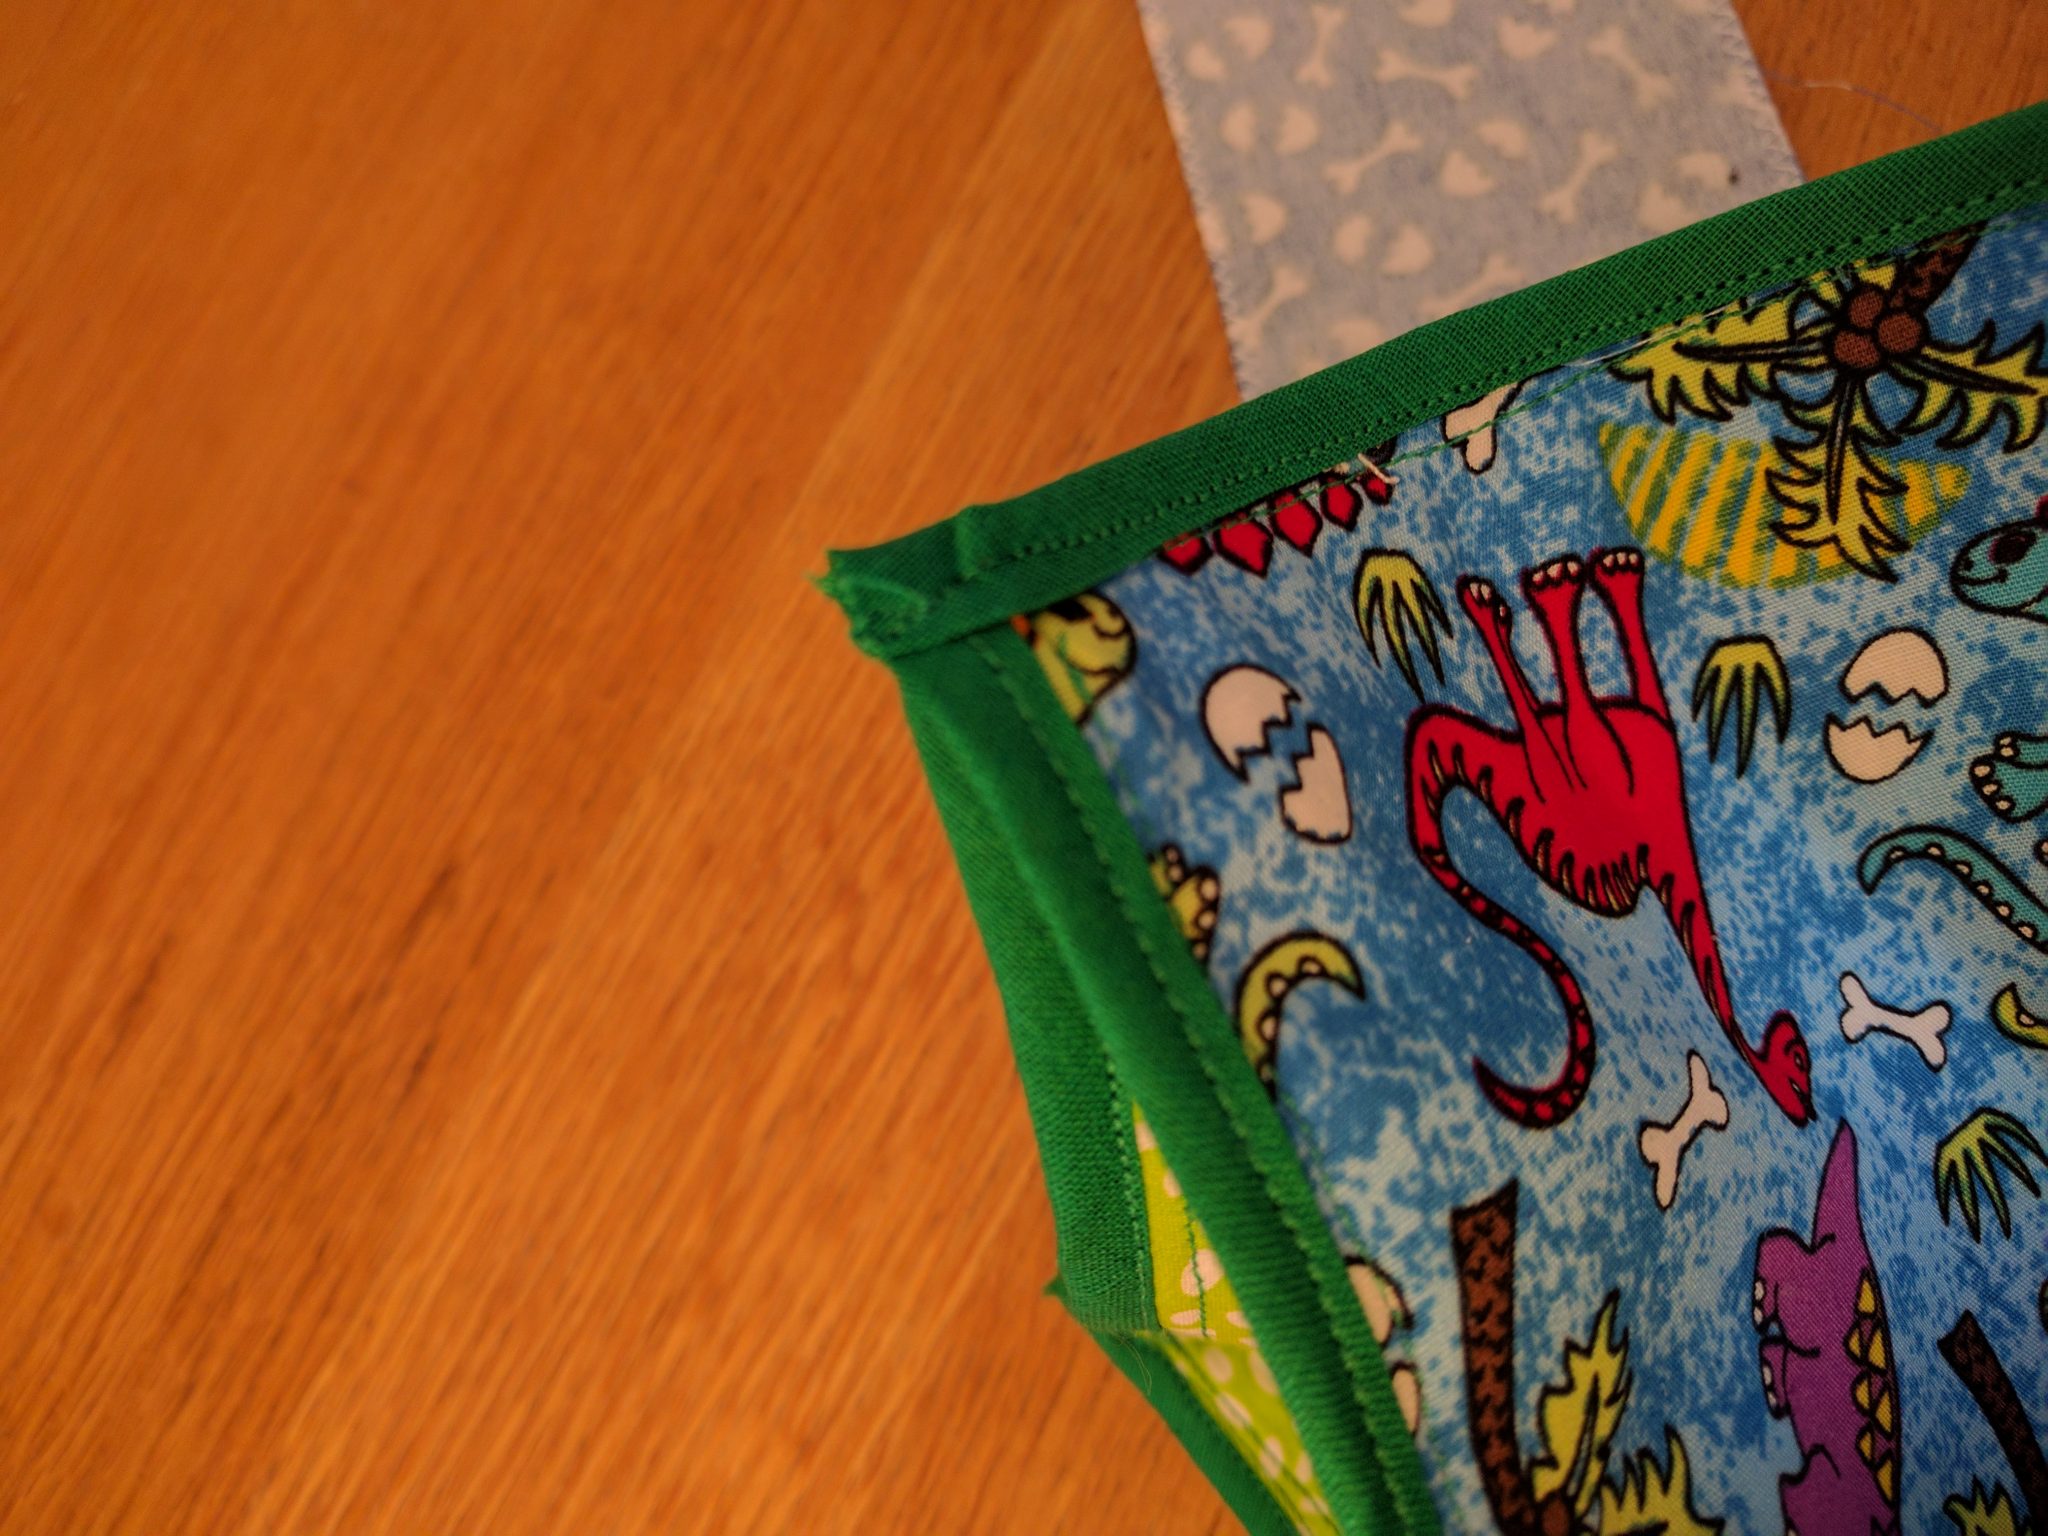
How they’ll look when bound and trimmed to line up with the edges.

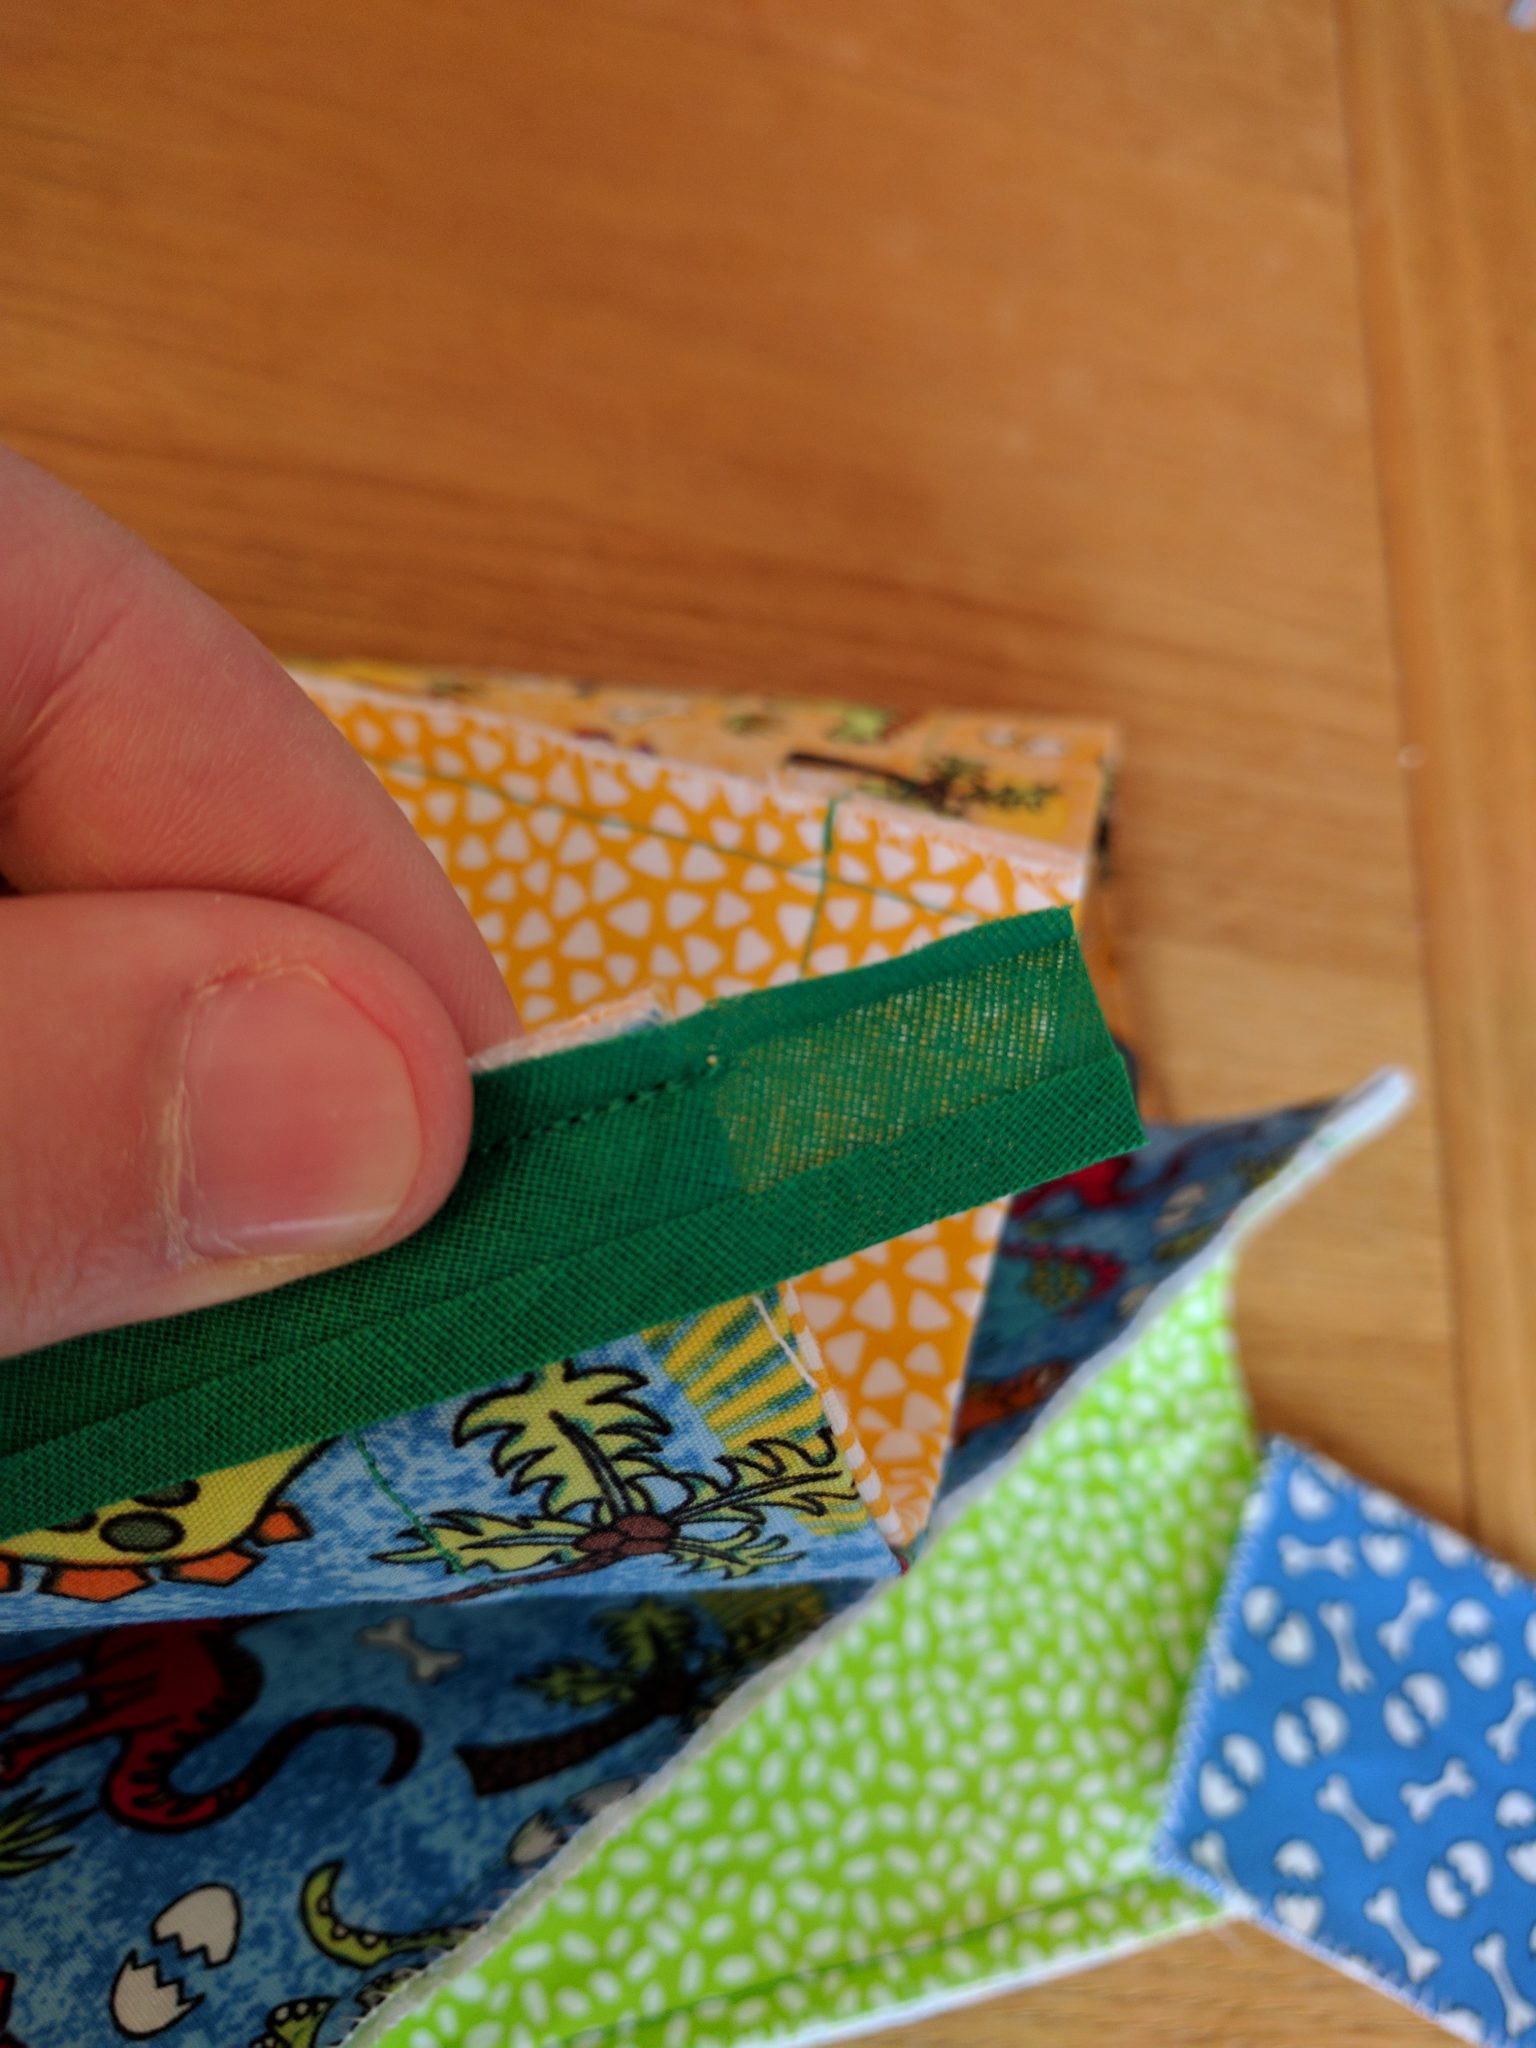
Bind the 4 long vertical edges next, catching the corners.
At the top, fold the ends of the binding over
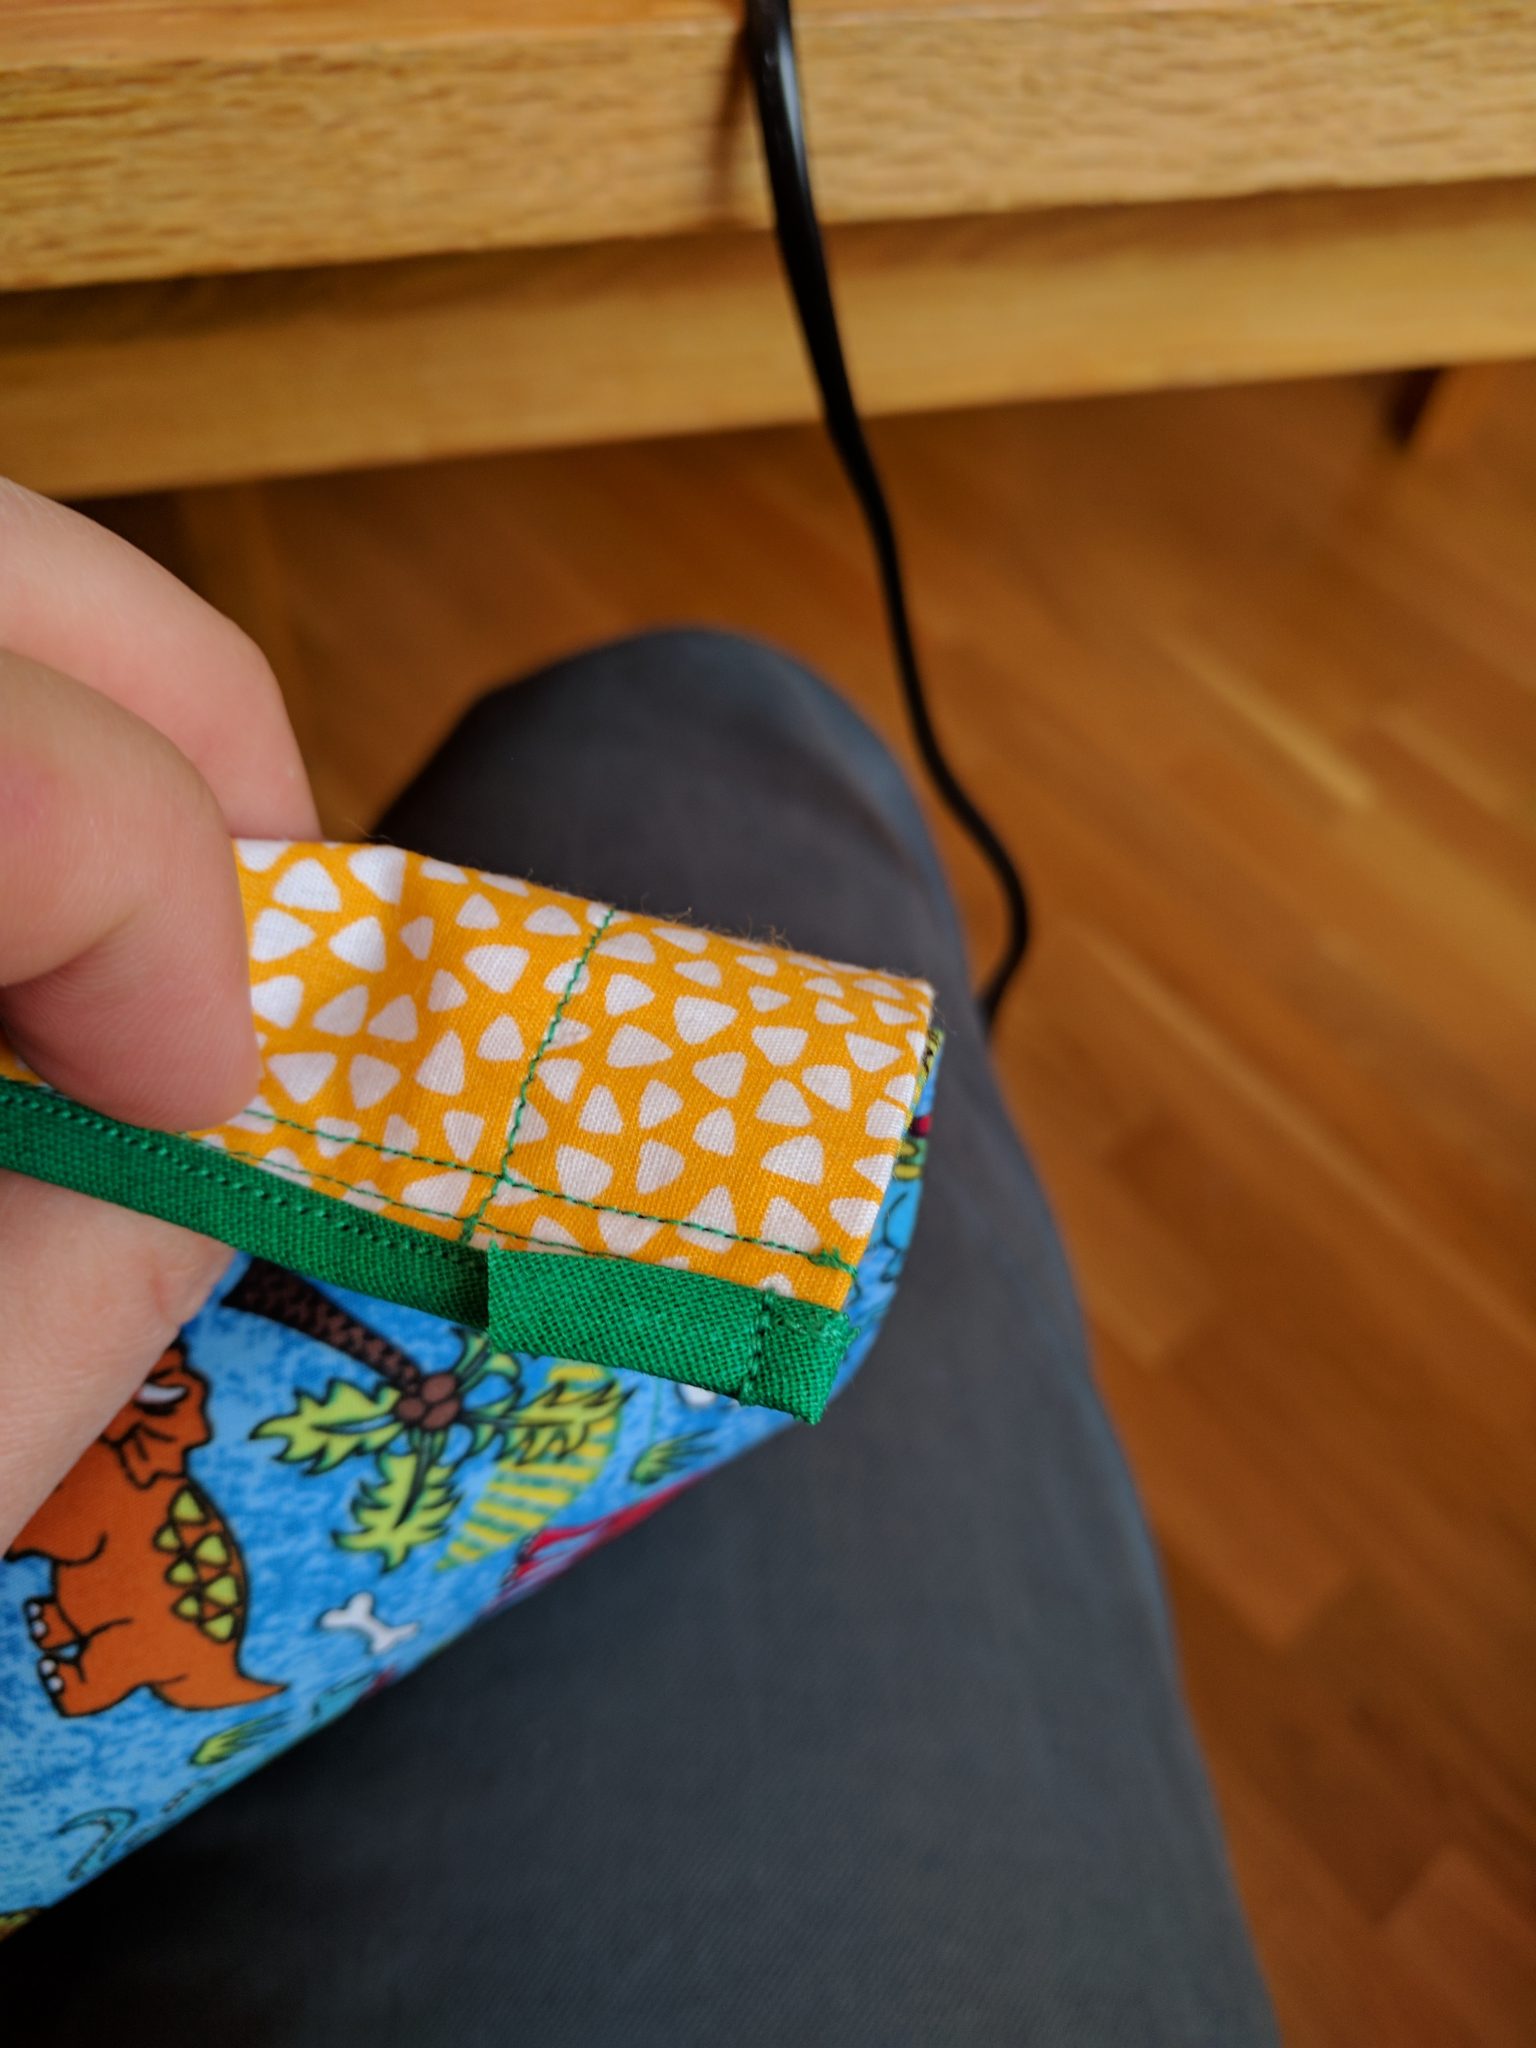
And stick in a little hem and trim.
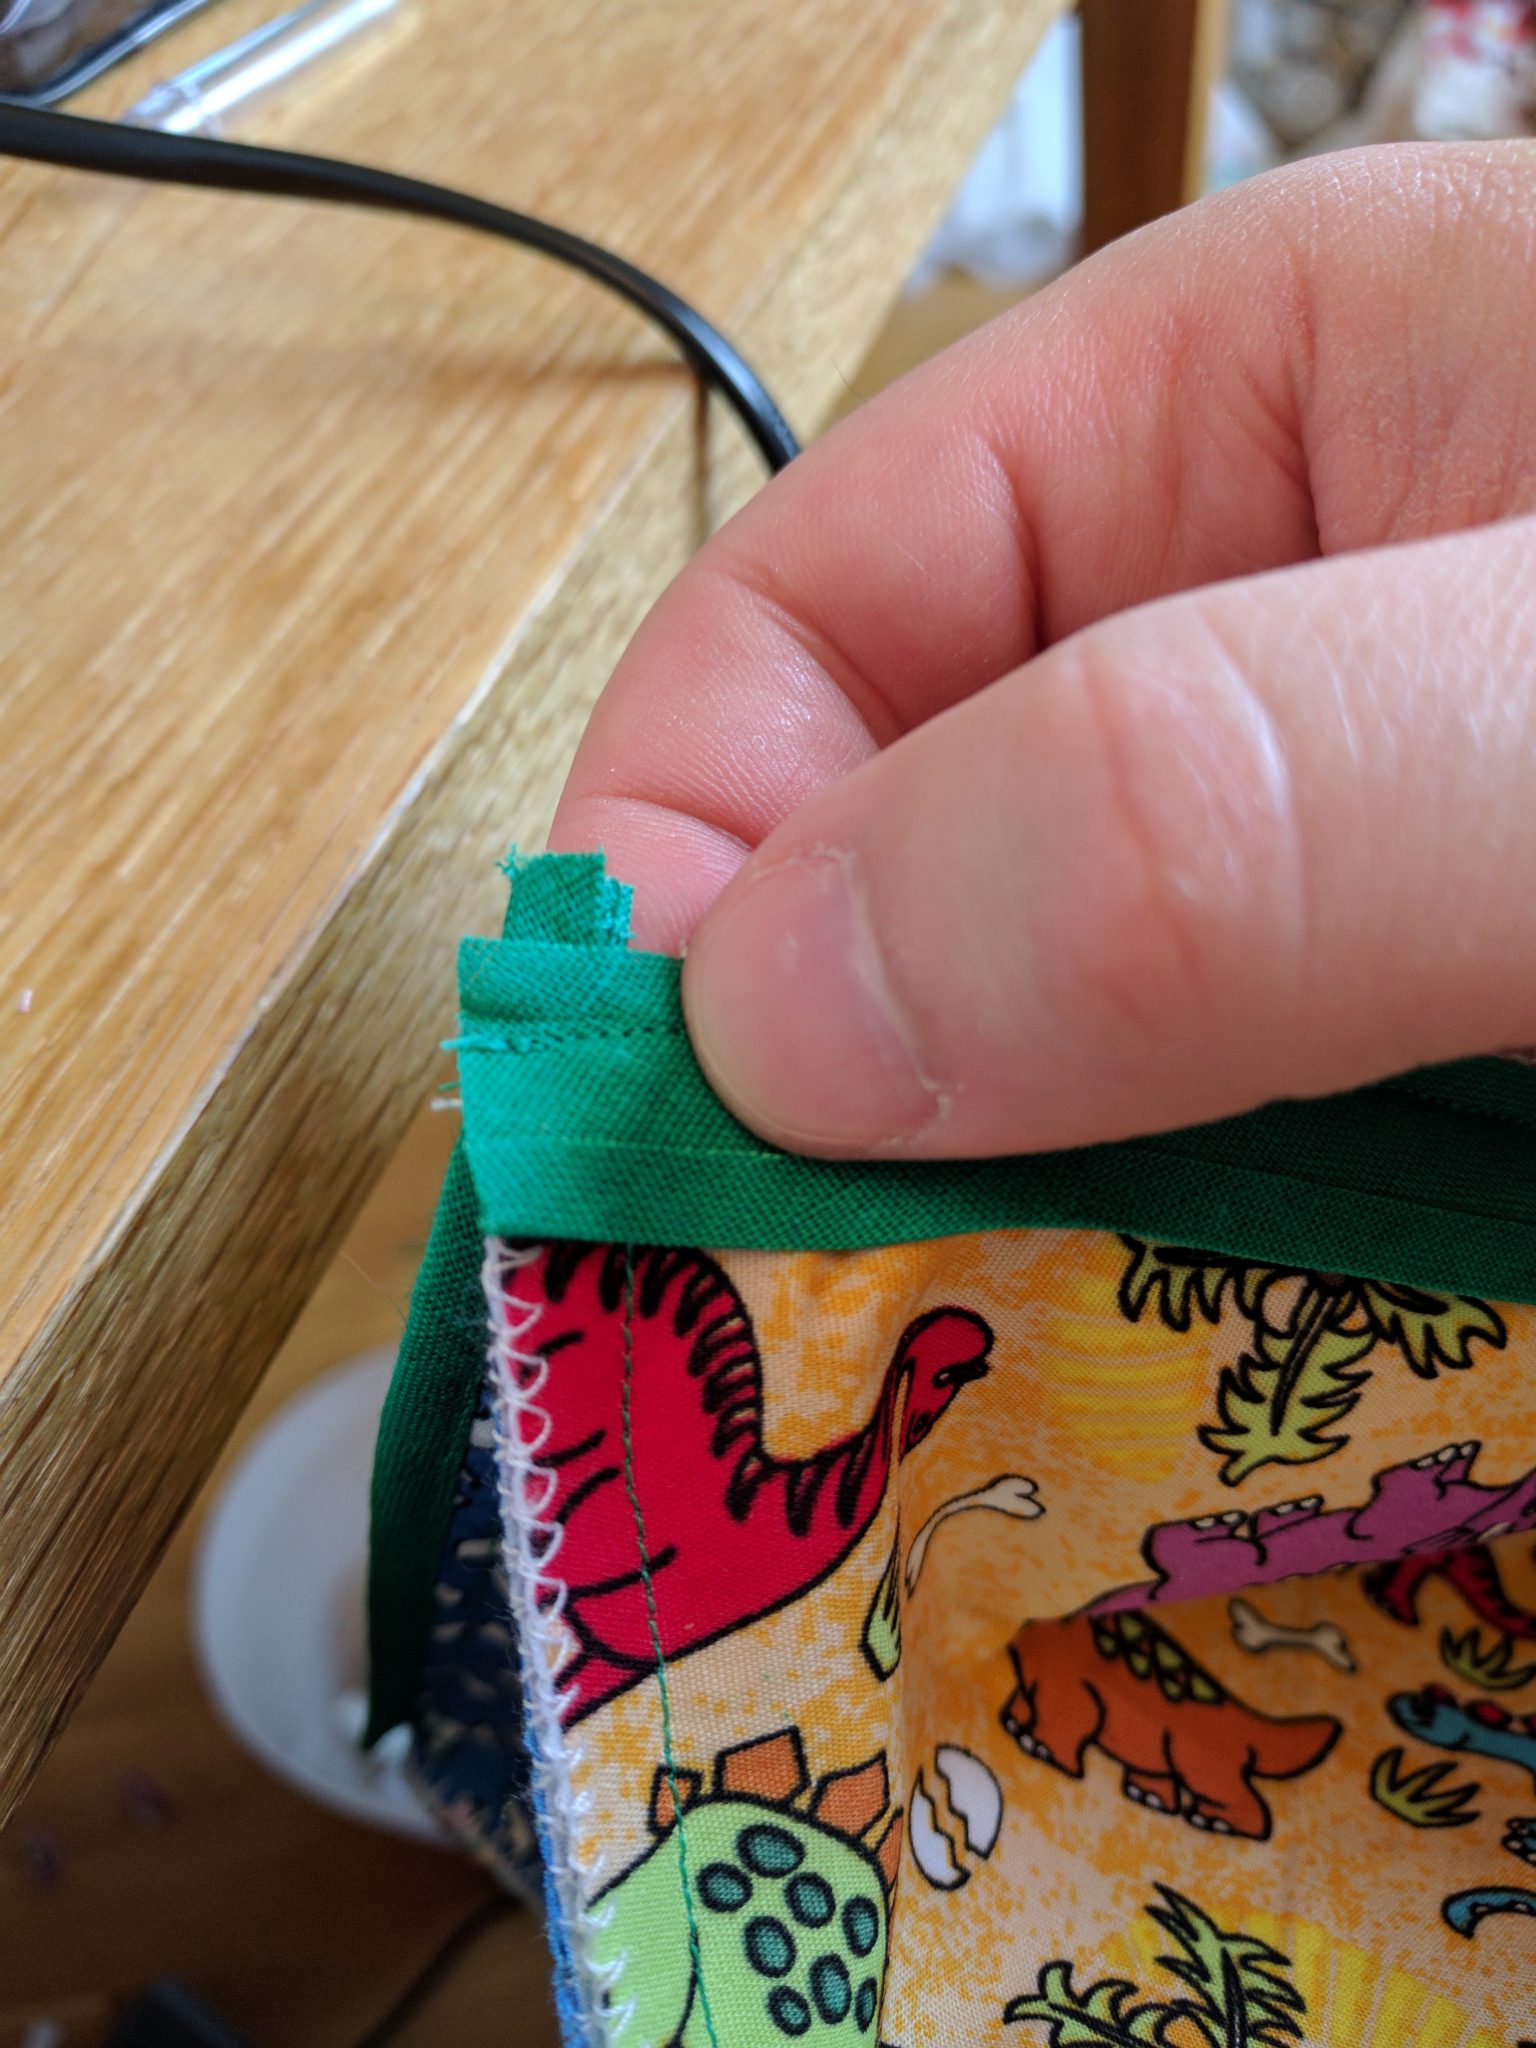
Trim the binding to make sure it lines up
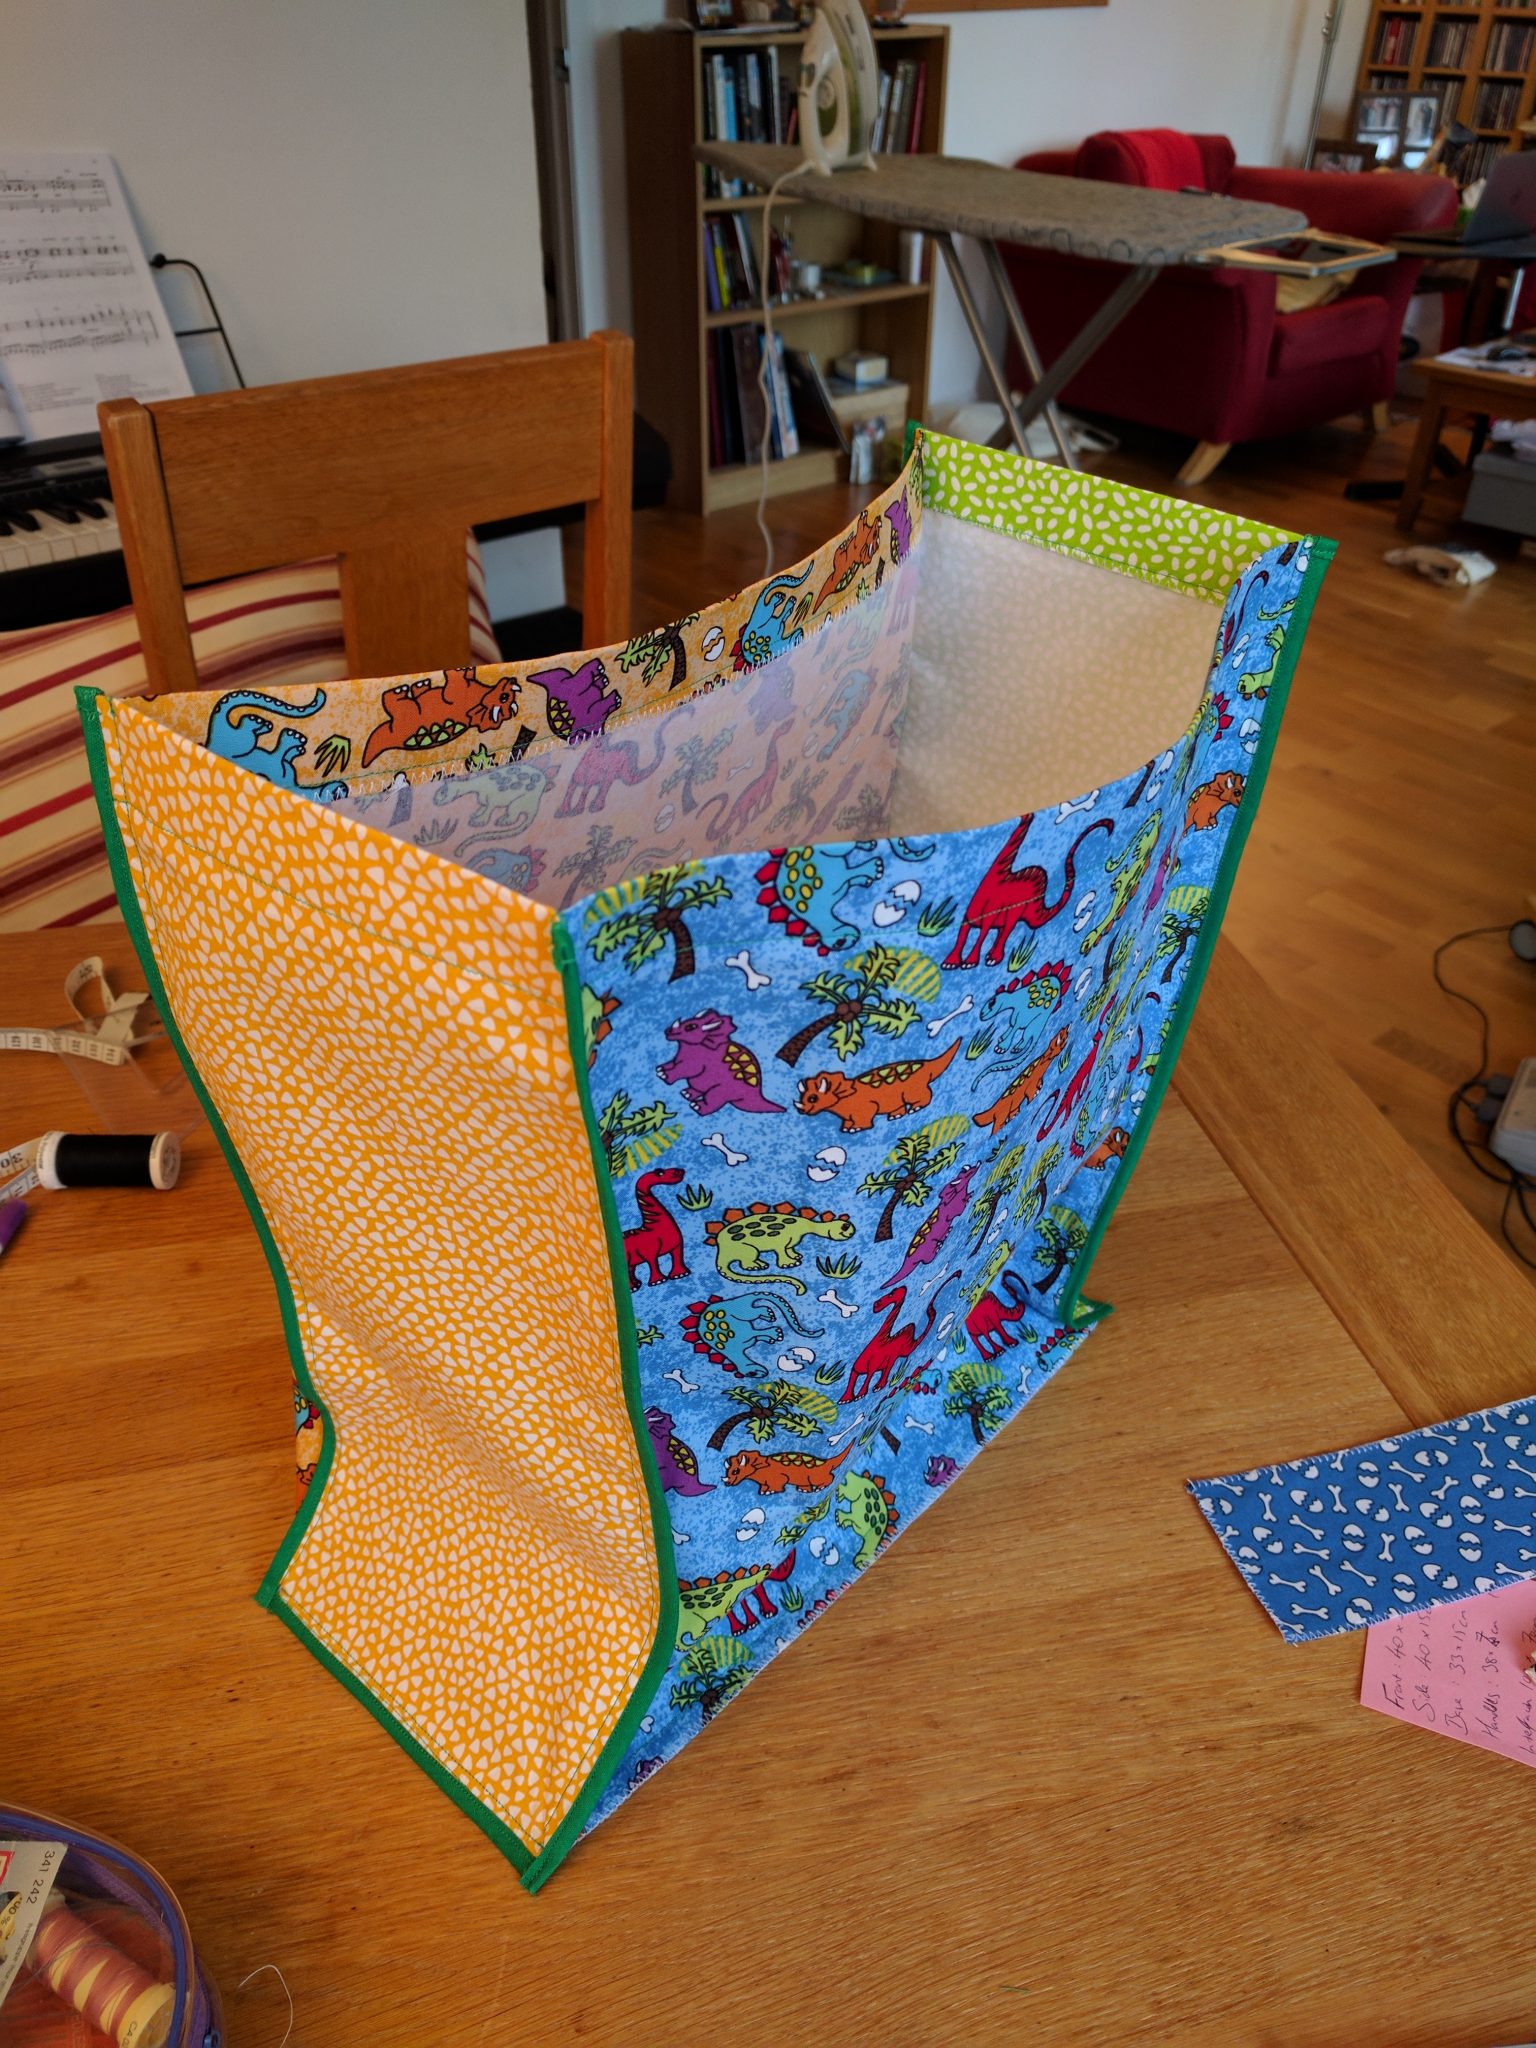
Phew – almost there! 6 seams down, 2 to go.
How it might look with all the three edges sewn together in the corner
Woohoo! An assembled bag.
I’m afraid this is the most boring part.
You need to attach bias binding to all of the seams, 8 in total.
Start by binding the short edges of the base, and trim the binding to line up with the seams it’s perpendicular to.
Next, bind the long vertical edges, making sure you catch onto the ends of the other binding at the corners. At the top, fold over and put in a small hem 6mm from the top (and trim).
Finally, bind the two long edges on the base, making sure you catch onto the underside of the “corner” binding from the other two seams at each end. Trim the final binding so everything’s nice and tidy.
OK! You’ve got yourself a bag. It just needs handles now.
The handles
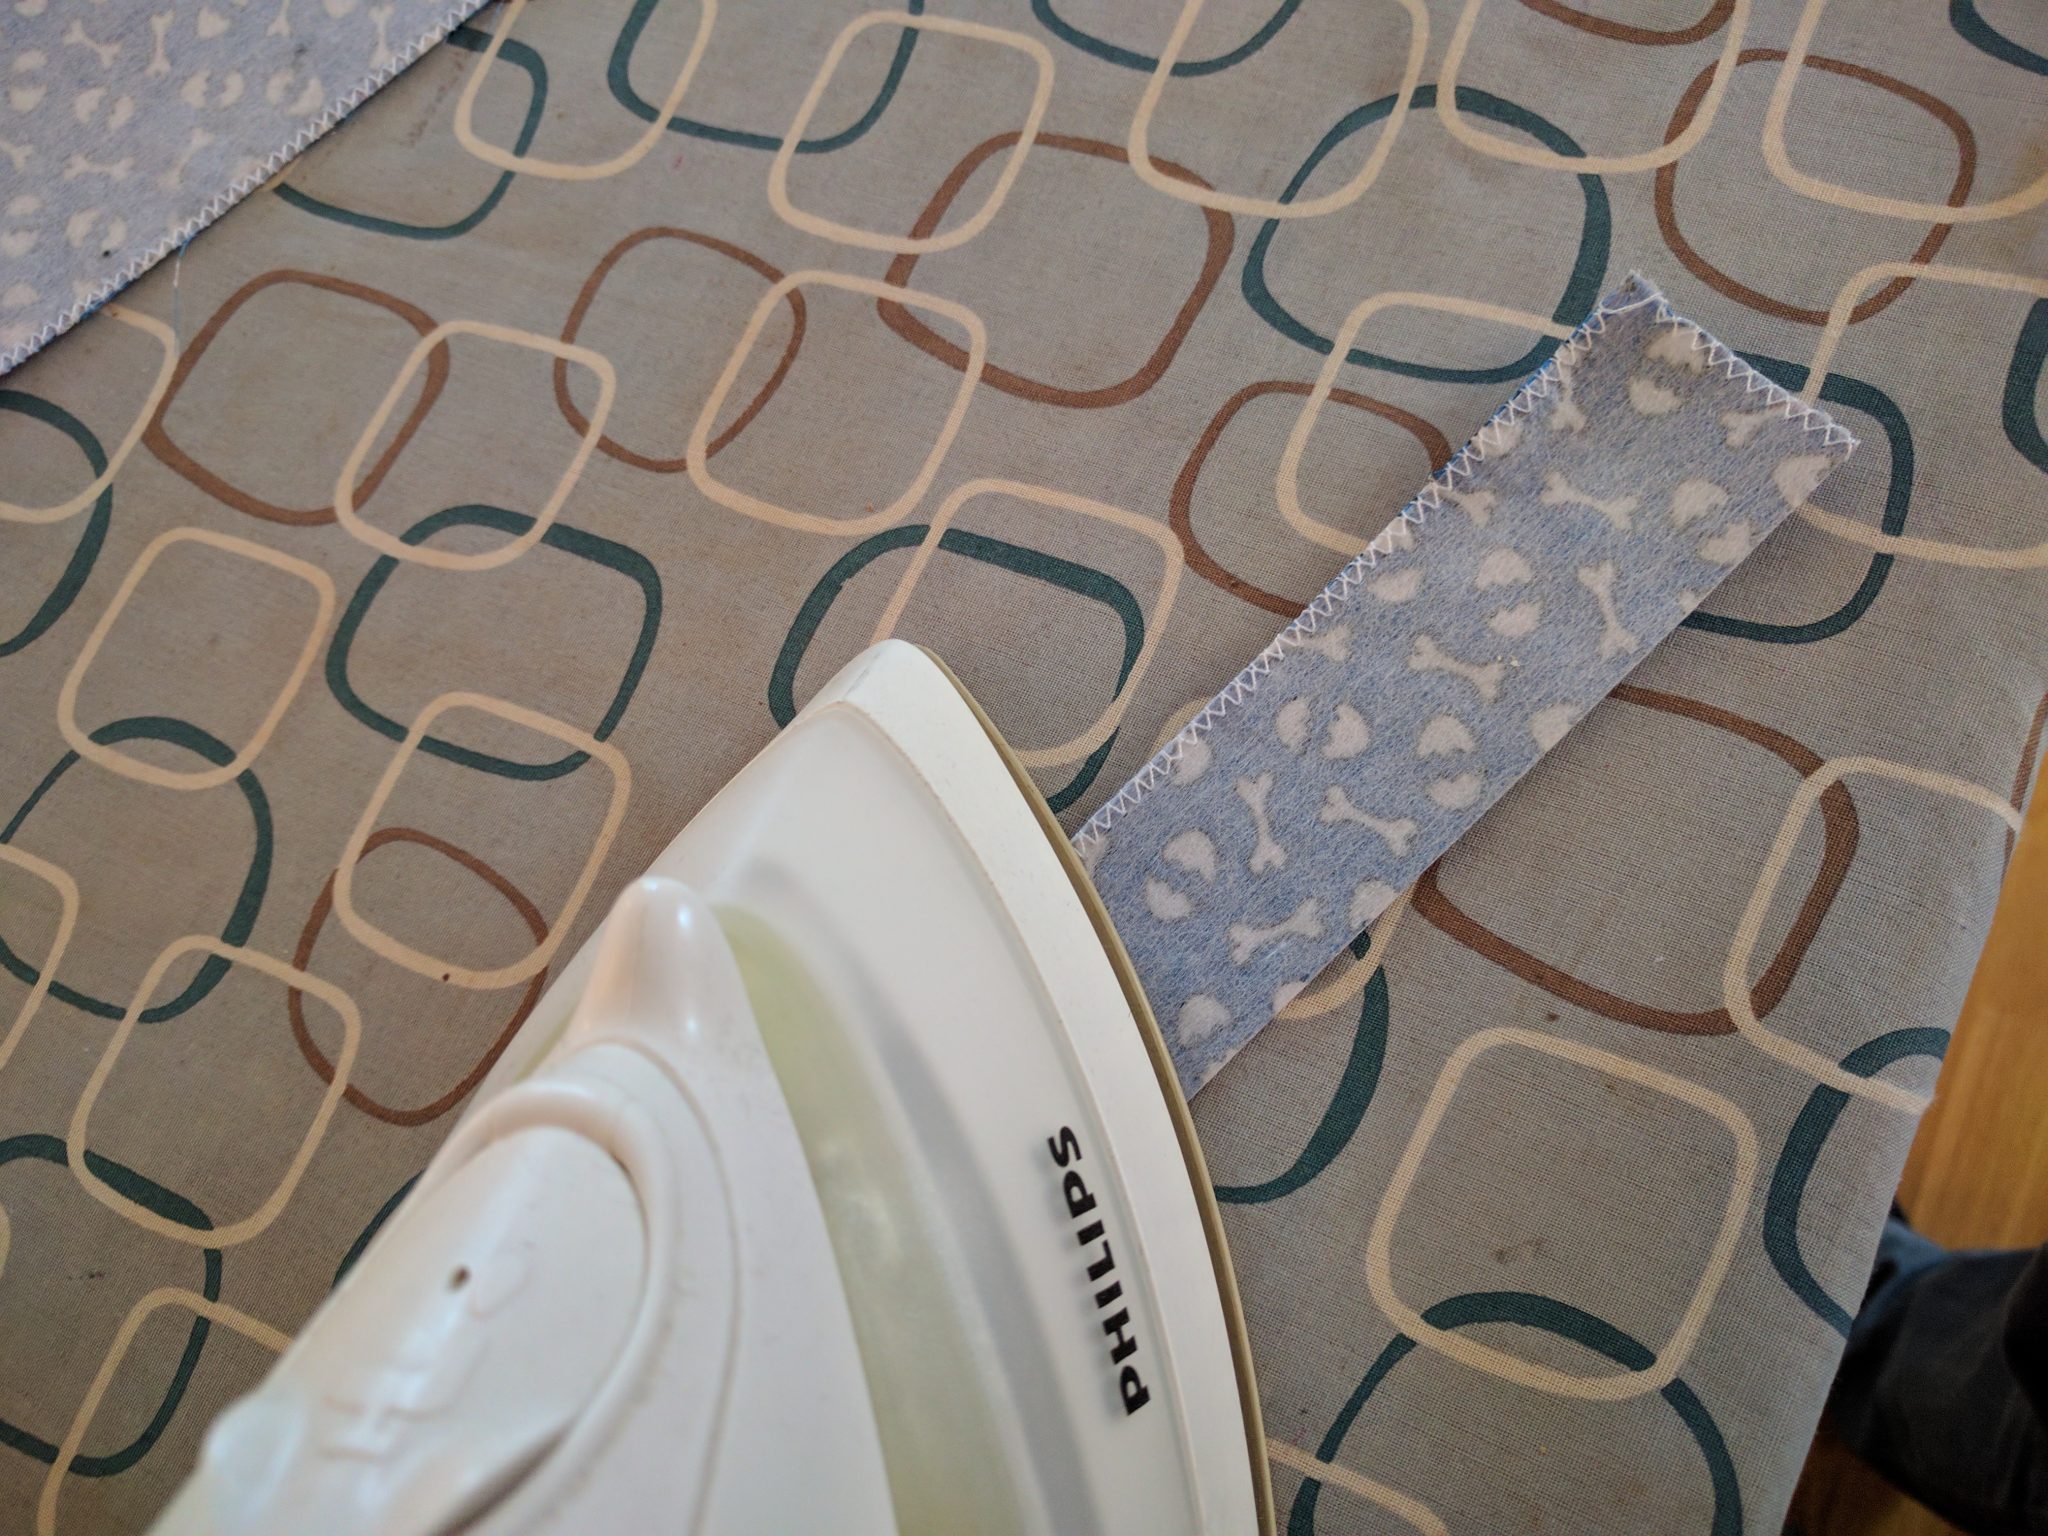
Press in half right sides together
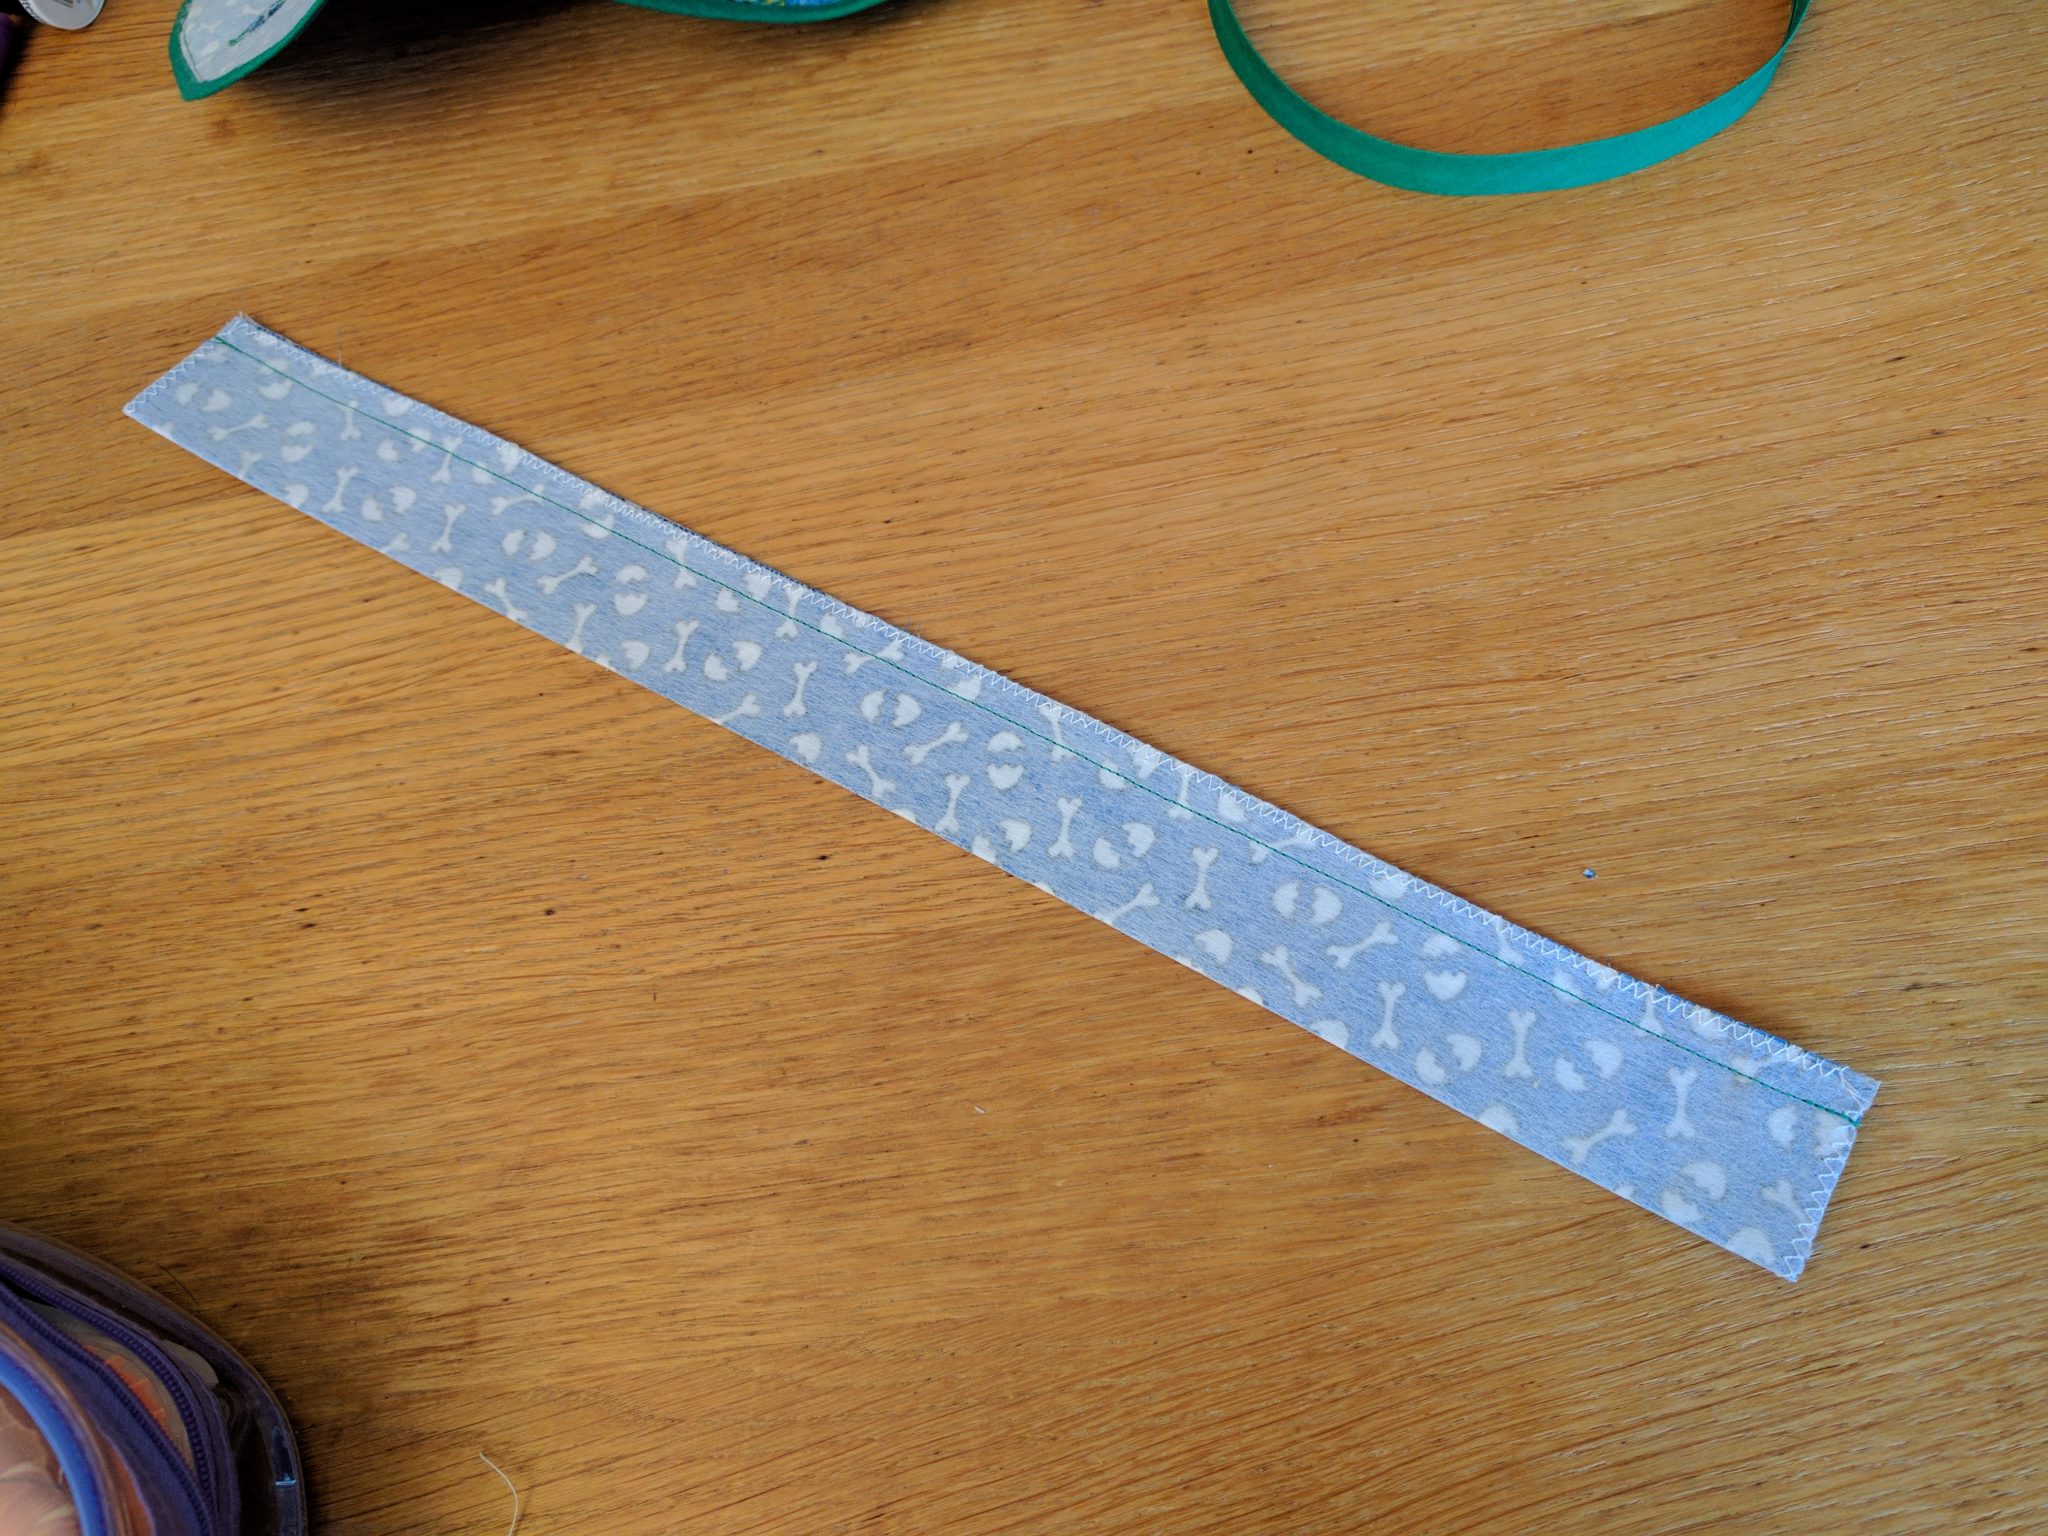
Sew handle closed with a 6mm seam
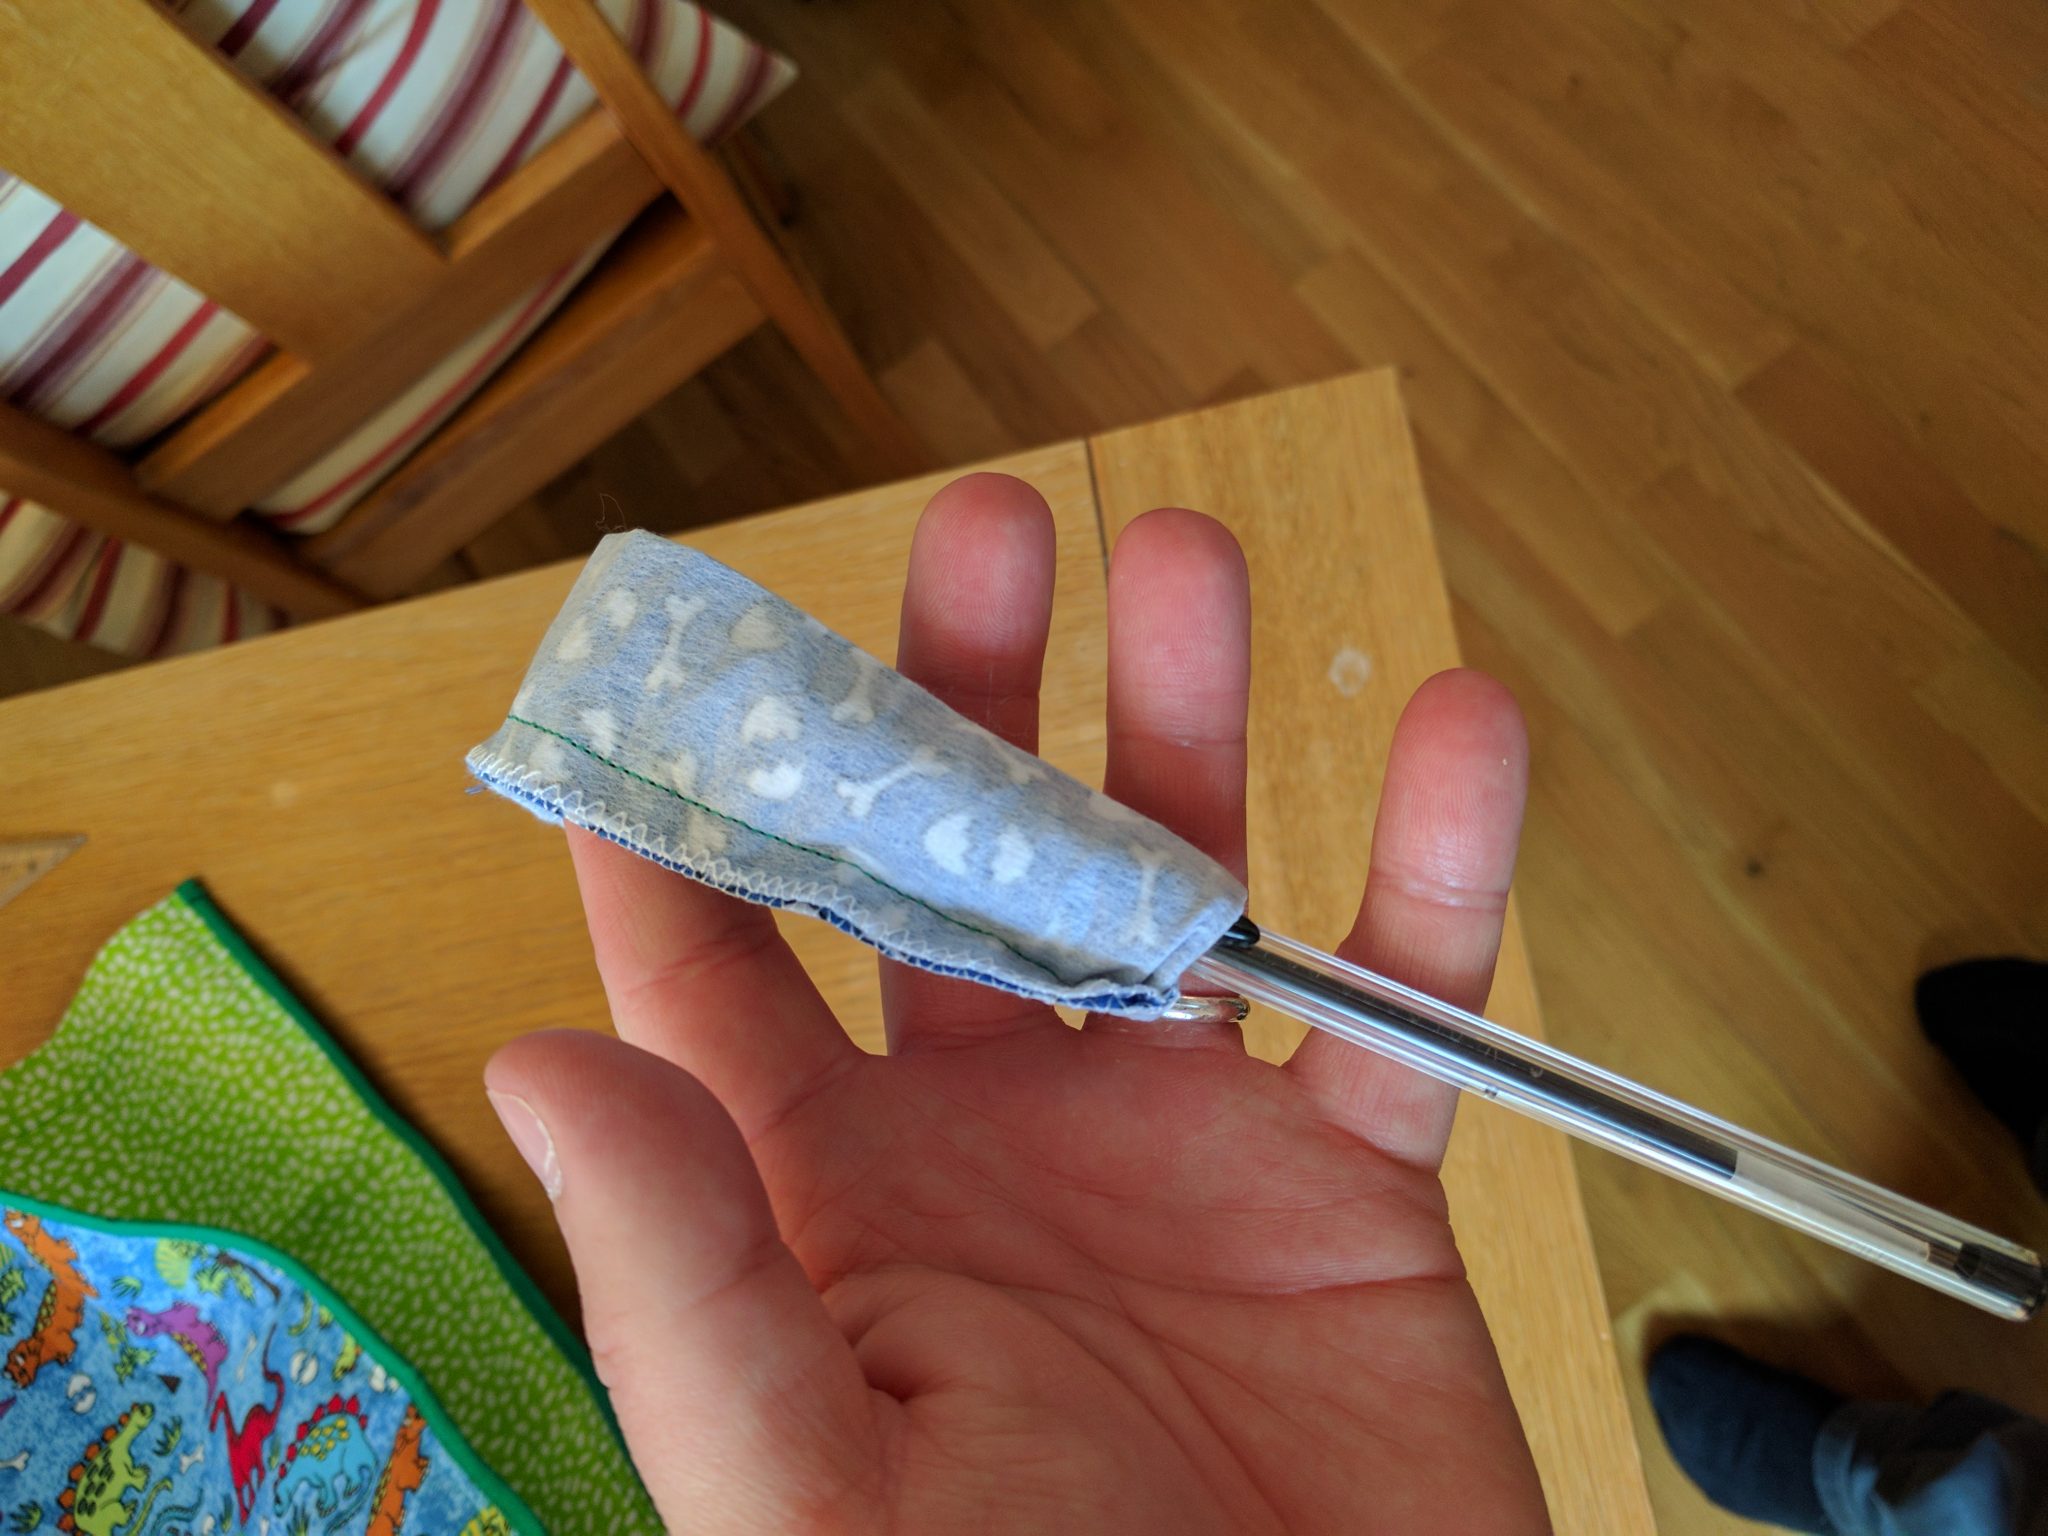
Pull it through

And iron flat
To make the handles, fold the handle pieces in half lengthways, right sides together. Sew in a 6mm seam, backstitching at each end. Then pull the piece rightside out and press it flat.

Pin the handle to the inside of the front hem
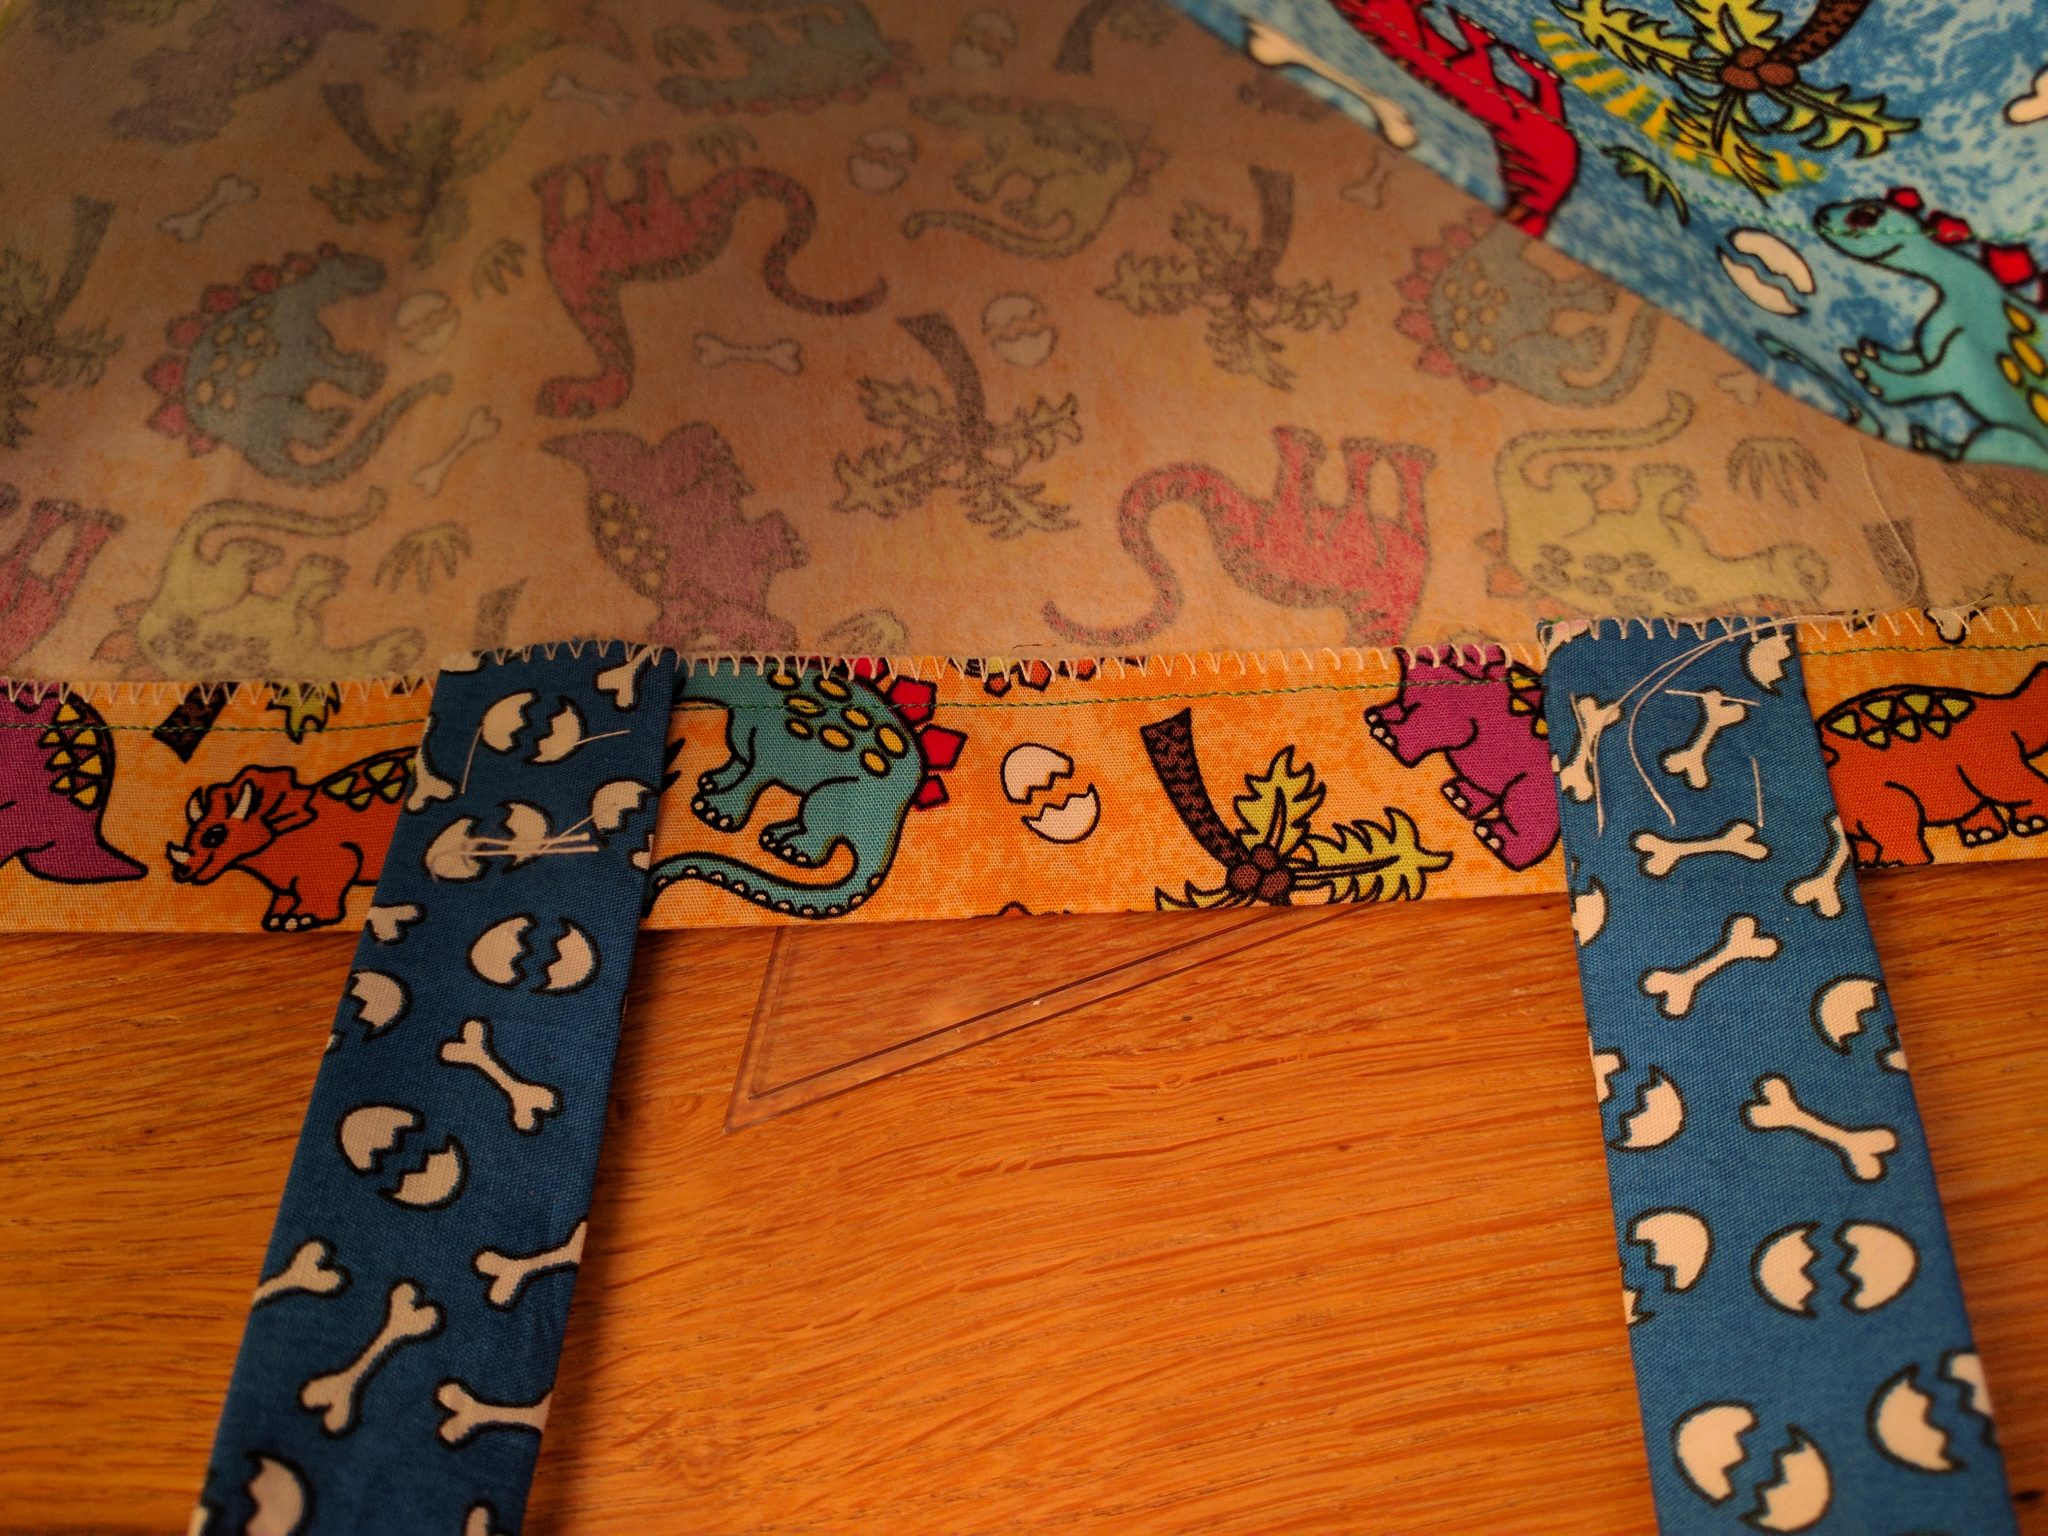
Tack the handles into place and remove the pins
Sew over the hem stitch and again close to the very edge
Sew vertical and X stitches to strengthen
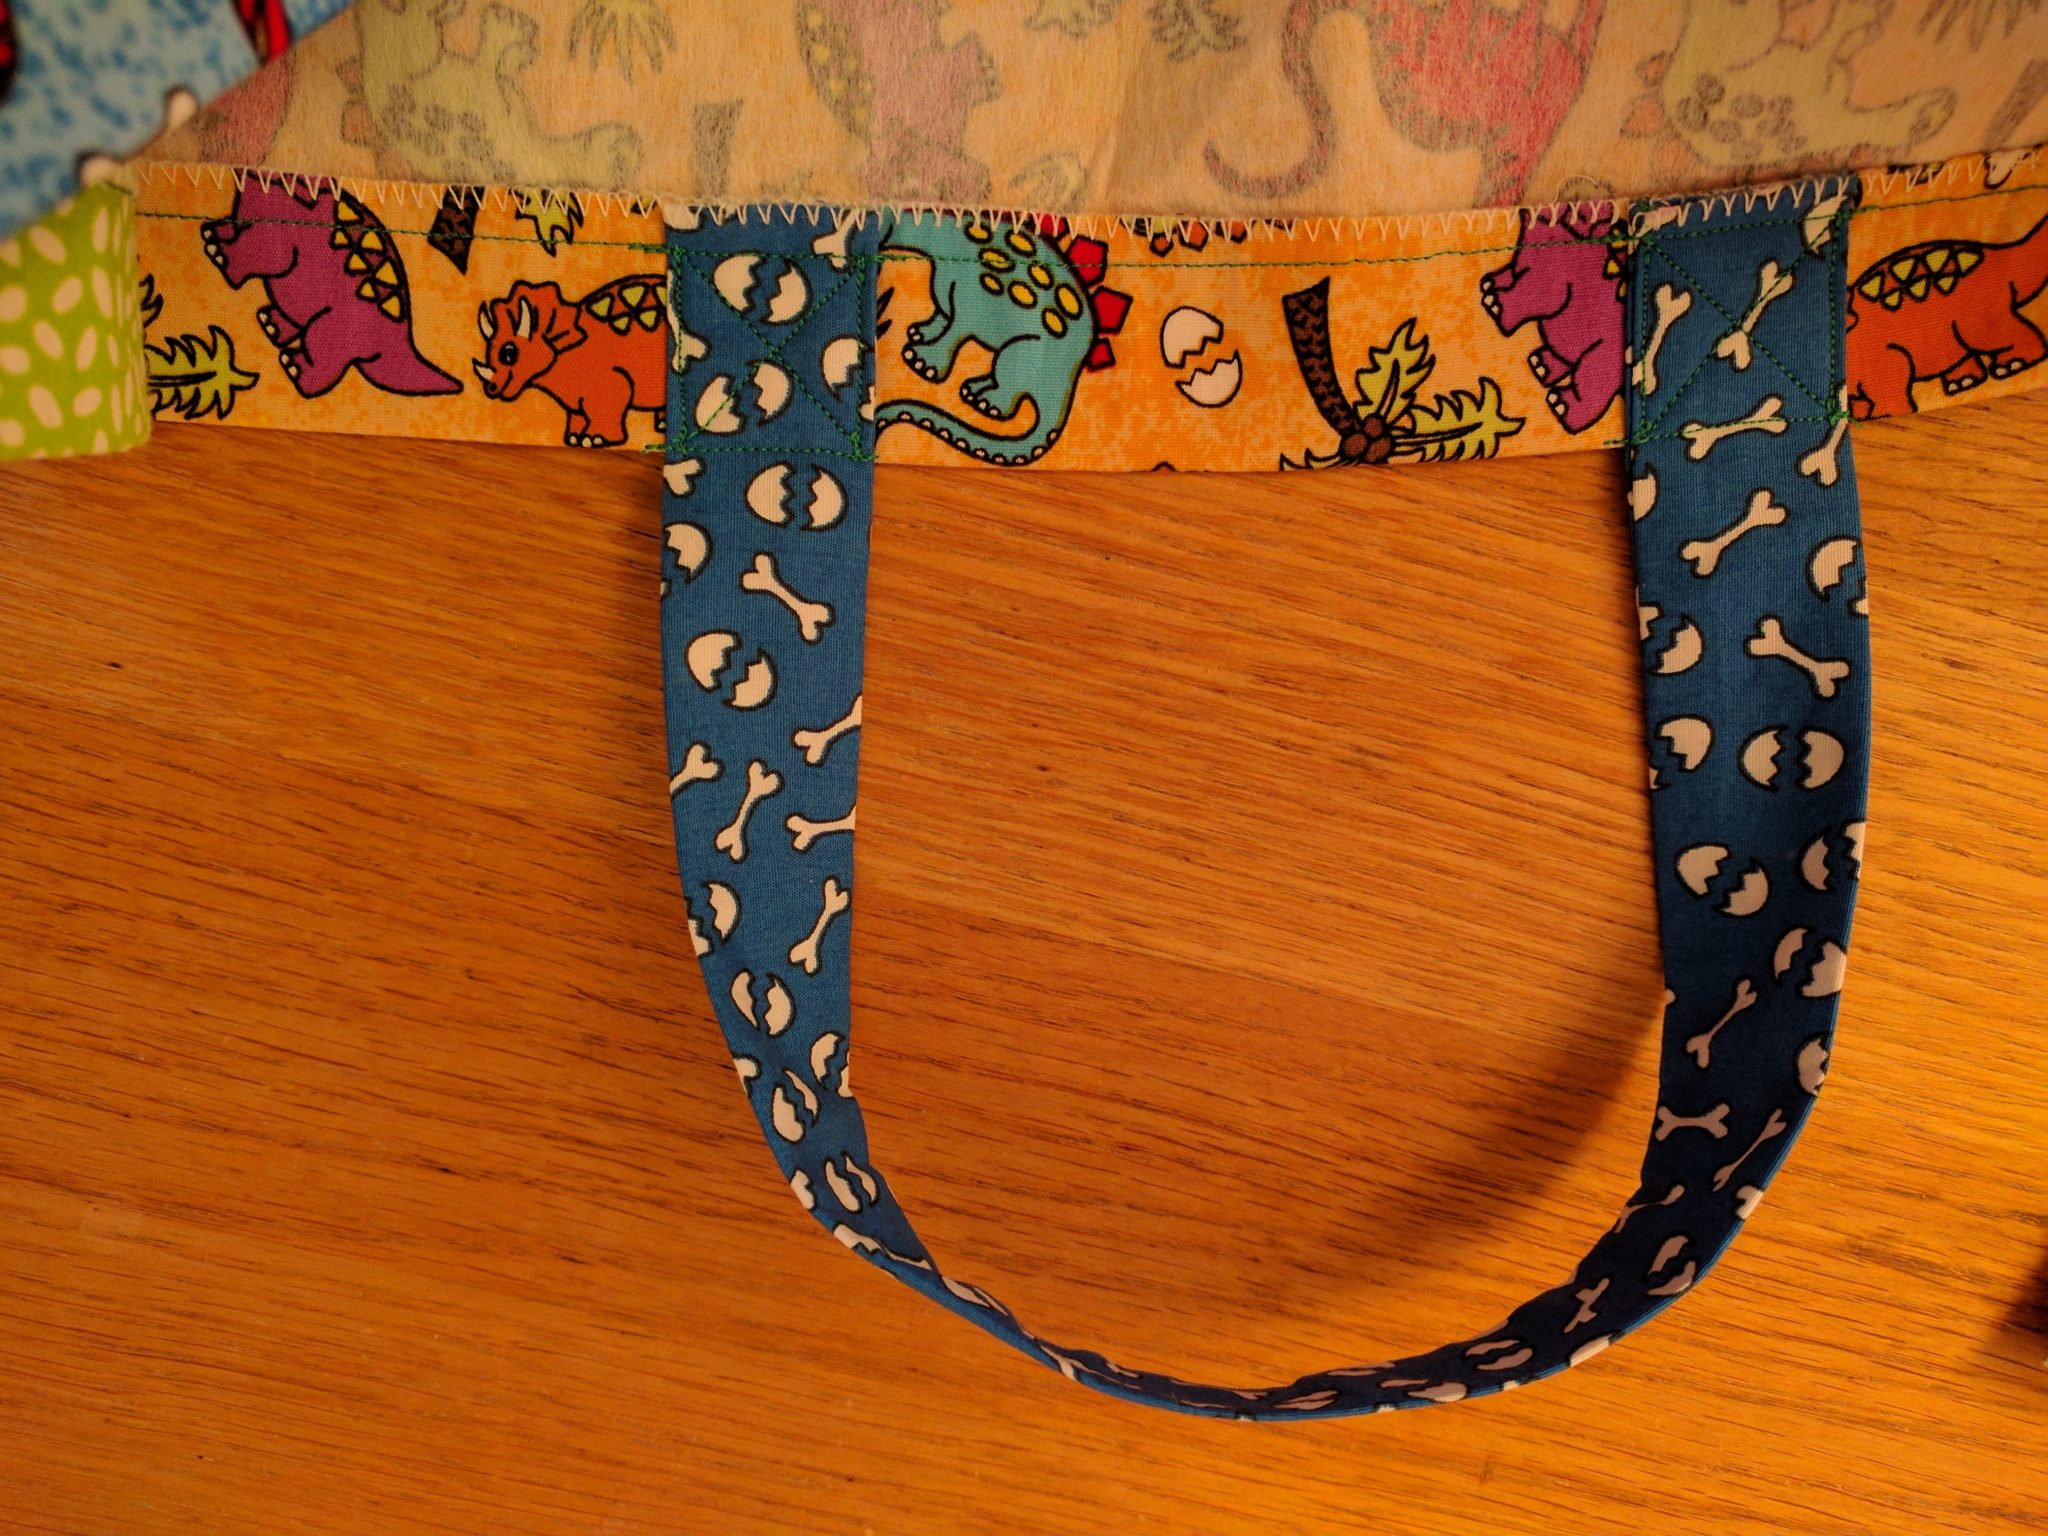
Pin the ends of the handles to the inside of the hem on the front piece, so their greatest distance from each corner seam is 11cm. Tack them in place and remove the pins.
Sew a stitch (backstitching as always) over the hem stitch and another one close to the very edge of the fabric where it was folded for the hem.
Now sew vertical stitches and an X shape in the middle to create a crossed box for strength and stability.
Do the same with the other handle on the back piece.
Finishing off
Fold the sides in half and collapse the bag flat
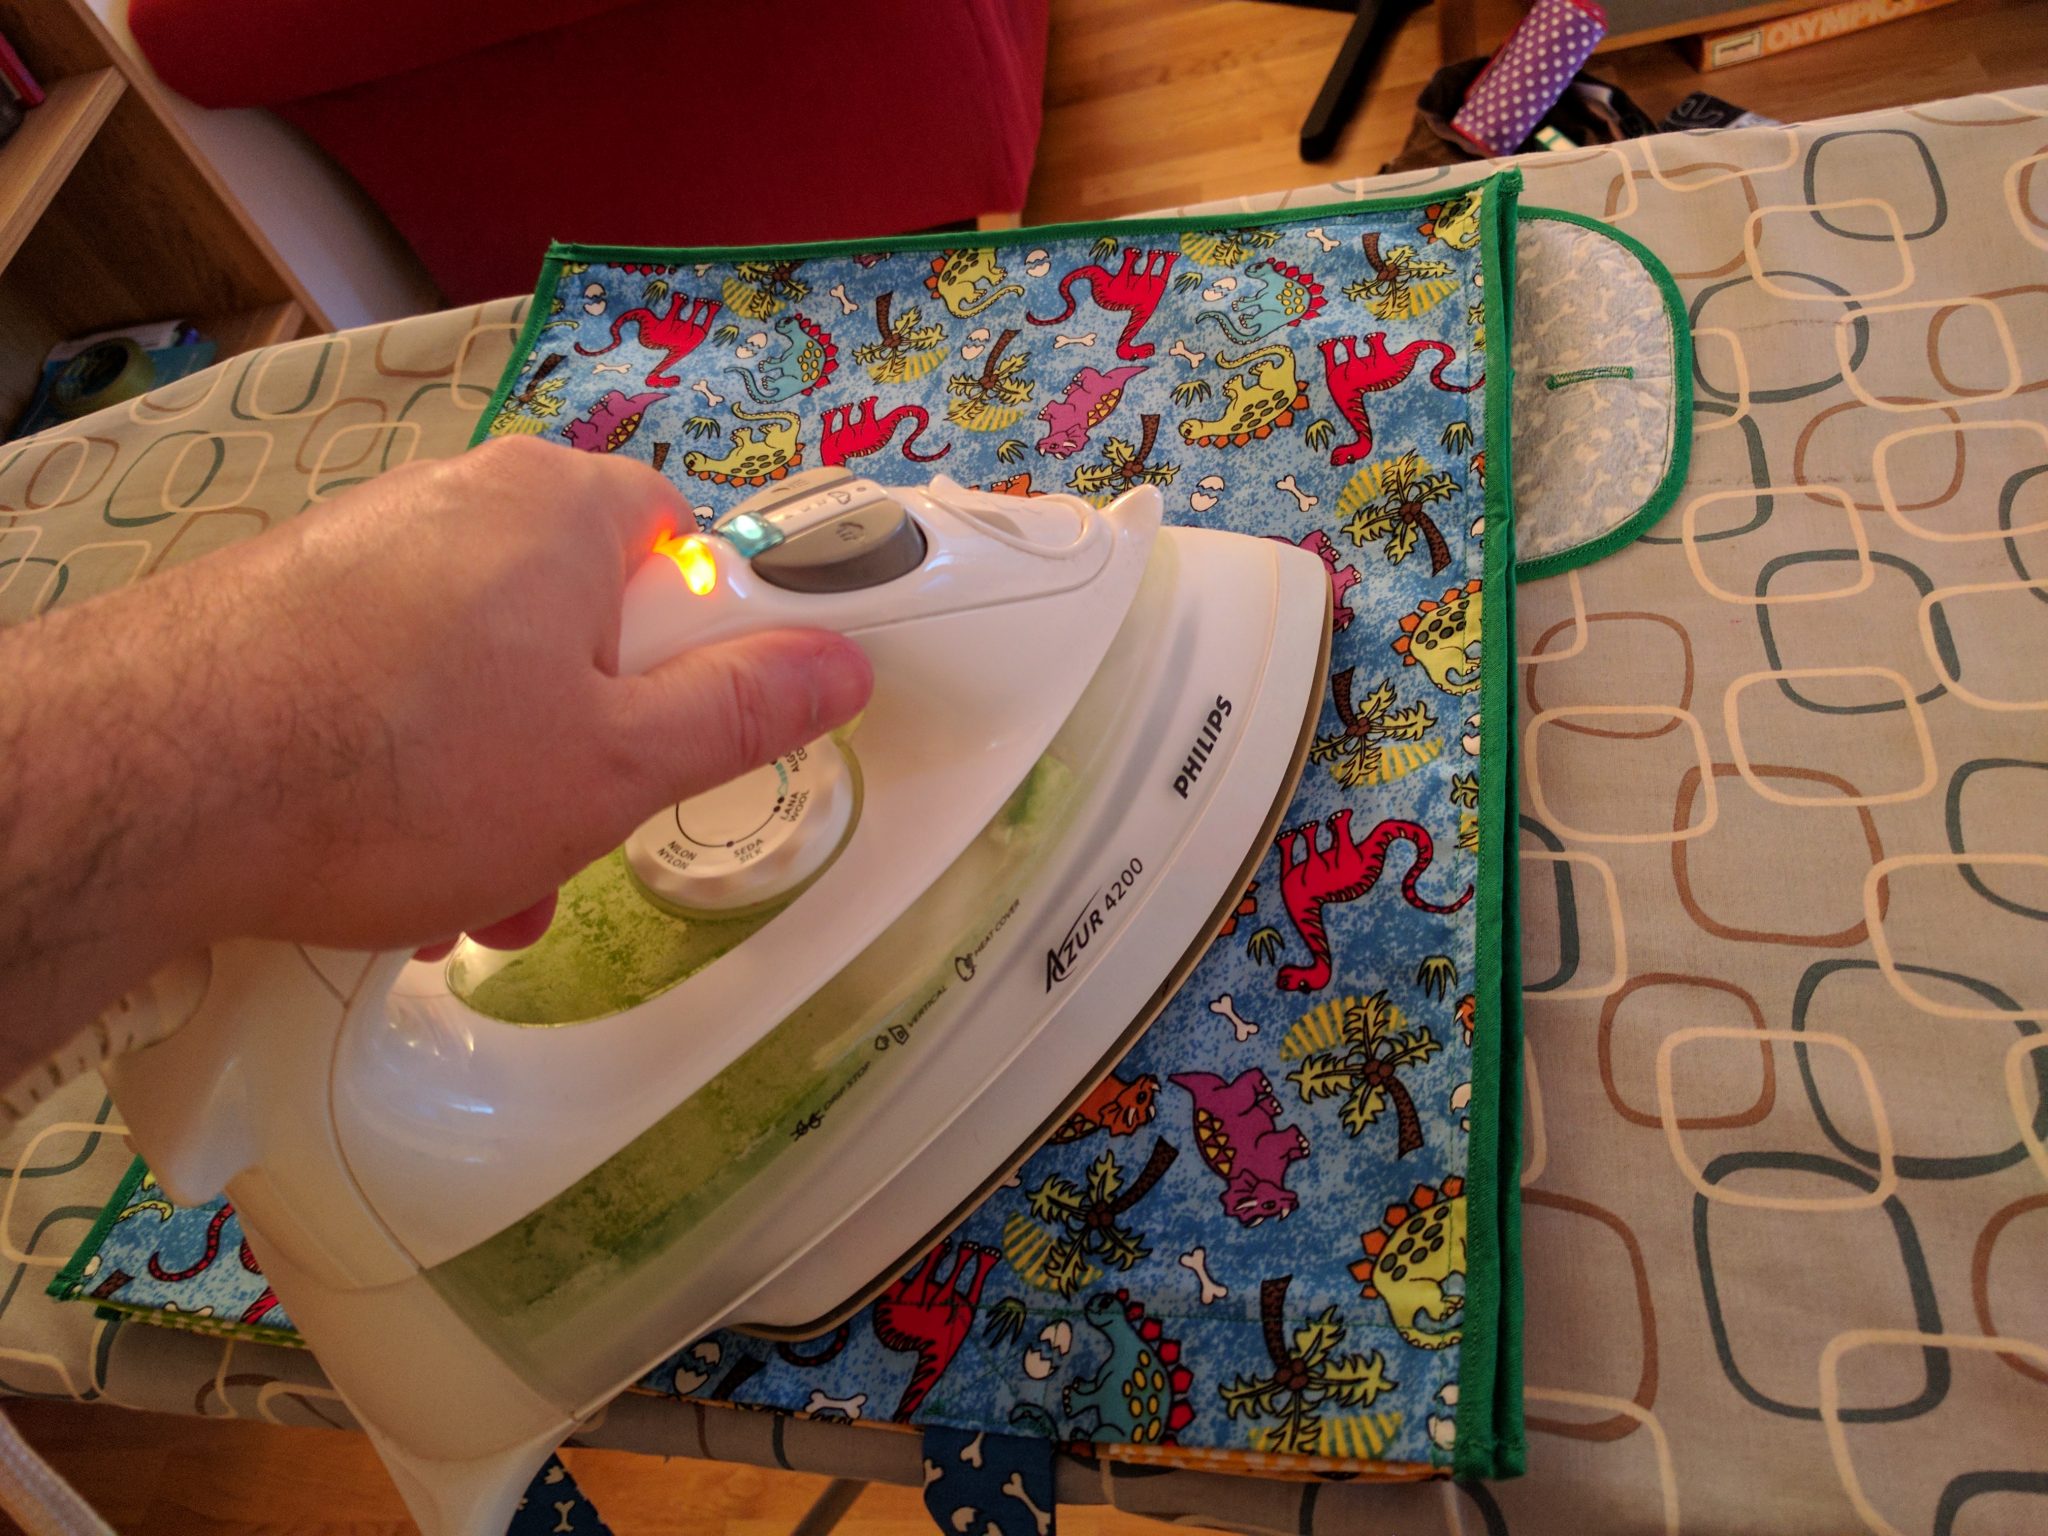
Press flat every time you fold so it collapses nicely
Fold it up so it fits inside the base and press
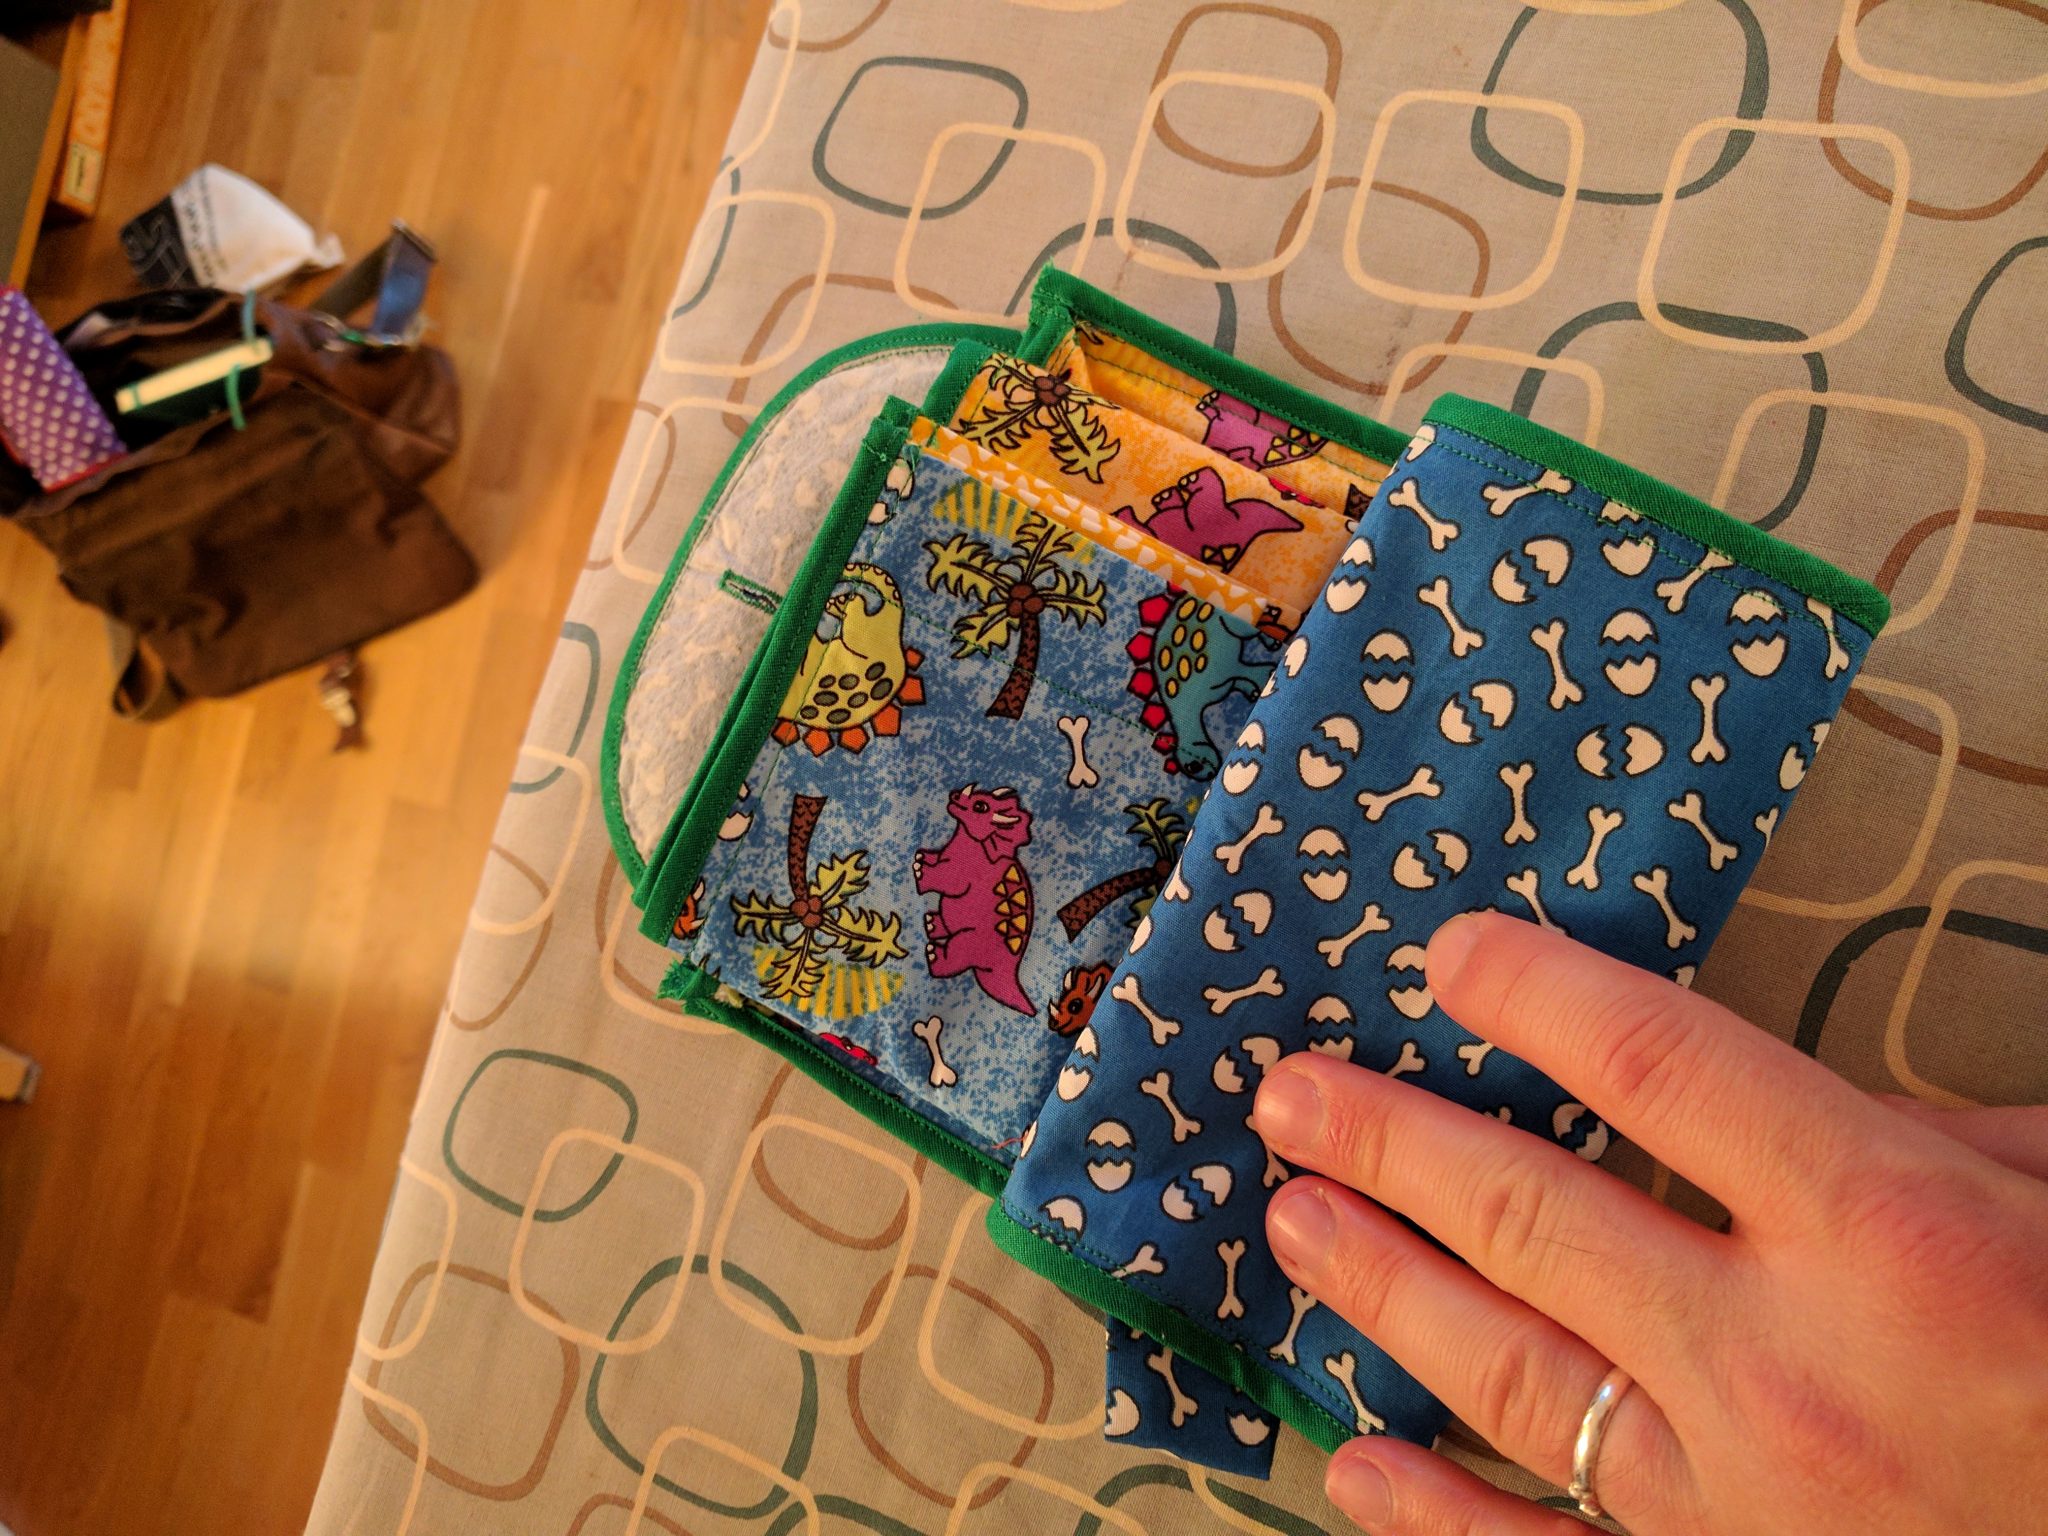
Now roll it up and press again
Collapse the bag by folding the two sides inwards in half – it’s OK that they get a sort of triangle fold close to the base. Once the bag is collapsed, press these folds into place.
Now fold it up in a concertina so the longest edges fit inside the short edges of the base, and press again.
Finally, “roll” fold the long edge of the base several times to form a tiny parcel and press it again.

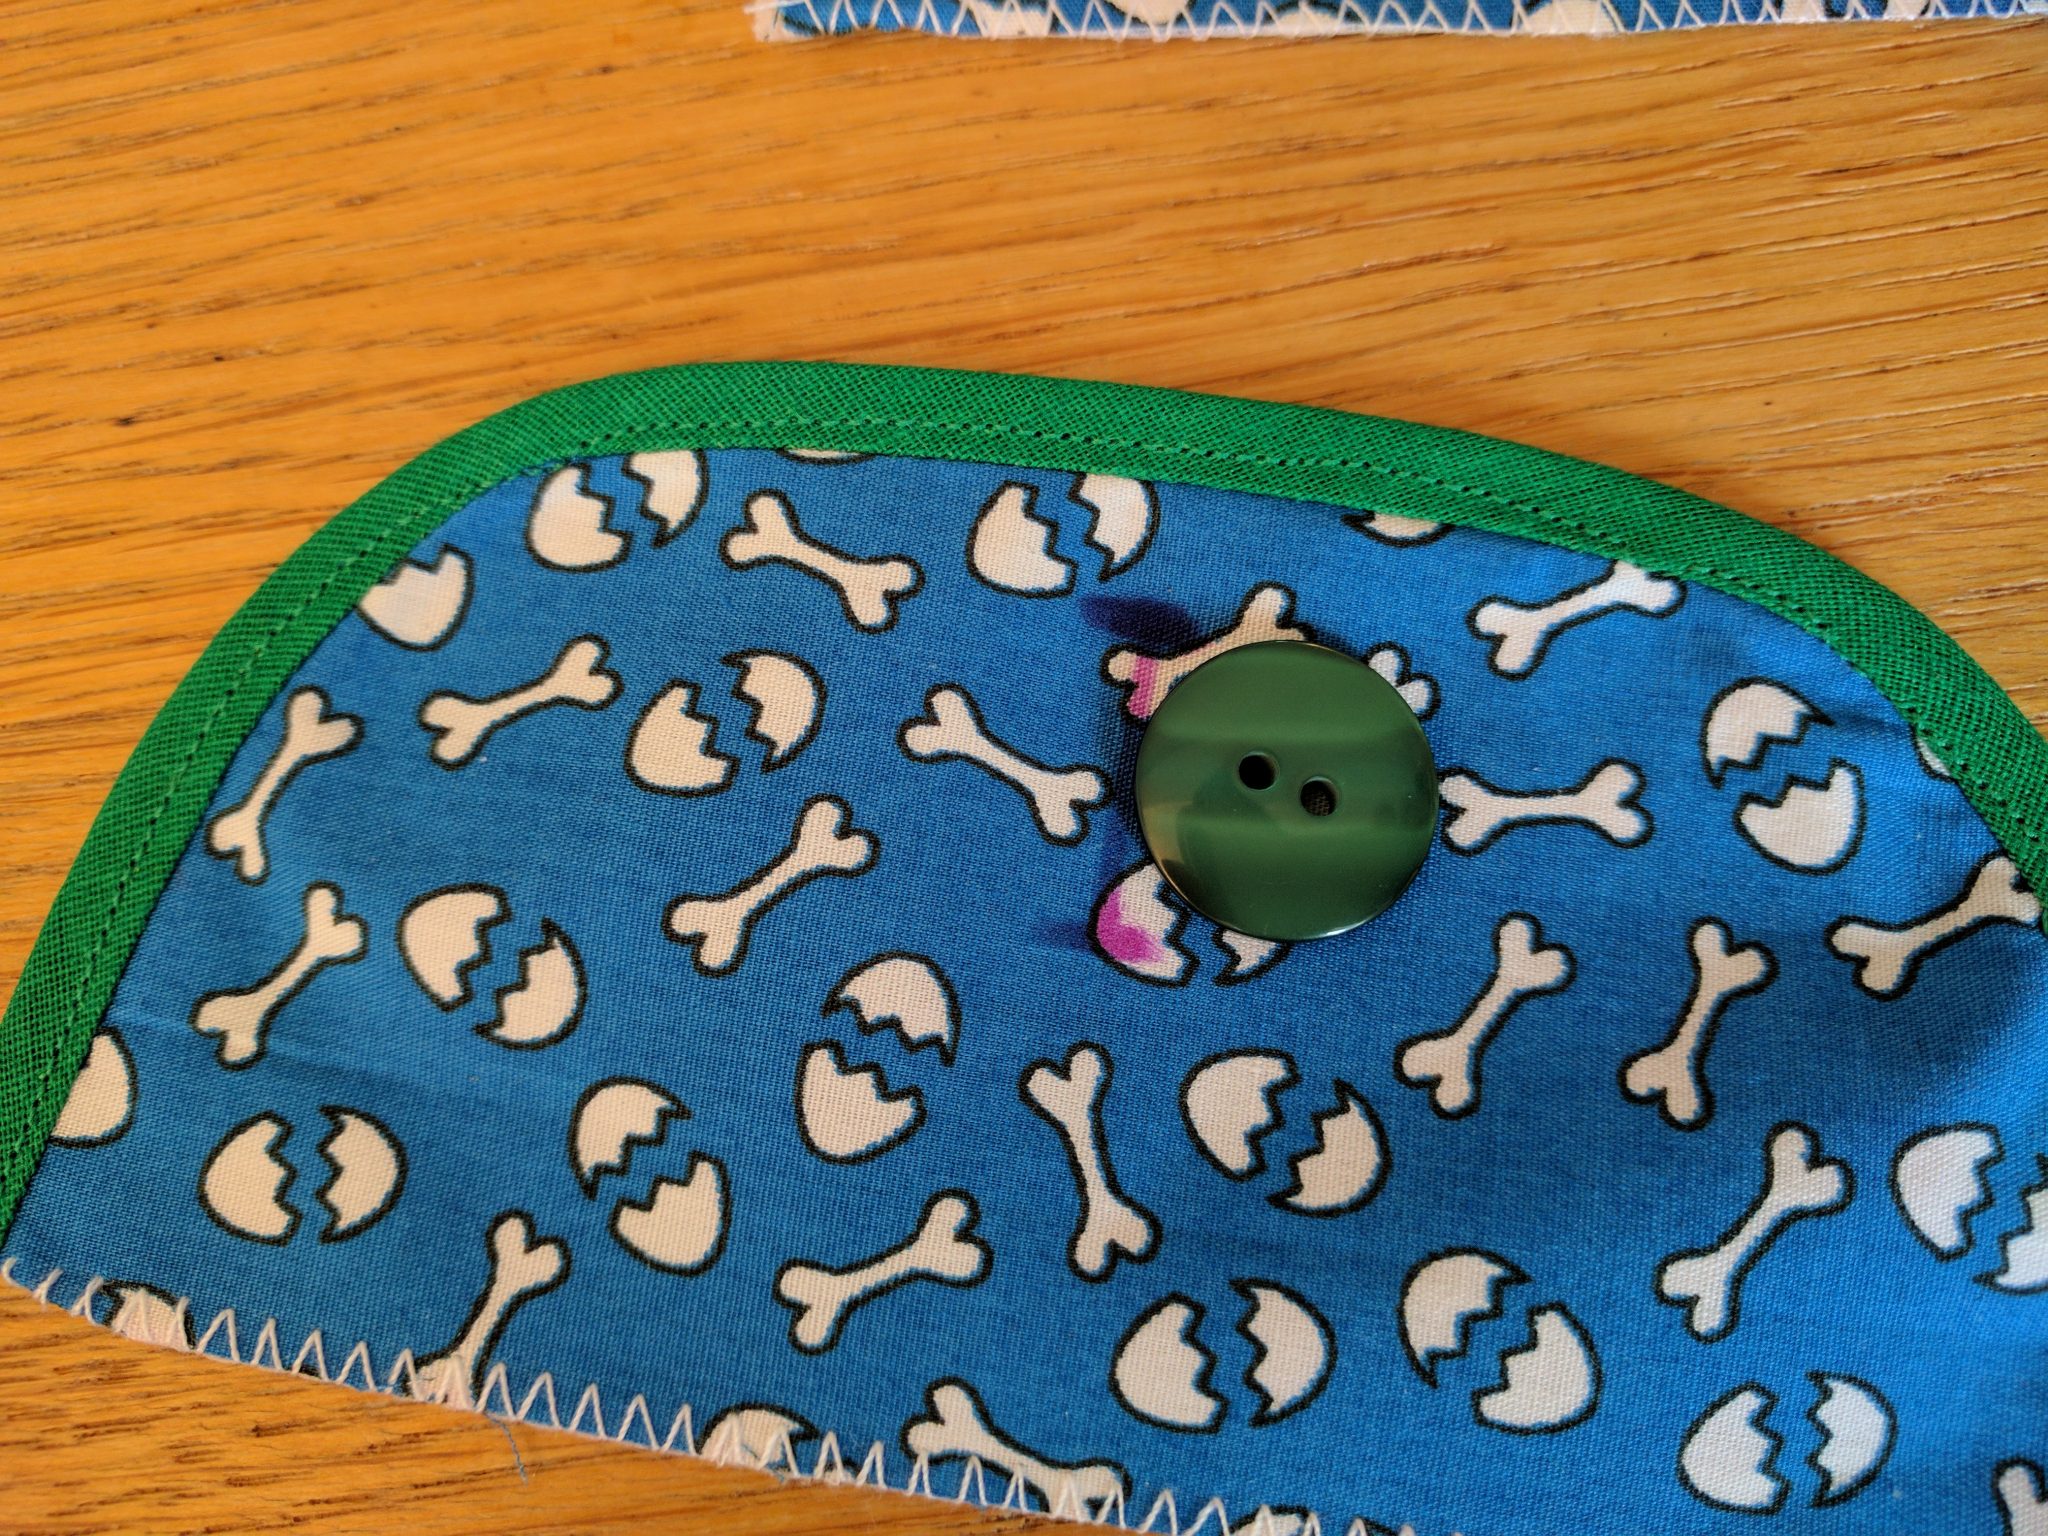
Mark through buttonhole
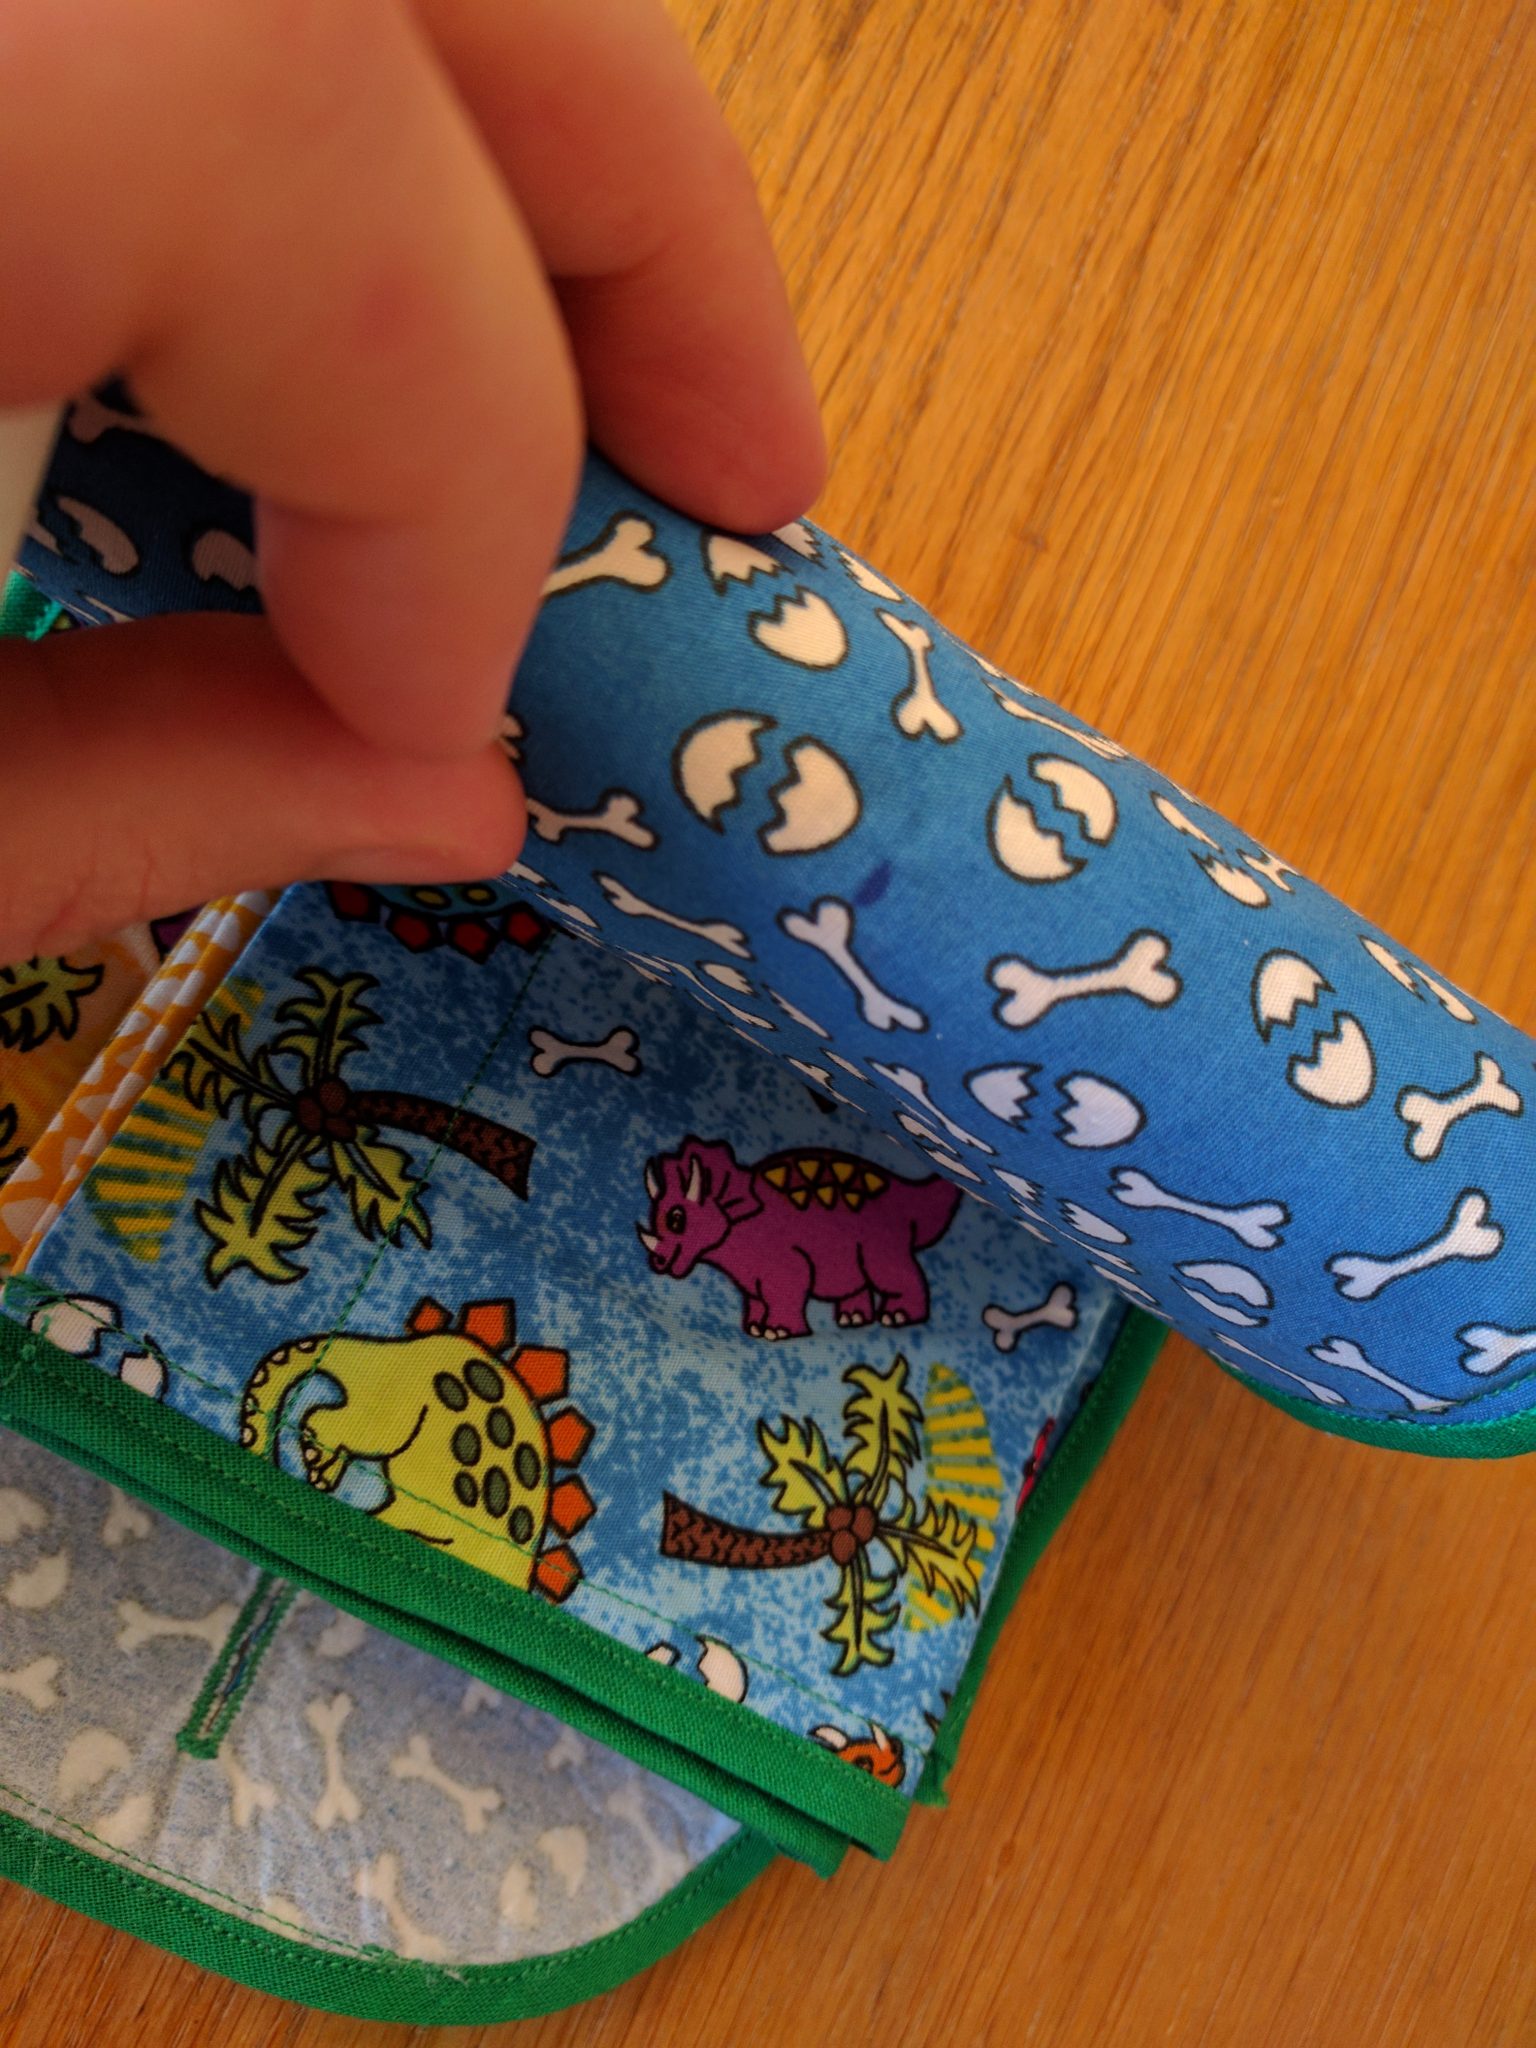
Open out the bag
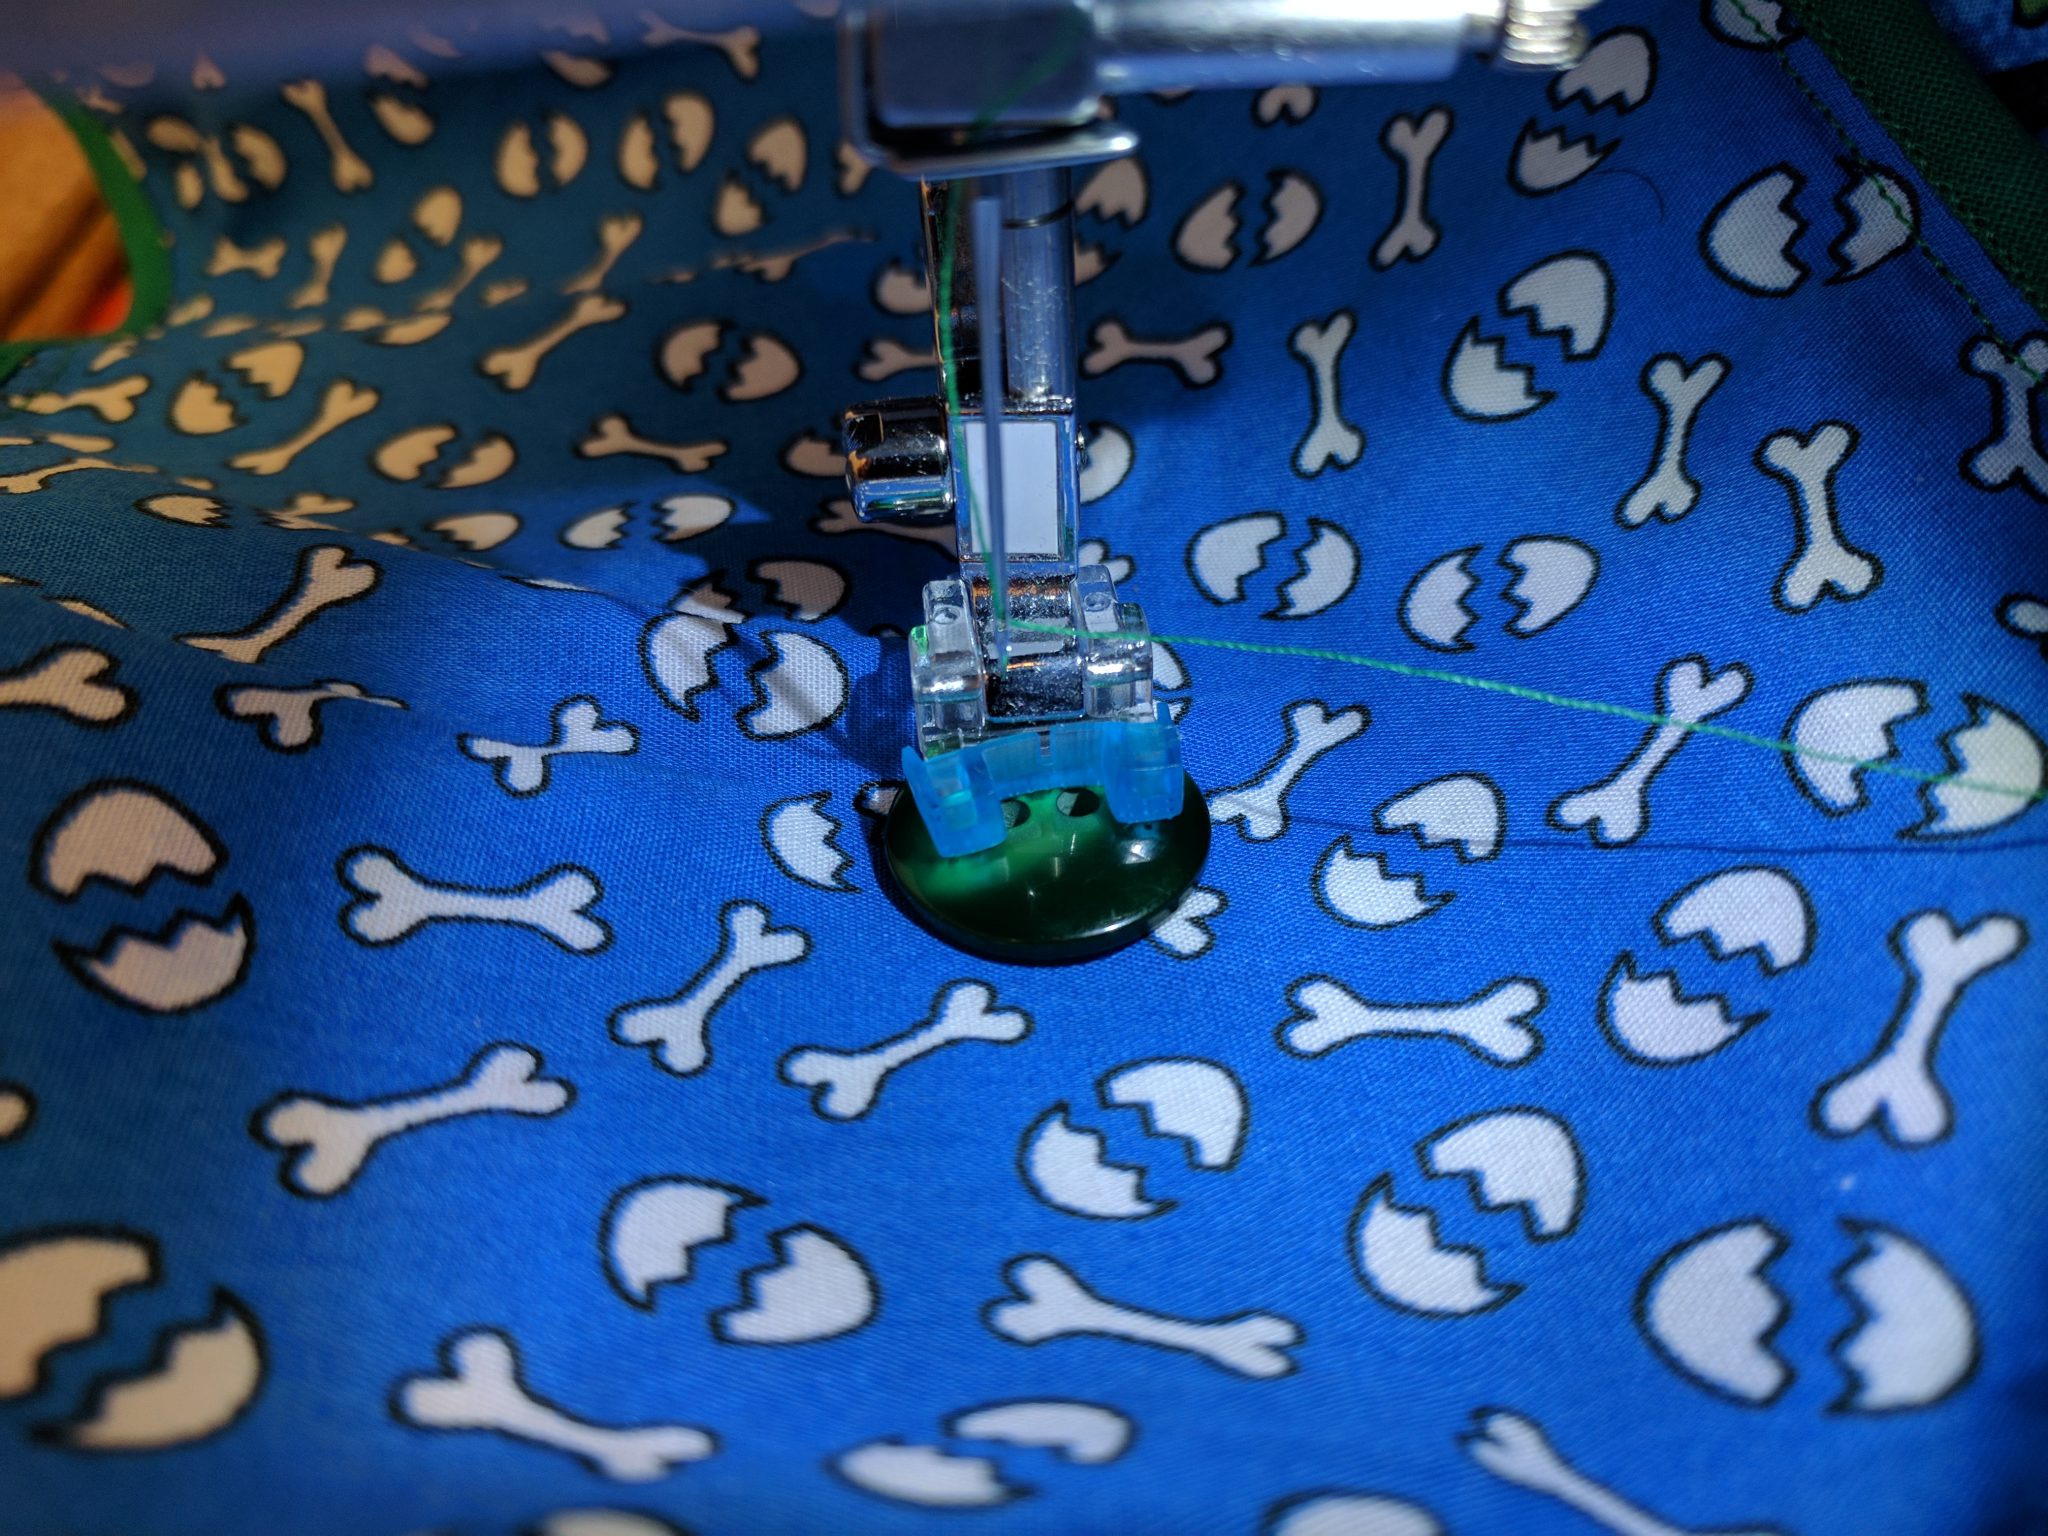
Sew in the button
Pull over the flap and mark with a fabric pen through the buttonhole so you know where the button should go.
Now unfold the whole bag and attach the button. If you’re doing this on your machine, you’re going to have to feed a lot of fabric through under your presser foot to get to the sewing point because it should be very close to the middle of the base piece.
And that’s it! You’ve sewn a shopping bag. I hope it brings you many great shopping experiences before you wear it out and have to make another one!
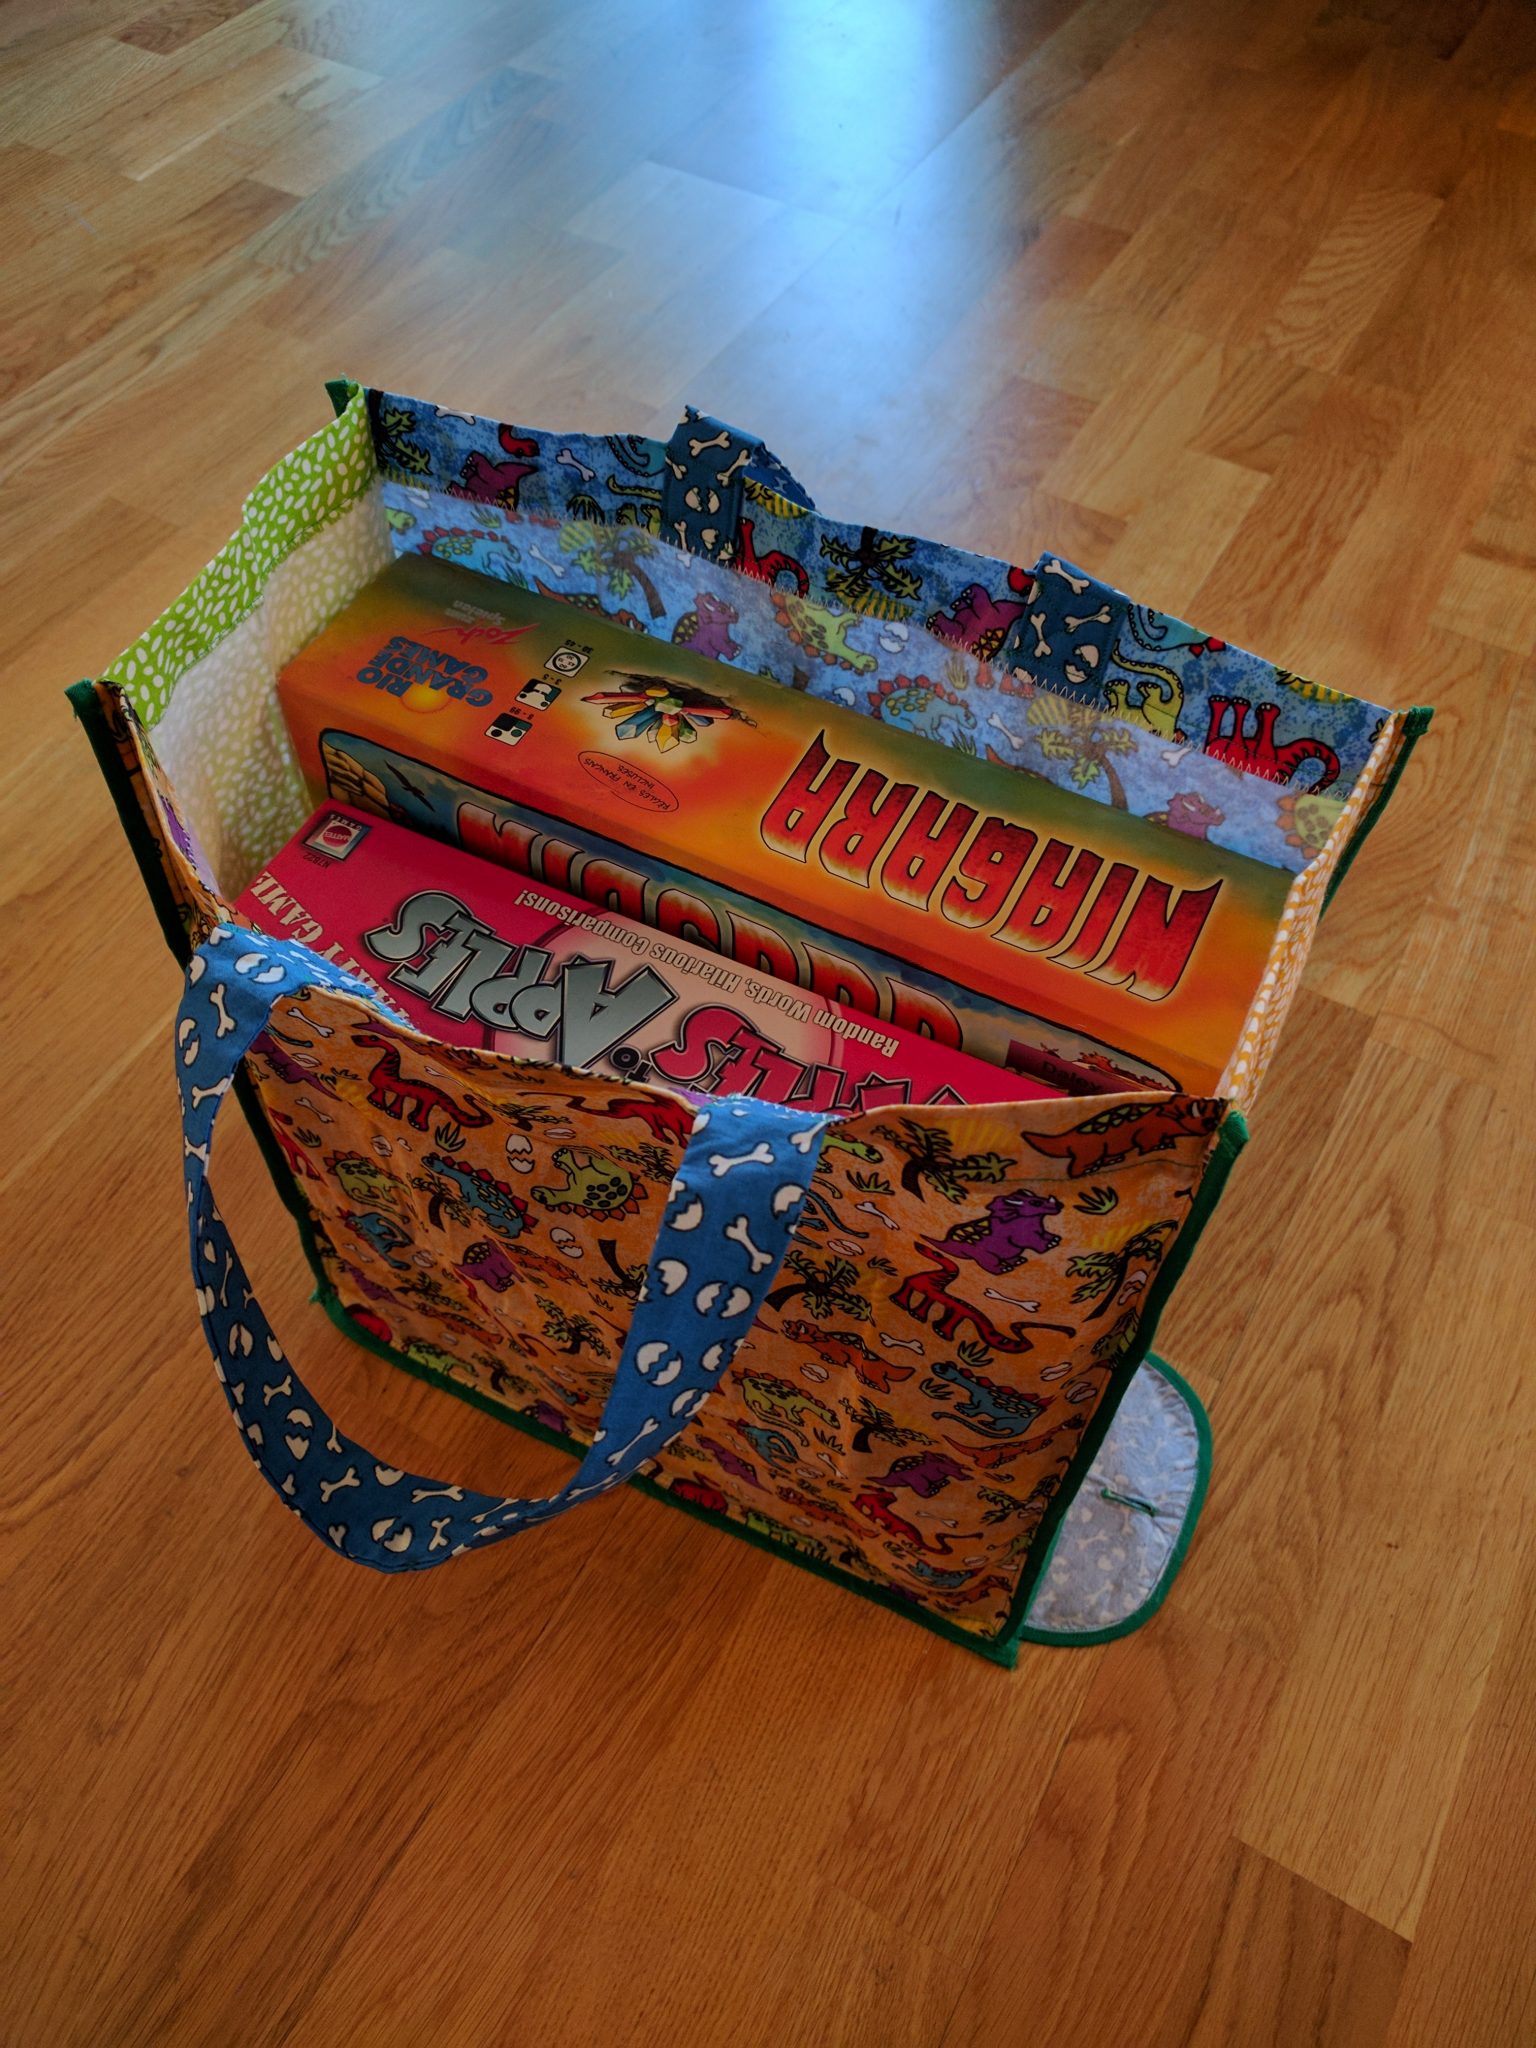
The finished bag – just right for a couple of board games
 Leeds-based non-binary nerd and sewist. I won't break my streak on Duolingo for anyone.
  Delicious
 Flickr
 Goodreads
 Last.fm
 Leeds Beer Quest
 LinkedIn
 Twitter
This is very impressive. Do you sell them, or know someone that does ?
I don’t sell them because I’m quite a slow sewist and so even at minimum wage they’d end up being like £50 each! Unfortunately I learnt to make them because I genuinely couldn’t find anyone who sold them. I hope you get a chance to make one yourself or find someone who can!